
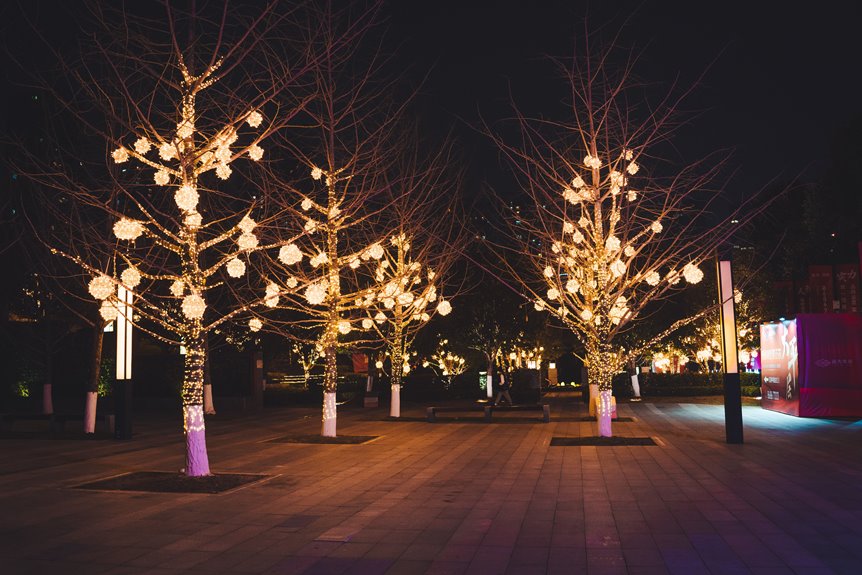
I wrap my outdoor tree in six straightforward steps. First, I measure the trunk’s circumference and height, then I divide height by two or three inches to figure out my rows. Second, I pick string lights for branch control or trunk wraps for speed. Third, I test everything indoors for dark bulbs. Fourth, I wrap tight from base to top with two-inch spacing. Fifth, I weave branches with three feet of lights per foot. Sixth, I secure plugs six inches up, check outdoor ratings, and tuck the final end. Each step builds on the last, and proper connection protection prevents weather damage during winter storms.
Measure Your Tree to Calculate Christmas Light Needs
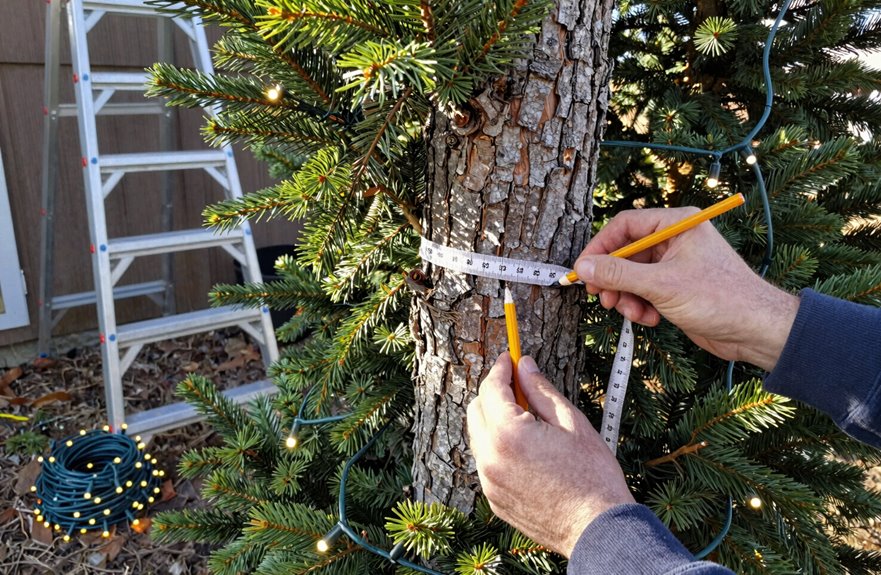
How do I know when I’ve got enough lights? I measure my tree twice, and I buy once.
I wrap a tape around the trunk for circumference, then check height from ground to lowest branches. For solid tree lighting, I want 2-3 inches between each wrap going up.
Here’s my math: I divide height by my spacing. Say 3 feet with 2-inch gaps means 18 rows. I multiply that by trunk circumference. A 2-foot around trunk needs 36 feet just for the base. Branches need extra. I add 3-5% more for overlaps and connections.
I wind my lights into a ball before climbing. I start from the un-pronged end, wrapping trunk first, filling branches after. Proper measurement ensures complete coverage from all angles.
Choose String Lights or Trunk Wraps First
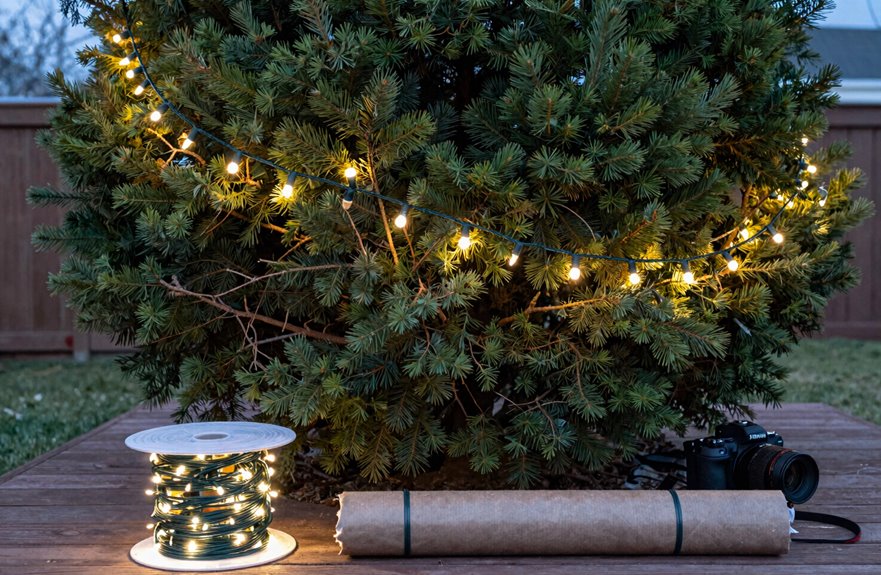
I start by deciding between string lights or trunk wraps, since each option shapes how your tree will look and how long you’ll spend up the ladder. String lights let me weave through branches for custom coverage and more color choices, but trunk wraps snap onto the base in a tight grid that speeds up decorating multiple trees. String lights create scattered, natural sparkle while trunk wraps give you neat, even lines from bottom to top.
String Light Control
What kind of look are you hoping to create? You likely want something that feels like home, and string lights can deliver that.
String lights give you full control over your tree’s personality. You can wrap them into higher branches and small limbs, reaching spots that trunk wraps simply can’t touch. When you string lights this way, you get better coverage and more design freedom. You can change colors and spacing whenever needed, matching your holiday vibe from year to year.
Want depth? Wrap the trunk with trunk wraps first, then add string lights on branches for extra brightness. String lights offer the flexibility and custom glow that many decorators prefer.
Trunk Wrap Speed
Where should you begin when lighting your outdoor tree? Start with the trunk wrap method when speed is your priority.
- Choose your approach. Trunk wraps deliver uniform coverage faster than string lights, particularly when decorating multiple trees in your yard.
- Gather materials. Use 5mm LED wide-angle lights with ball-wrapped string for easy unwinding. You’ll need a ladder or bucket lift for tall trees, plus a helper for safety.
- Begin wrapping. Start from the un-pronged end at the base. Maintain 2-3 inch spacing around the circumference as you work upward. This creates the tight, professional grid pattern typical of this method.
- Consider upgrades. Products like StretchNet Pro speed installation while guaranteeing uniform coverage across the entire trunk surface.
Trunk wraps offer the fastest installation with consistent results. This method produces the polished appearance that defines modern outdoor lighting displays.
Visual Result Comparison
The choice between string lights and trunk wraps shapes your entire holiday display through distinct visual differences when the sun goes down.
Both approaches offer specific advantages:
- String lights let you customize every branch, creating depth with varied spacing and color choices
- Tree wrap installations give that clean, grid-patterned ribbon effect around the trunk base
- Photos show string lights produce layered, dimensional glow while tree wraps deliver uniform, consistent brightness
- String lights emphasize individual branches upward, but tree wraps highlight overall silhouette with denser coverage below
Tree wrap lighting fades on upper limbs where string lights maintain visibility. String lights work best if you want controlled detail across multiple trees, while tree wraps provide streamlined consistency.
Test Your Lights Before Running Outdoor Power
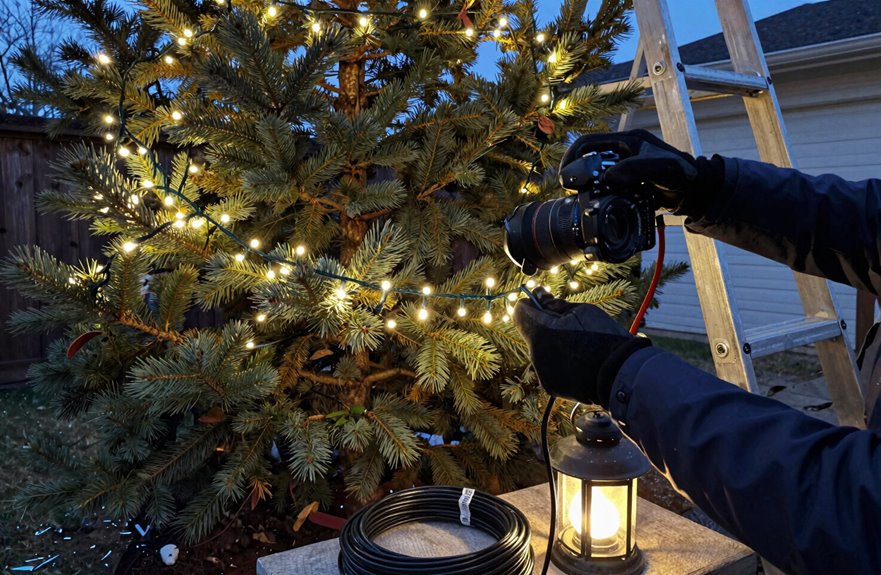
Before I climb the ladder or drag out a single extension cord, I always plug in my lights indoors and give them a thorough check. I hunt for dark gaps, broken bulbs, and flickering sections that cause problems later. I only use outdoor-rated strings; indoor lights crack in winter weather and create real danger. I confirm each adapter handles exterior moisture.
| What I Check | Why It Matters | How I Fix It |
|---|---|---|
| Each bulb | Dark spots ruin the glow | Swap immediately |
| Full string | Broken filaments overload circuits | Replace entire strand |
| Adapter rating | Non-outdoor plugs spark | Verify UL outdoor label |
| Connections | Ground moisture causes shorts | Elevate with tape or ties |
I complete a test run by loosely wrapping ten feet around the base, checking tension and spacing. This small preview prevents wrestling with dead sections forty feet up.
Wrap the Trunk Tightly From Bottom to Top
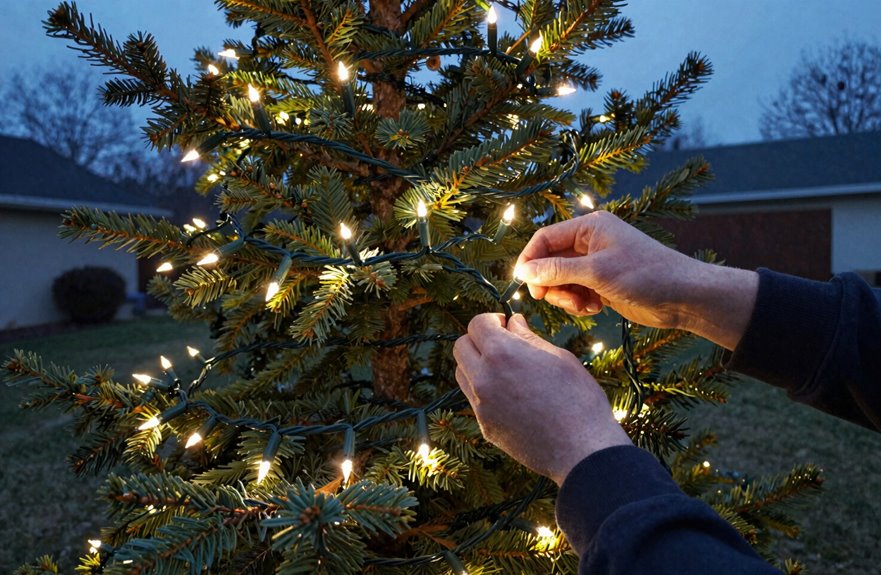
How do you turn a plain trunk into a glowing column? I start at the base with a ball of lights and work my way up, keeping tension tight as I go.
- I space lights every 2–3 inches around the tree trunk for even, dense coverage
- I maintain steady tension while wrapping spruce/evergreen trunks to avoid sagging
- I plug new strings at the base when one ends, continuing upward without gaps
- I tuck the final end under a wrap or zip-tie it to fight wind
For taller trees, I grab a ladder and a helper. Stability matters when you’re reaching high, and two pairs of hands keep everything uniform and tight. This foundation transforms your tree before the branches even light up.
Wrap Main Branches for Full Canopy Coverage
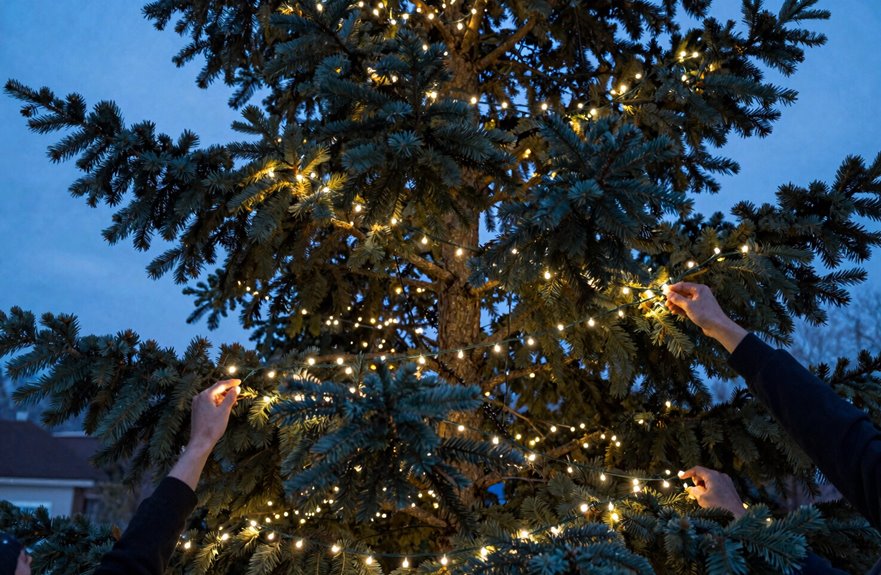
Before I start wrapping, I count out my main branches and do the math: roughly three feet of lights per foot of branch gets me that full-but-not-fried look I’m after. I connect my first branch string straight to the trunk lights, so it’s one continuous run up into the canopy without extra plugs dangling. Then I grab my lights wound in a ball, starting from the end without prongs, and wrap snug, keeping slightly wider spacing where the branches split so everything stays visible from the street.
Planning Branch Selection
A spiderweb of light starts with choosing the right branches. Let’s map out our approach before you climb that ladder.
- Count the branches you’ll wrap for a full-but-not-overdone canopy, spacing them evenly so no section feels left out.
- Calculate the feet of lights using the trunk method: multiply the tree’s height by its circumference, then figure in two to three inches of spacing.
- Select longer branches first, leaving extra room along their length so they won’t crowd each other when you add more.
- Note where the last trunk string ends, planning to connect your first branch string there with tape or twine for a seamless, even glow.
Wrapping Technique Tips
Now that I’ve mapped out which branches to light, I’m ready to wrap. I’ll start from the base and work upward along the trunk, then move into the main tree branches for full canopy coverage. I keep my spacing about two to three inches apart so light spreads evenly.
I grab a ball-wrapped string that unwinds smoothly as I go. I begin at the un-pronged end, wrapping until I reach the outer branches. When I wrap a tree with multiple strings, I leave extra space between branches to prevent crowding and keep everything balanced.
For the trunk-to-branch transition, I wrap up the trunk first, then fill gaps on the branches. I use 5mm LED wide-angle lights with six-bulb spacing. This setup maximizes visibility and creates a uniform, glowing finish on the canopy.
Secure Connections and Inspect for Safety Before Dark
Since you’re working with electricity outside, take a few minutes to check every cord and bulb before climbing the ladder. Verify all lights and extension cords are outdoor-rated and in good condition. This inspection protects your family and neighbors.
A few minutes of inspection on the ground protects everyone once you’re up on that ladder.
To lock in secure connections:
- Wrap outdoor-rated tape or twine around strings, keeping plugs 6 inches off the ground and away from moisture
- Inspect plugs, cords, and bulbs weekly during the display, swapping out anything worn or cracked immediately
- Wire the trunk first, then branch strings, so the load spreads evenly and nothing overloads
- Leave one dry, easy-to-reach connection point for quick shutdown if storms hit
Proper safety prevents circuit failures and ensures your lights operate reliably throughout the season.





