

I keep my motion sensor lights on continuously by installing a parallel bypass switch about 12 inches from the detector box.
First, I confirm the fixture has a neutral wire (usually white) and a constant hot feed so the sensor electronics stay powered.
Then I run a separate 14 AWG hot wire from a single-pole switch directly to the light, keeping the sensor’s switched hot separate.
This prevents backfeeding that damages the electronics.
I tie all neutrals together, ground everything properly, and match my wire gauges to the schematic.
For more control, I use a three-position toggle: off, motion, or continuous.
The continuous position bridges power straight to the light through a 12V relay rated for at least 10 amps, which isolates and protects the sensor.
When I want motion detection back, I flip the switch off, wait 10 to 30 seconds, then turn it to motion mode.
Never rapid-cycle within one second or you risk frying the capacitors.
The exact steps to wire this safely follow below without voiding your warranty.
Confirm Your Motion Sensor Has Neutral and Constant Hot Wires
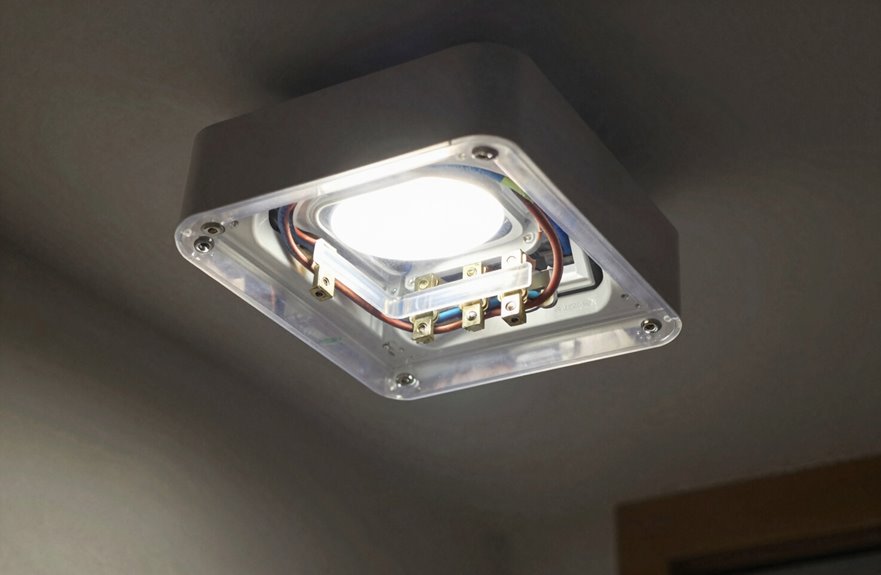
Why do some motion sensor lights flicker or fail to stay on when you need them? The usual cause is that the lighting fixture lacks the right wiring setup. To fix this, check for two specific conditions in your electrical box.
Confirm these two things exist: a neutral wire and a constant hot feed. Both are necessary for proper sensor operation.
- Neutral wire: Look for a white or gray wire. Without it, your sensor cannot complete its circuit. The electronics will malfunction, and flickering will result.
- Constant hot: You need a black wire that remains live even when the light is off. This keeps your sensor powered and preserves its settings.
Sensors fail prematurely when this check is skipped. Before attempting any override tricks, use a non-contact voltage tester to verify both wires exist. Your lighting fixtures will operate with steady, reliable performance once both conditions are met.
Bypass Your Motion Sensor Safely With a Relay

I’ll walk you through the safest way to keep your lights on without frying your motion sensor’s electronics. A relay bypass lets you flip a switch and isolate the sensor completely, so you’re not forcing live current through delicate circuitry that wasn’t built for it. The basic relay setup involves three key components: the relay itself, your power source, and the switch that controls it. Proper wiring safety steps are essential to prevent equipment damage or electrical hazards. Match your schematic carefully to your specific detector model to ensure compatibility and safe operation.
Relay Bypass Basics
If you want your motion sensor light to stay on without ripping out the whole fixture, a relay bypass is the cleanest path forward.
A relay is installed on the hot line that carries electricity around the motion sensor when you flip a switch. The light stays energized, but the sensor keeps power for its own electronics. Directly jumpering the detector’s terminals can fry its circuits or break electrical codes.
Check your schematic first. A properly wired relay isolates live power on both sides when the bypass contact is open, protecting the detector. This setup lets you choose between sensor control or continuous light, with safe neutral return paths either way. The result is reliable lighting without risk of damage.
Wiring Safety Essentials
A proper relay bypass prevents damage to motion sensors and eliminates fire hazards in walls. A relay switches the light circuit cleanly, keeping live power away from the detector’s delicate electronics on both sides.
Jumping the detector with a direct switch risks damage and voids warranties. A relay setup prevents backfeeding when the switch is off, making fault conditions unlikely.
For parallel wiring that lets both a switch and detector control the same light, correct wiring is essential. Crossed inputs cause backfeeding problems.
Before starting, obtain a schematic. Check neutrals, line hot, and load connections twice. This preparation ensures safe, legal, and functional installation.
Schematic Implementation Guide
You’re ready to bypass the motion sensor safely, so I’m going to walk you through the schematic one piece at a time. First, grab a 12V relay rated for your load. Typically, 10 amps handles most fixtures. Wire the relay coil to a three-position switch: down for off, center for motion, up for continuous. When you flip to manual, the relay bridges power directly to your light while isolating the sensor’s control line. This protects the electronics from backfeeding. Keep neutrals tied together at the junction box, but run separate switched hot lines. Check your schematic twice before powering up. Test each position; motion should still work when centered. Done right, you’ll have reliable manual override without damaging the detector circuit.
Switch Back to Motion-Sensing Mode After Manual Override
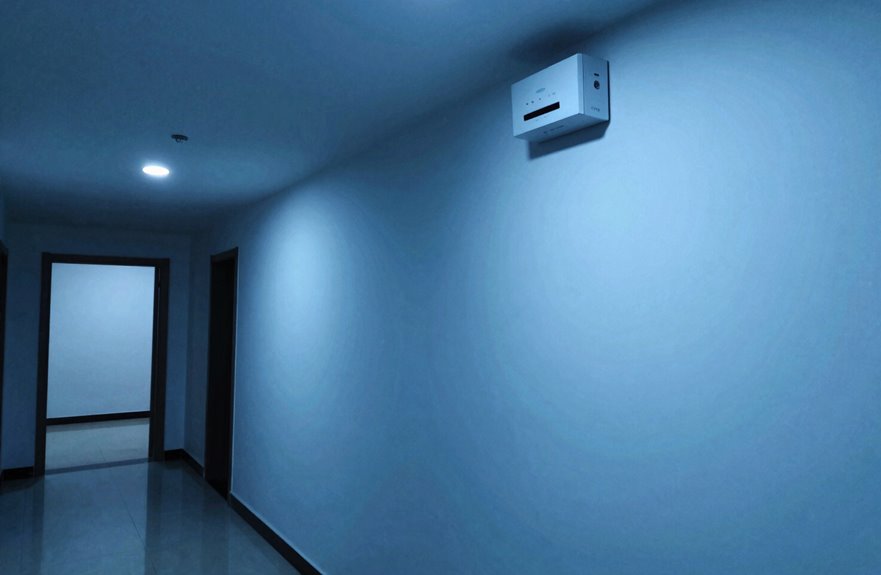
How do you switch your motion light back to motion-sensing mode after you’ve manually overridden it? This process requires patience and correct timing. Many detectors need power restored within one second or less. Others require a full off-wait-on cycle.
Follow these steps:
| Step | Action | Timing |
|---|---|---|
| 1 | Turn switch off | Immediate |
| 2 | Wait briefly | 10-30 seconds |
| 3 | Turn switch on | Steady, not rushed |
| 4 | Test motion trigger | Walk in sensor range |
| 5 | Verify auto operation | Light responds to movement |
Avoid rapid flipping, as it can damage the electronics and won’t reliably reset the system. Check for proper neutral wiring as well, since detectors need it to re-engage. For safety, use a relay setup rather than jumpers to bypass without causing harm.
Wire a Parallel Switch for Manual and Motion-Sensing Modes
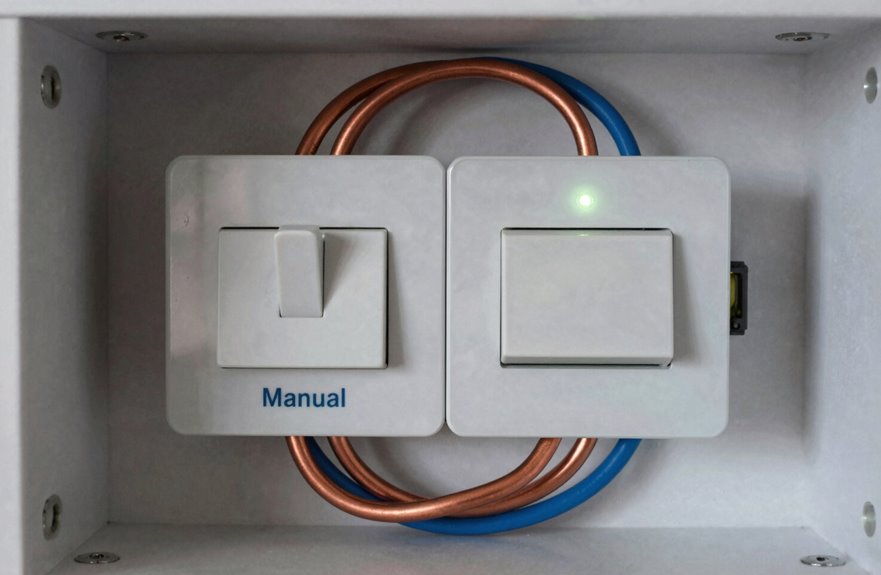
Why settle for one way to control your lights when you can have both? This setup lets either a manual switch or your motion sensor turn the light on, whichever comes first, without waiting.
Here’s how to do it:
- Run separate hot wires from both the switch and sensor to the fixture, creating two independent paths to power.
- Install a single-pole switch rated for 15 amps near your existing circuit, typically within 12 inches of the detector box for clean routing.
- Connect all neutrals together and ground everything properly. Double-check that no wire feeds back into the sensor’s electronics, as this causes false triggering.
Grab a schematic for your specific detector model. Match wire gauges exactly (usually 14 AWG), and label your connections before you start. After installation, you can flip the switch for constant light or let motion do the work. Both methods give you full control.
Install a Three-Position Toggle for On, Motion, or Off Control
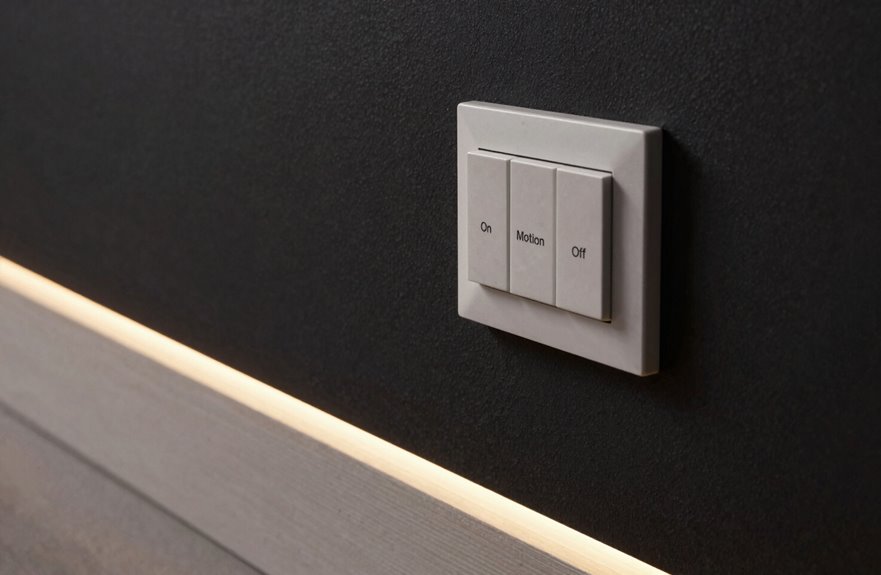
I want to show you how a three-position toggle switch gives you complete command over your motion light with just one control. The Bryant Electric model 4922 offers three clear positions: ON for constant light, MOTION for automatic detection, and OFF when you need darkness. You’ll wire this by connecting your line and load through the switch while keeping the sensor’s trigger path intact for the middle position. Each step requires careful attention to prevent crossed connections.
Three-Position Toggle Options
What if you could flip a switch and choose exactly how your light behaves. A three-position toggle offers this capability and transforms how you control outdoor spaces.
Position one keeps your light on continuously, perfect for gatherings or security needs. Position two returns control to the motion sensor, saving energy when you’re away. Position three cuts power completely.
This approach protects your detector’s electronics. Instead of jury-rigging a bypass, you’re routing power properly through designed switch contacts. You’ll need a dedicated neutral wire for the sensor’s brain, plus careful attention so switch and sensor signals don’t clash.
Install this once, and you’re set. Switch to manual when hosting friends, return to automatic afterward. No rewiring, no hassle; just reliable control integrated into your routine.
Bryant Electric Model
The Bryant Electric 4922 gives you the control needed for outdoor lighting management. Install this sturdy three-position toggle to manage your outdoor light fixture. You’ll have three clear choices that fit your daily routine.
| Position | Result | When to Use |
|---|---|---|
| On | Light stays on, sensor sleeps | Overnight guests |
| Motion | Sensor controls power | Normal evenings |
| Off | Complete shutdown | Vacation time |
Wire this reliable switch to isolate the detector from the manual override circuit path. First, shut off the breaker for complete safety. Second, connect the hot wire to the common terminal. Third, send one traveler to the motion sensor and one directly to the fixture. This setup keeps your wiring safe and gives you full control over your home’s lighting system.
Match Relays and Switches to Your Fixture Specifications
Getting the right relay is essential for keeping your setup safe and your lights working as intended.
- Check your numbers first. Match the relay coil voltage to your control source, whether that’s 12V, 24V, or standard line voltage. Wire the relay contacts in series with the fixture’s hot feed, and make sure you’ve got a dedicated neutral for any detector electronics.
- Pick the right contact style. Choose normally open contacts if you want lights off until motion hits, or normally closed if you’re planning a manual override setup.
- Size for safety. Select a relay whose contact rating exceeds your fixture’s amperage with an additional safety margin. This prevents overheating and extends contact life.
Why Rapid Switching Damages Electronics (And Why We Don’t Recommend It)
You might have heard about a “quick fix” for keeping motion lights on: flipping the switch off and on really fast. This method damages your detector.
When you cycle power within one second, you force sudden inrush currents through delicate electronics. Those abrupt voltage spikes stress capacitors, relays, and microcontrollers. Some units tolerate this briefly, then reset after minutes or hours. Others fail completely.
Rapid switching causes erratic behavior: lights flickering, false triggers, or dead sensors. Manufacturers specifically exclude this abuse from warranties. You’re left paying for replacement parts that proper wiring would’ve saved.
Reliable solutions require avoiding this shortcut. Equipment damaged by rapid switching costs more to replace than installing appropriate wiring from the start.
Reset Timing: How Different Brands Return to Auto Detection
How quickly does a motion detector snap back to auto mode after you’ve changed the power settings? The answer depends on your specific unit, and guessing rarely produces reliable results.
Reset timing varies significantly across different brands:
Reset timing varies significantly across different brands:
- Quick rebounders – Many units return to auto mode if you restore power within one second of cutting it.
- Patient resetters – Some require you to wait several seconds before reapplying power, or they remain stuck in override mode.
- Stubborn holdouts – Certain models lock in manual mode for hours or demand a specific button sequence to reset.
Some detectors reset automatically when daylight shifts, using their internal light sensors as triggers. Review your manual, as every brand operates under its own specifications.





