
I protect my outdoor light plugs by blocking water at two critical spots: where cords enter housings and where plugs connect. First, I’ll slide a zip-top bag over plug connections with cords exiting opposite sides, or I’ll cut shallow slots in a plastic container lid and thread cords through with slack to prevent pooling. For $4-5, I build a shoebox-sized container with elevated slots, then wrap joints with electrical tape and UV-resistant silicone. Slots must let moisture drain while keeping rain out; trapped humidity causes shorts too. Commercial covers with GFCI protection outperform DIY setups during ice storms, but these fixes handle most weather conditions. Additional detail on each method follows.
Why Outdoor Light Plugs Fail in Wet Weather
Why do my outdoor lights keep shutting down every time it rains? It’s frustrating when your display goes dark right when you need it most.
Water sneaks into the spots where cords pass through and where plugs meet sockets. It doesn’t just hit the bulbs; it finds every tiny opening around your connections. Once inside, it causes short circuits that trip your breakers and kill the power.
Water sneaks into every tiny opening around your connections, causing short circuits that trip breakers and kill power.
Quick fixes like electrical tape only hold up for so long. After a few storms, moisture seeps through anyway. Repeated rain, sleet, and freezing temperatures make things worse by creating condensation inside your enclosures. Over time, this degrades your connections until they fail completely.
Protecting your outdoor electrical connections requires understanding how moisture penetrates these vulnerable areas and planning accordingly.
Try These Free Weatherproof Hacks First
How can you keep your outdoor plugs completely dry without spending a penny. I’ve got three simple tricks that’ll keep your Christmas lights glowing and your connections safe.
First, grab a clear zip-top bag. Slide it over the plug connection like a two-ended tube, so both cords poke out opposite sides. You’ll see your lights, but water won’t sneak in.
Second, hunt down a plastic clip-lid container from your kitchen. Cut two shallow slots, about ½ inch max, on opposite sides. Thread your cords through, snap the lid tight, and you’ve built a moisture barrier. Keep those slots slightly elevated so melting snow can’t pool inside.
Third, wrap your plug ends with electrical tape before tucking them into any container. This extra layer cuts moisture and stops those annoying breaker trips.
These hacks work. Your lights stay bright, your wallet stays full, and you’re ready for whatever weather comes.
Build a Weatherproof Connection Box for Under $5
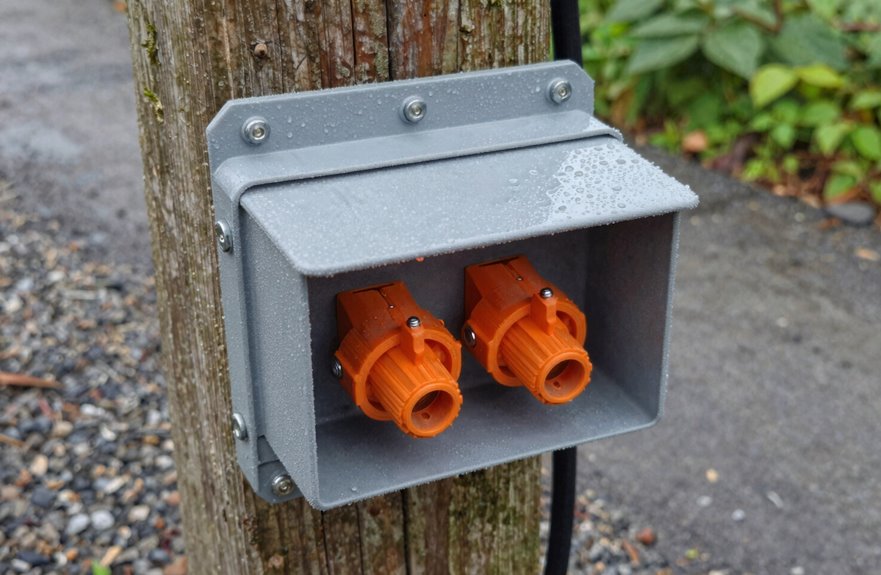
A weatherproof connection box doesn’t have to cost much. I’ve built one for under $5 using a simple plastic container with a lid.
- Find an inexpensive plastic container, roughly shoebox-sized. Cut two shallow slots, about ½ inch, at the lip area, continuing into the body. Leave a small tab intact; it blocks snow and keeps the structure strong.
- Thread your cords through these slots with some slack. This prevents the plug from touching the bottom if snow melts inside. The gaps also let air flow, which cuts down on condensation.
- Need more connections. Build a second box the same way and keep everything enclosed.
- Finish by wrapping the joint with electrical tape. Add clear, UV-resistant silicone sealant for extended weatherproofing durability.
Buy vs. Build: When Commercial Gaskets Outperform DIY
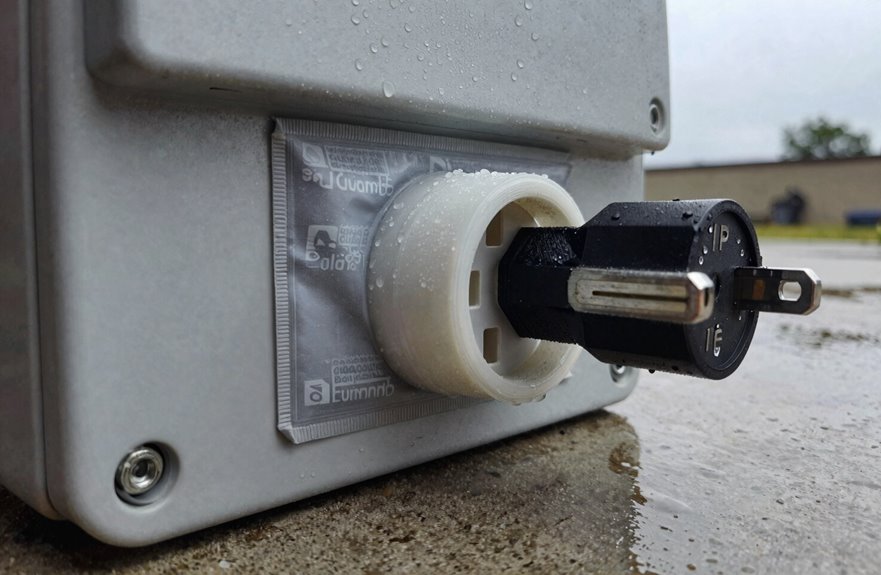
I know you’re weighing whether to save money with a DIY fix or spend more on a store-bought gasket. Commercial covers like the WGPC05C use UV-resistant silicone seals tested across extreme temperatures, while homemade alternatives rely on cut plastic and improvisation for watertight protection. When comparing the two side by side, factory-tested seal integrity delivers superior reliability, even though it costs more upfront.
Cost Versus Reliability
Grab a notepad and tally the true cost of keeping outdoor plugs dry, because choosing between a store-bought gasket cover and a homemade fix follows a straightforward sequence.
First, outdoor plug protection through commercial units like the WGPC05C runs $15-$25 but brings certified silicone gaskets and UV resistance. DIY setups cost under $5 with containers and tape, yet they lack IP ratings.
The math is clear: my DIY bag trap saved money initially, then failed during freezing rain. I spent an hour rewiring. Commercial covers integrate drainage and standard pass-throughs; homemade versions trap condensation without careful airflow.
When reliability matters most, ice storms, melting snow, and wind-driven rain expose the difference. Tested materials and warranty coverage provide documented performance standards. Consider your weather exposure, your time, and how often you’ll need to rebuild your protection system.
Seal Integrity Compared
How well does a zip bag really seal when the wind starts howling? Weatherproofing isn’t just about covering plugs; it’s about creating a barrier that holds.
Commercial gaskets, like those with UV-resistant silicone seals, give consistent protection every time. They’re built for freeze-thaw cycles and heavy rain, with standardized fits that don’t leave gaps.
My DIY attempts with plastic containers and tape produced variable results. They work in a pinch for one or two connections, but I check them constantly. Commercial options also integrate GFCI protection, which my homemade setups can’t match.
For multiple connections, I buy. The manufacturer warranty and defined lifespan mean I’m not rebuilding seals each season. For a single temporary fix, I’ll build, but I accept the trade-off in durability and monitoring requirements.
Weatherproof Cord Pass-Throughs Without Trapping Condensation
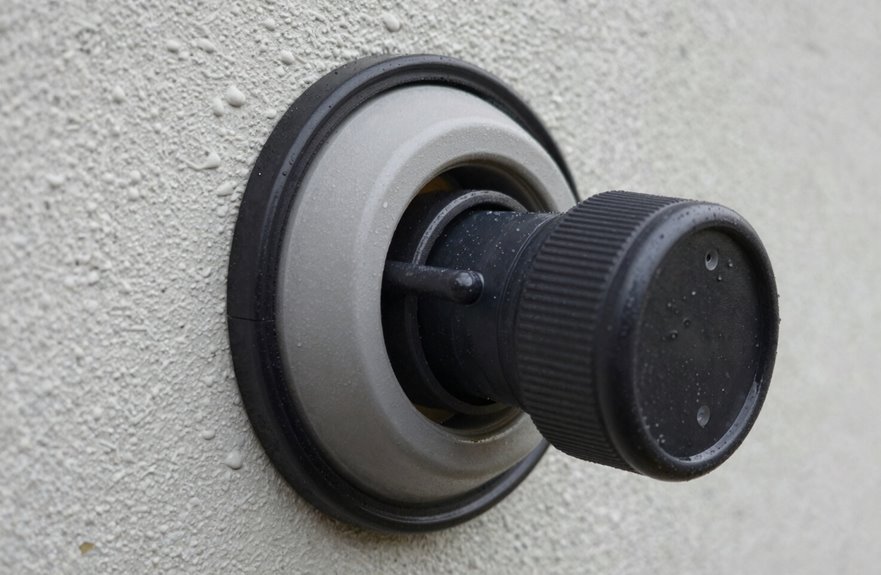
Where do you stash those outdoor plugs when rain or snow rolls in. Small, clear plastic containers with lids make simple ports for your setup.
First, cut one slot about ½ inch wide for cords. This blocks rain but still lets water drain. Second, keep that slot high and shallow so melting snow won’t bury cords, and leave a small tab intact so wind won’t weaken the structure. Third, don’t block the slots, and let air move inside to stop condensation from causing shorts. Fourth, if you need extra cords, duplicate the container so each stays sealed. Finally, reattach the lid and use electrical tape on joints to block moisture without trapping humidity inside.
Still Tripping Breakers? Check These Non-Water Causes
I’ve sealed every outlet and covered every plug, yet my breaker still snaps off like a stubborn mousetrap. When water isn’t the culprit, I look for two hidden troublemakers: bulbs burning out with cracked filaments that pull irregular current, or my GFCI being overly sensitive to tiny power fluctuations from old wiring. I can walk you through how to spot these sneaky issues, starting with the easiest fix (swapping bulbs) and moving toward testing your GFCI’s trip threshold with a simple outlet tester that costs about ten dollars.
Common Bulb Failures
Even when you’ve sealed every cord and cover, a single bad bulb can still trip your breaker. Bulb failures often hide in plain sight and trip breakers faster than most folks realize. Moisture gets the blame, but a cracked filament or damaged base causes direct shorts too. Loose contacts add resistance, especially during wet weather. First, check these common culprits:
| Broken filament or glass | Creates a direct short |
|---|---|
| Corroded or loose base | Causes heat and resistance |
| Ice buildup around socket | Triggers sporadic trips |
Second, replace every faulty bulb immediately. Third, clean the socket with a dry cloth, then tighten the bulb until it sits snug. This approach stops unexplained trips more effectively than waterproof covers alone.
GFCI Sensitivity Issues
Since moisture isn’t always the culprit, consider other reasons your GFCI keeps tripping that have nothing to do with rain.
First, check your bulbs. A broken filament touching metal inside can short-circuit and trigger GFCI sensitivity before you even notice the light failed.
Second, inspect cords and plugs. Damaged insulation, loose connections, or worn weatherproof cover gaskets create tiny arcs that fool your outlet into thinking there’s danger.
Third, avoid daisy-chaining extension cords. Each extra connection adds resistance; beyond 100 feet total length, voltage drops and neutral imbalances occur.
Finally, test monthly with a GFCI tester. Replace frayed cords immediately. Use only UL-rated outdoor cables with intact grounding pins.
These steps prevent nuisance trips and protect your electrical system in wet conditions.
Protect Connections During Freeze-Thaw Cycles
When temperatures swing between freezing and thawing, your outdoor light plugs face their biggest enemy: trapped moisture that expands, contracts, and eventually seeps into every connection. Proper waterproofing starts with simple homemade protection.
- Build your shield. Thread cords through shallow, evenly spaced slots in small plastic containers. Leave a tab intact so snow won’t block them.
- Let it breathe. Keep air gaps open through those slots. Airflow cuts condensation and stops moisture from pooling on your plugs.
- Lift everything up. Elevate and suspend cords so melting snow drains away from pass-through openings.
- Seal smartly. Pack putty or electrical tape around cut joints. You’ll block water but keep maintenance access.
- Scale as needed. Duplicate this setup for each additional pair of connections.
Your lights stay dry and protected from moisture damage.





