

I start by measuring my space and marking anchor points every 6–8 feet, keeping my power source close by.
Next, I pick sturdy spots on walls or posts and drill pilot holes for hooks or masonry anchors.
Then I install a guide wire with turnbuckles for spans over 15 feet.
I hang the lights with slight slack for a gentle drape, spacing bulbs about 6–8 inches apart.
I plug into a GFCI outlet and test every bulb before sealing all connections against rain.
These six steps create a functional outdoor lighting setup that will last through weather exposure.
Measure and Plan Your Outdoor String Light Layout
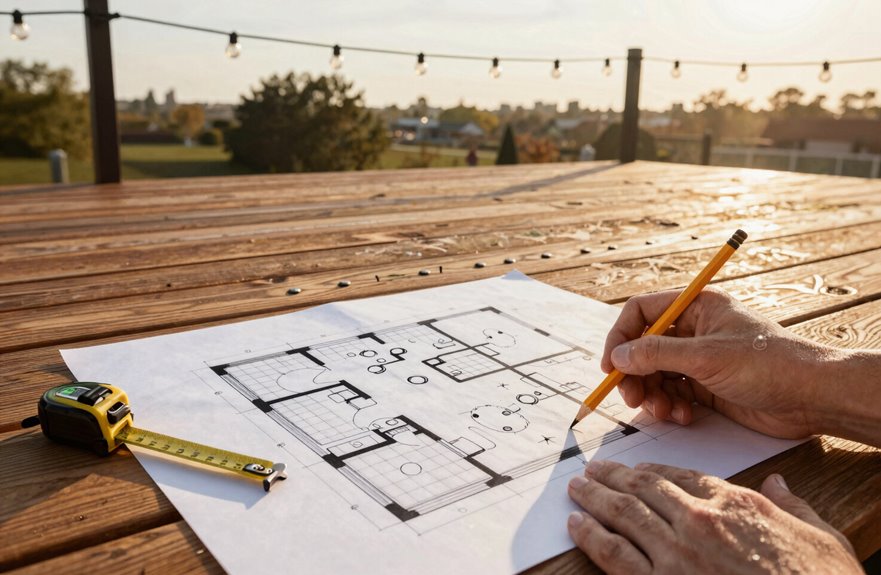
Where exactly do I want these lights to go? I grab my measuring tape and start my layout planning, knowing this step prevents installation problems later.
First, I locate my power source. A beautiful zigzag pattern that won’t reach an outlet creates wasted effort. I sketch two options: a perimeter run tracing my patio edges, or a zigzag pattern between outdoor posts. Both work, but spacing changes everything.
I calculate string light length carefully, adding 10% for droop and connection slack. Then I mark anchor points every 6–8 feet using small installation marks with painter’s tape. This spacing keeps bulbs evenly distributed without sagging.
Before I touch a single hook, I double-check my marks align with both my layout and power access. Preparation ensures proper installation and prevents sagging or disconnection issues.
Pick Your Mounting Points: Walls, Posts, or Poles
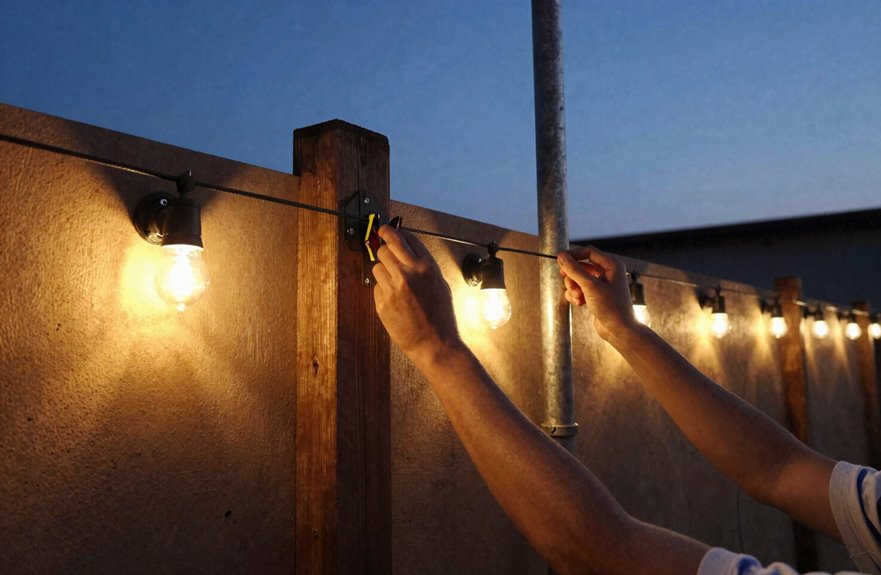
With my layout marked and measurements confirmed, I’m ready to secure the lights to something solid. Walls, posts, or poles make excellent mounting points for outdoor string lights, and I’ve got options that’ll work for any space.
First, I pick my anchor points. For wooden posts or poles, I can screw cup hooks directly in. For brick or masonry walls, I drill pilot holes first, then insert wall anchors rated for outdoor loads. This keeps everything sturdy when wind hits.
Spacing matters most. I space my anchor points 6–8 feet apart. This spacing keeps bulbs evenly lit and helps with sag prevention. For longer spans, I’ll plan a guide wire between points to stop drooping and wind whip. Starting from my power source, I mark each point and work outward so nothing tangles.
Install Anchors and Add Support Wires

I grab my drill and get to work on those marked anchor points. First, I drill pilot holes to prevent splitting, then I twist in outdoor-rated hooks or screw eyes by hand. For brick or stucco, I use masonry anchors rated for outdoor loads. Outdoor-rated masonry anchors prevent patio lights from falling during use.
For spans over 15 feet, I run a guide wire between anchor points. This support wire carries the weight and prevents sagging while maintaining a clean, professional appearance. Secure the guide wire with turnbuckles so you can tighten it season after season.
| Mounting Hardware | Best Use Case |
|---|---|
| Screw eyes | Wood posts, fascia boards |
| Masonry anchors | Brick, concrete, stucco walls |
| Cup hooks | Quick install on soft wood |
| Turnbuckles | Tension adjustment on guide wire |
| Outdoor-rated hooks | All-weather durability |
Double-check every anchor before moving on. Solid mounting hardware keeps your lights secured and your installation stable.
Hang Your Outdoor String Lights
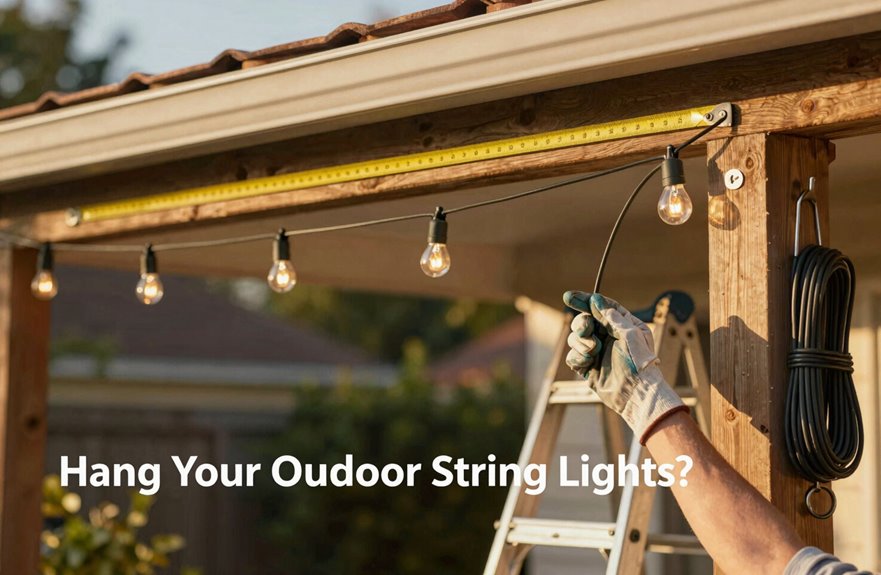
Once the anchors are set and the guide wire is taut, you’re ready to hang the lights. I work along the path I mapped during planning, moving from one end to the other. I loop each strand over the hooks I installed, keeping slight slack between points so the lights drape in a gentle curve. This prevents sagging while creating soft, ambient lighting.
I space bulbs about 6–8 inches apart for even illumination. For longer runs, I use weatherproof extension cords rated for outdoor use, never crossing walkways where someone could trip. I plug everything into a GFCI outlet for safety. Before securing zip ties, I test the strand to ensure every bulb glows. Small adjustments now prevent problems later.
Power Up and Test for Problems
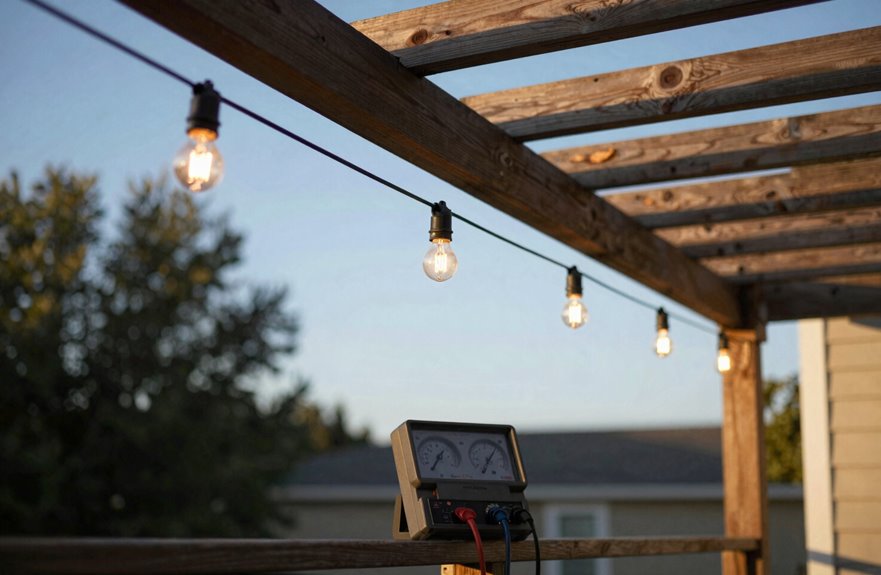
Before you flip the switch, take a minute to unplug everything and give your setup a careful once-over. Run your hands along each cord, checking for frayed wires or cracked insulation that could cause safety hazards. Verify you’re using outdoor-rated lights with weatherproof connectors, and always plug into a GFCI outlet for safety.
- Picture warm bulbs glowing like fireflies against twilight sky
- Imagine cords running tight along lines without sagging
- See your guests’ faces lit by even illumination across the patio
Test bulbs by connecting from the power source outward, watching each section light up. After confirming secure mounting, re-test after mounting to catch any issues. If one bulb stays dark, swap it immediately. This second check ensures your installation works properly when night falls.
Seal Connections and Weatherproof Everything
The final step keeps your lights glowing season after season. Weatherproofing protects the spaces we share.
- I seal connections using weatherproof connectors and weatherproof adapters at every junction. Moisture protection starts with tight, secure fits.
- I choose outdoor-rated extension cords with 12-14 gauge wire to handle electrical loads without overheating. Heat buildup near adapters causes failures.
- I run conduit for cords along walls or bury them 6 inches deep. This rainproofing shields cables from puddles and prevents trip hazards.
- I inspect for frayed wires before sealing anything. Damaged insulation compromises weatherproof integrity, so I replace worn components immediately.
- I unplug during storms. No weatherproofing eliminates the risk of direct exposure to high winds and heavy rain.
Your backyard sanctuary requires this maintenance to function reliably.





