
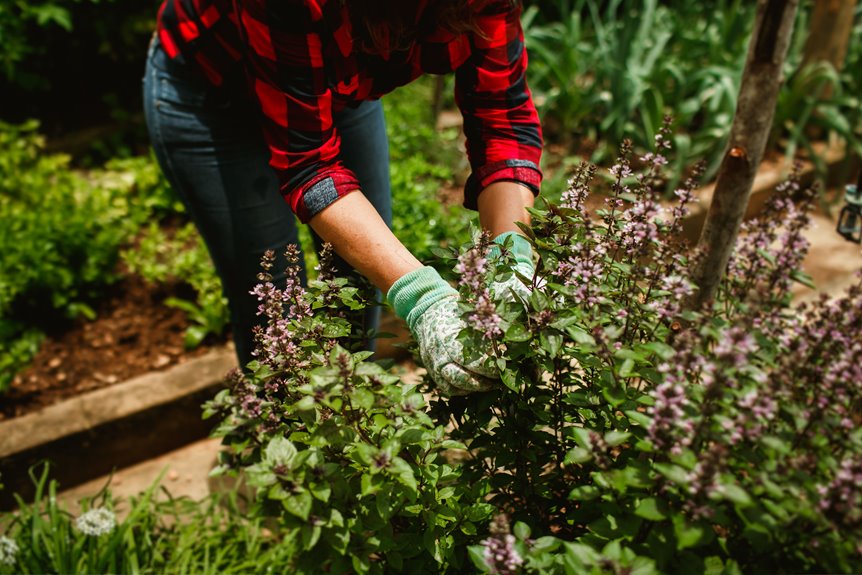
I started my indoor herb garden with just three plants I actually cook with: basil, cilantro, and parsley in 6-inch terra cotta pots with drainage holes. I placed them on a south-facing windowsill for 4-6 hours of daily light, though a full-spectrum LED grow light works too. I water from the bottom when the top inch of soil dries, soaking for about 15 minutes, then I drain completely. I fertilize lightly each month and pinch back growth to keep plants bushy. Choose your first herbs, grab proper containers, and you’ll have the essentials to maintain them year-round.
Pick the Right Herbs for Your Indoor Garden
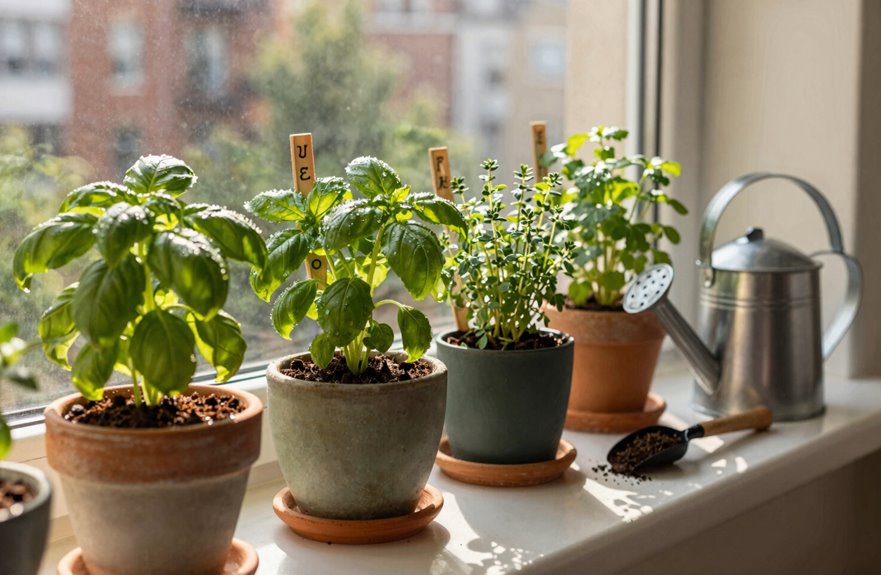
Where do you even start when every herb looks promising? Begin with just two or three varieties you’ll actually cook with.
Start with tender green indoor herbs like basil, cilantro, parsley, and chives. These adapt quickly and reward you fast. Add heartier options like oregano, thyme, and rosemary once you’ve built confidence.
Mint deserves its own pot. It grows hardy and fast, which makes it perfect for beginners, but it’ll overtake everything else if given the chance.
For long-term success, I recommend perennials: mint, chives, thyme, and oregano. They’re hardier indoors and thrive with regular clipping.
- Grab basil and parsley for immediate kitchen use.
- Add chives or cilantro for variety.
- Choose one woody herb: thyme, rosemary, or oregano.
- Keep mint separate, always.
A well-stocked indoor herb garden takes weeks to establish, not months.
Choose Containers With Drainage That Roots Love
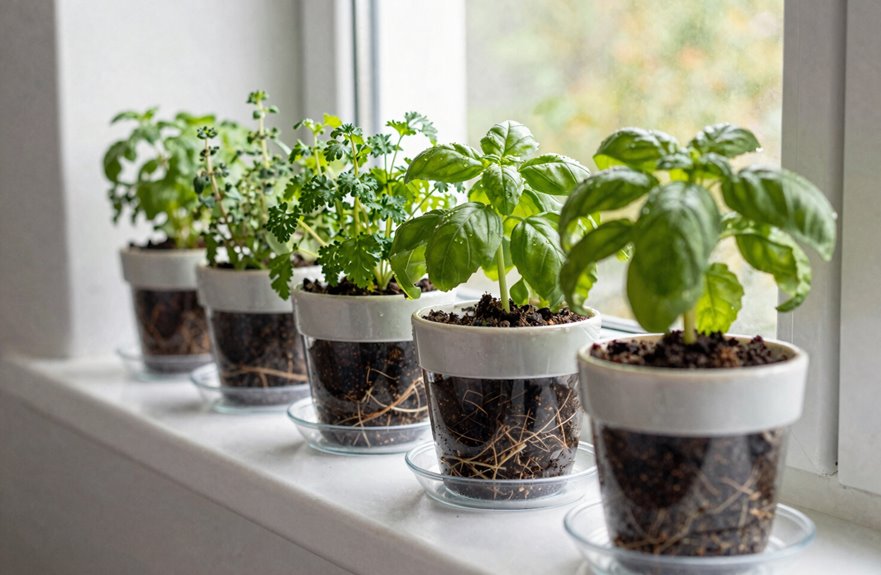
The right container can make or break your indoor herb garden before you even add soil. Indoor herb containers need proper drainage holes without exception. For shallow-rooted herbs, a pot depth of at least 6 inches supports root health without wasting soil. What to check:
- Planter materials matter. Cedar, steel, or terra cotta clay work best because they’re food-grade and safe. Avoid anything unsealed that might leach chemicals.
- Drainage testing saves trouble. Drill holes every 3-4 inches if they’re missing, then run water through to confirm soil drainage works. Skip rocks at the bottom; that’s a myth.
- Add a weed barrier. Line planting containers with cloth or a coffee filter. It keeps soil in, lets water out, and protects roots from rot.
Give Herbs 4–6 Hours of Daily Light (Natural or LED)
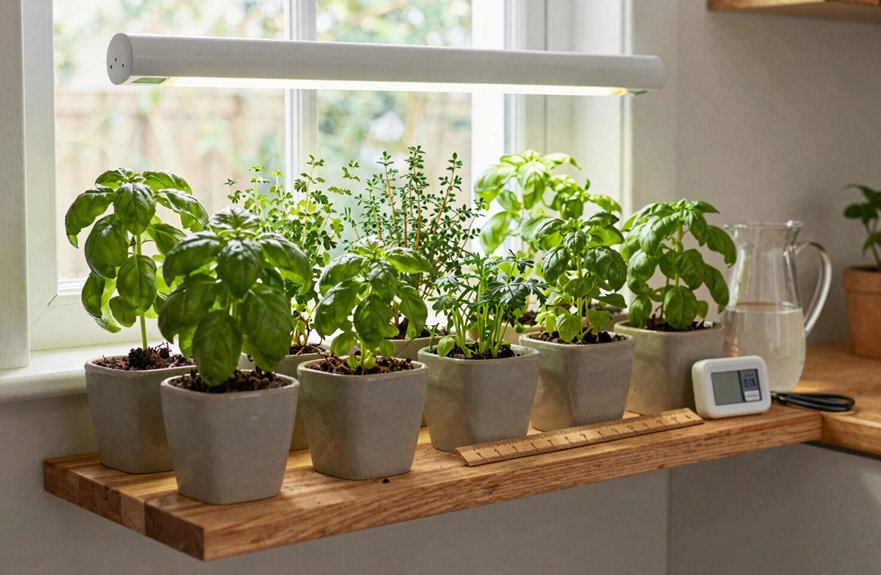
How much light do your herbs really need to thrive? Most indoor herbs want 4–6 hours of natural light daily. I place my sun-loving herbs, like basil, near south- or west-facing windows for the strongest rays. North- or east-facing windows work for gentler varieties.
When natural light falls short, I supplement with full-spectrum LED grow lights.
| Light Source | Duration | Best For |
|---|---|---|
| Natural light | 4–6 hours | Windowsill herbs |
| LED grow lights | 12–14 hours | Darker spaces |
| South/west windows | Maximum exposure | Sun-loving herbs |
| North/east windows | Filtered exposure | Shade-tolerant herbs |
| Combined approach | Flexible schedule | Year-round plant health |
I use a timer to maintain a consistent photoperiod. Watch your plants; non-leggy growth indicates you’ve achieved the right light conditions. Persistent stretching signals you need more light. Adjust your artificial light duration accordingly, and your herbs will develop properly.
Water Only When Soil Dries: The Bottom-Watering Method
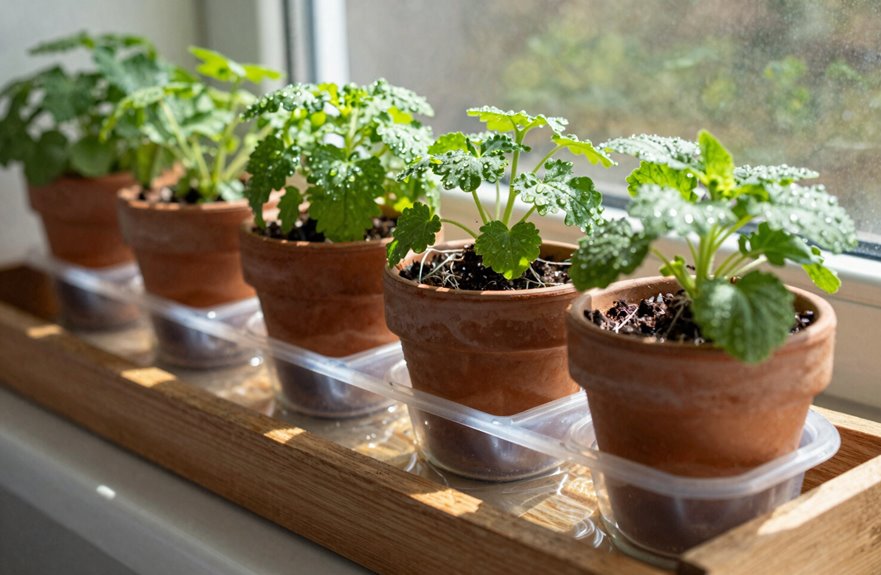
What’s the safest way to water indoor herbs without drowning them? Bottom-watering works well. This method lets your soil tell you when it needs moisture, not the other way around.
Bottom-watering lets your soil tell you when it needs moisture, not the other way around.
Here’s how to do it:
- Wait until the top inch of soil feels dry at room temperature, then place your pot in a saucer filled with water.
- Let the roots soak for about 15 minutes, watching the soil draw up what it needs through capillary action. This eliminates overwatering and guesswork.
- Remove the pot, let drainage run completely, and discard any leftover water so your roots never sit soggy.
This keeps surface moisture low, which means fewer pests and mold. Your herbs remain healthy while you maintain consistent watering practices.
Fertilize Lightly and Rotate for Even Growth
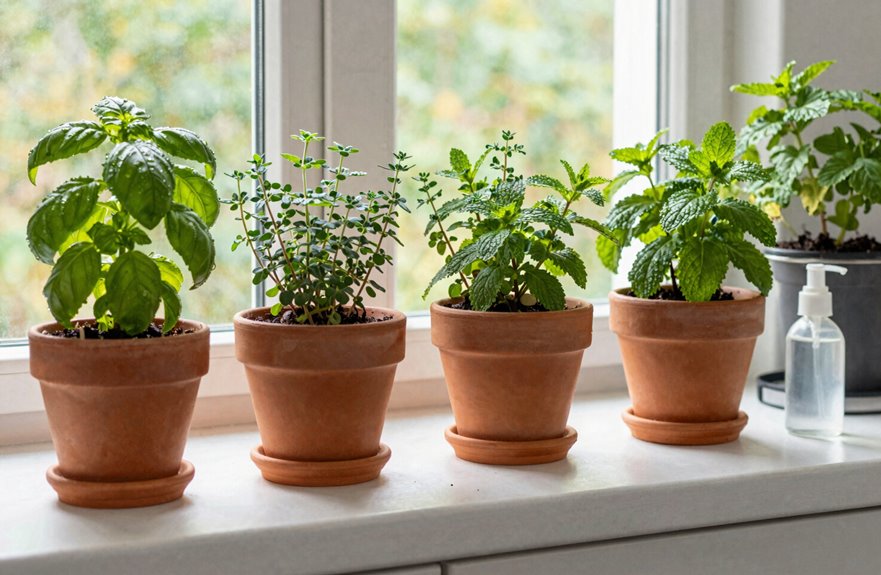
Once your watering routine feels steady, you’ll notice your herbs still need a little extra help to stay full and balanced. I fertilize lightly with slow-release organic fertilizer once monthly, or use water-soluble fertilizer when watering, to give my indoor herb garden renewable soil nutrients without overwhelming the roots.
Tender basil and cilantro need feeding more often than sturdier herbs, so I watch each plant’s response and adjust. I keep fertilizer rates low because too much reduces flavor in fresh herbs.
I rotate my pots every three to four days for even light exposure. This simple step, paired with natural sun or grow lights, prevents lopsided growth and encourages compact growth. Light rotation and modest feeding keep your indoor garden thriving.
Fix Leggy Growth, Yellow Leaves, and Other Common Problems
Even the most careful indoor gardener runs into a few hiccups, so I’ve learned to spot trouble early and fix it fast.
- Leggy growth means your herbs need more light. I move plants to a brighter spot or raise grow lights 2 inches above the tops, increasing height as they grow.
- Yellow leaves usually signal overwatering or missing nutrients. I let the top 1–2 inches of soil dry before proper watering, check soil drainage, and add fertilizer if needed.
- Mold calls for better air circulation. I use a small fan and reduce water. Slow growth indicates the need for repotting into a bigger pot. Regular pruning and harvesting keep plants bushy and strong.
Harvest Often to Keep Plants Producing
Timing your harvest makes all the difference in keeping herbs productive and flavorful. Cut herbs at the right moments and use simple techniques that encourage fuller, healthier growth. With a few straightforward steps, you’ll turn one plant into a continuous supply of fresh herbs.
Optimal Harvest Timing
When’s the best time to gather those fragrant leaves you’ve worked so hard to grow? Nailing your harvest timing makes all the difference between sparse, stringy plants and a thriving indoor oasis.
What I’ve learned about finding that perfect harvest window:
- Morning harvest – Snip leaves before 10 a.m., when volatile oils peak and flavors are strongest. Early morning harvesting captures plants at their most aromatic.
- Target the base – Cut outer and lower growth almost to the base, just above a leaf node. This pruning triggers bushier regrowth.
- Follow the one-third rule – Never take more than a third of any plant. Sustainable harvesting protects plant health and fuels year-round production.
Regular cuts prevent legginess. Keep mint and lemon balm pots separate, as they’ll overrun other plantings otherwise.
Pruning Techniques Explained
How do I keep my herbs pumping out fresh leaves month after month? Pruning isn’t just maintenance; it’s encouragement. When I harvest from the outermost branches of my basil, I’m actually triggering bushier growth.
| Tool | Technique |
|---|---|
| Clean pruners | Cut from outermost branches |
| One-third rule | Never remove more than 33% |
| Morning harvest | Best flavor and potency |
| Perennial herbs | Cut lower leaves to base |
I follow these pruning guidelines religiously. Clean pruners prevent disease spread. The one-third rule protects against shock. For perennial herbs, vigor maintenance means regular harvests, not occasional raids. I snip almost to the base, stimulating fresh branching. Plants produce more vigorously when harvested consistently and correctly.





