
I built my first arched trellis for about $30 using an 18-foot cattle panel and two 6-foot T-posts, and you can too. First, drive your T-posts 2 feet deep, notches facing inward, spaced 16 feet apart. Second, lay the panel flat with its short side down. Third, grab a partner; this part needs two people. Fourth, lift the panel together and bend it into an arch. Fifth, center it between your posts. Sixth, secure with five zip ties per post. Seventh, check that your arch is level. Eighth, plant pole beans or cucumbers 12-18 inches apart at the base. Ninth, water and watch them climb. Tenth, inspect your zip ties each spring. My arch now holds 20 pounds of beans every summer, and regular maintenance prevents damage from winter storms.
Choose Vertical Gardening for Space and Ergonomics
Why struggle with cramped rows and aching knees when you can grow up instead of out? Vertical gardening transforms your space by growing upward, not outward. After years of bending and stooping through traditional beds, this method offers real relief.
Grow up instead of out—vertical gardening transforms your space and saves your back from years of bending and stooping.
- Expand your usable area immediately. Vertical gardening lets you plant more in less square footage.
- Protect your body. Harvesting at waist height eliminates back strain and knee pain.
- Choose versatile supports. A sturdy trellis handles beans, cucumbers, tomatoes, and climbing flowers; everything stays accessible for pruning and picking.
- Consider cattle panels for serious structures. These 18-foot metal grids, paired with 6-foot T-posts, create durable arches that last multiple seasons.
- Follow proven spacing guides for pole beans, scarlet runner beans, and cucumbers to maximize your vertical harvest.
Budget $35 for a Complete Arched Trellis
How much should you really spend on a garden structure that’ll last for years. We build a sturdy arched trellis for just $30–$35. No fancy tools, no contractor bills.
What you’ll need: one 18-foot cattle panel, two 6-foot T-posts, and about 10 zip ties. This budget-friendly design creates a beautiful tunnel for climbing vegetables and flowers.
We’re using materials found at any farm supply store. The cattle panel gives us that perfect arch shape; it’s strong enough for heavy squash and delicate enough for sweet peas.
Two people make assembly easier, though one person can manage with some patience. Drive your first T-post with notches facing inward, center the panel, and secure with five or six zip ties per post. This approach lets gardeners build garden structures affordably and efficiently.
Gather Supplies for Your Arched Cattle Panel Trellis
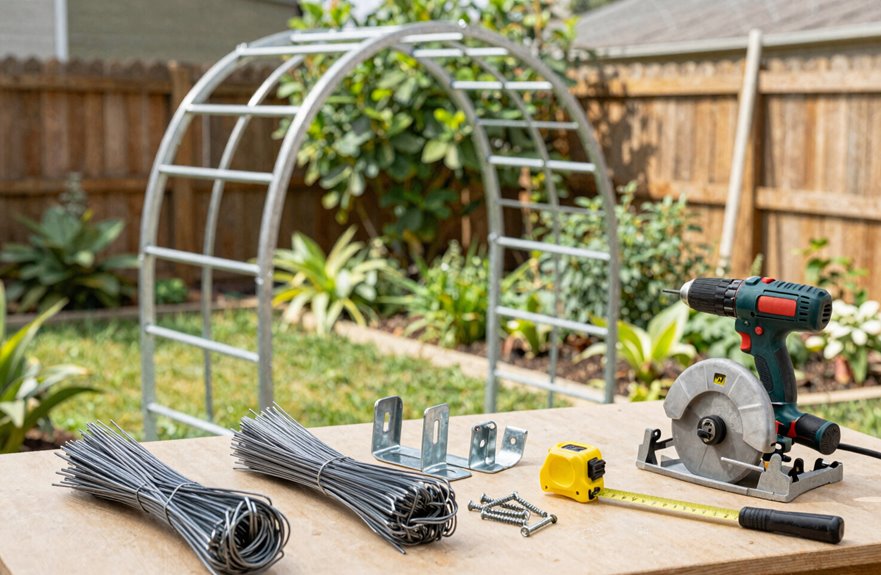
Before I drive the first post, I make sure I’ve got everything within arm’s reach. For this cattle panel trellis, I need three things: an 18-foot cattle panel, two 6-foot T-posts, and about 10 medium-length zip ties.
If you’re working with raised beds, these measurements matter. The panel’s short sides rest at ground level, spanning your beds to create that perfect arch. I check that my panel’s interior notches face inward. This detail shapes the entire build.
My shopping list: around $30 for the panel, $5–$6 per T-post, and a cheap pack of 20 zip ties. Total investment is roughly $30–$35. I grab weather-resistant panels when I can find them, since they’ll last through winter without buckling under snow.
With supplies ready, you can proceed to assembly.
Assemble Your Arched Trellis With Two People
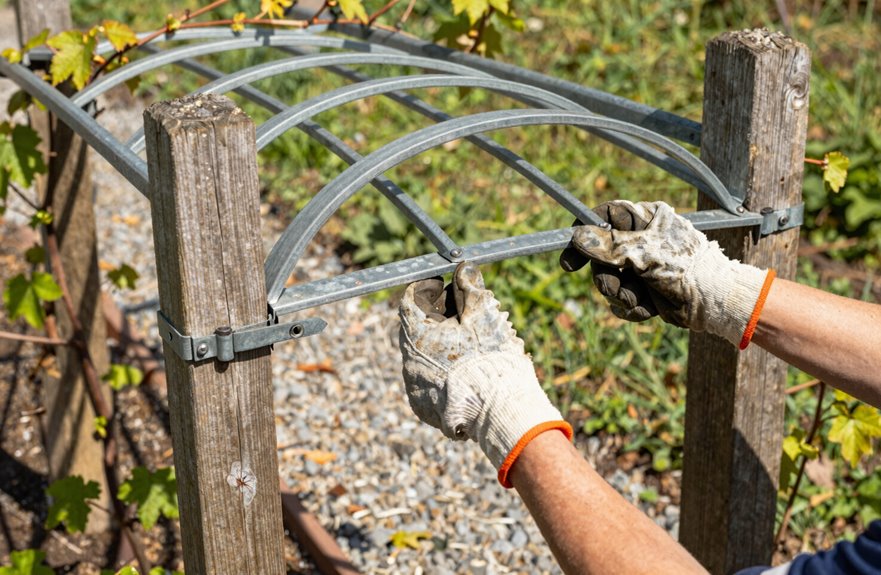
Before bending these heavy cattle panels into shape, walk through the safety steps and positioning tricks that keep this build smooth. Wear thick gloves and sturdy boots, since those cut wire ends can slice skin. Check that your partner is ready before lifting. Start by driving the first T-post with its notches inward, then lay the panel’s short side flat so you can raise it together without straining your backs.
Safety First Precautions
| Role | Task |
|---|---|
| Person One | Guides short panel edge to ground |
| Person Two | Drives first T-post, notches inward |
| Together | Lift panel up post side |
| Person One | Holds opposite end steady |
| Person Two | Secures with five to six zip ties |
Center your trellis between beds and check tension monthly. Good weather stability prevents buckling during storms. Work together and stay safe.
Panel Positioning Techniques
How do two people turn a rigid cattle panel into a graceful garden arch? Start together, driving a T-post with notches facing inward. Lift one short side of the 18-foot panel to the first post while your partner guides the opposite end. This coordination of hands makes the work possible.
2. Center the panel between posts, securing each with five to six zip ties. Check that the top crossing sits level. Lopsided arches compromise both function and aesthetics.
3. Tighten as you go, preventing sag before it starts.
4. Finally, space vertical supports and diagonals for even tension. Your trellis now stands ready for peppers, beans, and cucumbers to climb. The structure will support heavy fruiting loads when properly braced.
Best Climbing Plants for Arched Trellises
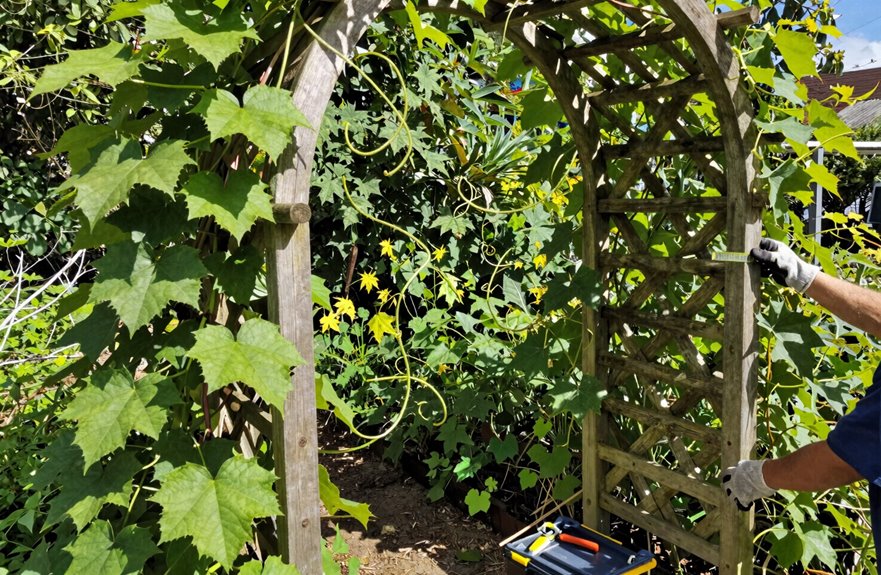
Several climbing plants transform an arched trellis from a simple garden structure into a productive, space-saving growing system. Start with climbing beans: Scarlet Runners, Limas, and Pole Beans. These varieties grab twine quickly and hang within easy picking height. Beans need 6-8 feet of height and 4-foot spacing between arches.
Cucumbers love arched trellises. Pickling and slicing types both climb, and the arch shape keeps fruit straight and clean. Small melons and winter squash can grow overhead, but only when you build supports with 2-inch lumber and 24-inch widths. Anything less will snap under the weight.
Noodle beans and vining tomatoes complete a vertical growing plan. Match your frame to each crop’s spread to maximize harvest per square foot.
Position Your Trellis for Sunlight and Access
Once you’ve built your trellis, find the perfect spot to set it up.
- Check your trellis orientation against the sun. Place A-frame or arched models where morning sun hits one side and afternoon sun hits the other. This balances sunlight exposure for even growth.
- Align the broad side east to west. This catches more rays and provides better garden access for picking beans and cucumbers.
- Position at bed edges. You’ll keep pathways clear while giving peas vertical room to climb.
- Watch shade patterns. Adjust placement so structures or trees don’t block peak hours, which is critical in places like New England.
- Ensure reach from multiple sides. You’ll prune, tie, and harvest without stretching.
This placement strategy keeps your plants thriving while maintaining clear movement through your garden.
Build Raised Cedar Beds as a Complementary Project
I want to add raised cedar beds alongside my trellis, since they’ll make gardening easier and prettier. I’ll build mine three feet wide and ten feet long, using 4×4 corner stakes and quality cedar that’ll last for years. These beds let me grow beans, strawberries, and tomatoes at a comfortable height while matching that clean white fence look I’m after.
Cedar Bed Benefits
Why settle for flat ground when raised cedar beds can transform your garden’s potential. High-quality cedar lasts for years while improving soil conditions dramatically. When built using 4×4 wooden corner stakes, ideal dimensions are 3 feet wide, 10 feet long, and 12 inches high, which accommodates proper root development. The trellis you’ll build pairs well with these cedar beds, providing necessary support for climbing plants. After filling beds with quality soil, stronger growth appears within weeks. A decorative wood pyramid post cap at the center 4×4 adds visual appeal, and white garden elements create a cohesive design. These beds serve as functional growing spaces with organized, thriving plants.
Assembly Essentials
Building raised cedar beds starts with gathering your materials and visualizing the finished piece in your garden. I measure and cut cedar boards for a 3-foot by 10-foot frame, 12 inches high, securing corners with 4×4 stakes driven deep for stability. These dimensions match my trellis ideas perfectly, allowing beans and tomatoes to climb while strawberries spread below.
I fill each bed with rich, healthy soil so plants thrive in this controlled space. My garden trellises complete the setup, their white frames echoing my fence and arbor for a soft, continuous look throughout the garden.
When I install twine and tie-downs, I’m connecting vertical growth to horizontal bounty. Come fall, I clean beds thoroughly. This routine keeps my garden performing well season after season.
Build a Free Trellis From Branches and Twine
How do you build a sturdy garden trellis without spending a dime? I’ll show you how we create something beautiful from what nature already gives us.
First, gather branches from crepe myrtle or similar-sized wood. Push two sturdy branches into the soil, crossing them to form your base. Then lay a long branch down the center, connecting it to your crossing pairs with wire and tightening everything with twine for stability.
Next, space your cross-pair connections about 18 inches apart along the length. Add horizontal bars roughly 12–18 inches from the top to strengthen the whole structure. Finally, tie all joints with twine, reinforcing with wire between supports if you want it to last longer.
Start simple, then build up.
Plan Trellis Crops for Continuous Harvests
Where should you start when you want fresh food all season long? Stagger your vines along one trellis to stretch your picking windows.
- Space your crops smartly. Plant pole beans, cucumbers, and peas 12–18 inches apart on an arched or A-frame trellis. This staggers ripening times for continuous harvests.
- Add center support. Nail a horizontal bar across middle posts for extra stability. Beans get heavy as they mature.
- Match height to sun. Put tall growers like pole beans in the center, shorter cucumbers climbing outward. Everyone gets light.
- Track what works. Jot notes on which varieties thrived and whether your frame held through storms. In year two, build sturdier if needed.
Your trellis becomes a year-round community of climbers.
Winterize and Reuse Your Trellis Annually
I keep my cattle panels up through winter to skip the hassle of yearly reassembly, but I always clear dead vines and debris each fall to protect my soil. Come spring, I check that my five or six zip ties per T-post are still tight and that the panel stays centered so nothing sags under snow or wind. With a quick inspection and maybe a few fresh ties, I’m planting again in under an hour.
Annual Trellis Maintenance
Every autumn, I take about 30 minutes to walk through my garden and decide which trellises stay put through winter and which need a gentle takedown. This annual trellis maintenance keeps my structures solid and prevents costly repairs in spring.
- Inspect all connections. I check zip ties and wire for rust or brittleness, replacing anything that looks weak.
- Secure the trellis firmly. I wiggle each post and drive stakes deeper if frost has loosened them, usually 6 to 8 inches deeper.
- Weatherproofing matters. For wooden elements, I brush on a thin coat of exterior sealant. Metal parts get a quick spray of rust inhibitor.
- Note repairs now. I jot down which cattle panels need new wire or which teepee legs have split so I’m ready when growth returns.
Spring Reassembly Tips
Come spring, I’m ready to get my trellises back in working order. I start my spring reassembly by walking my garden beds and checking every structure that weathered the cold months.
Here’s my three-step routine:
- I inspect all fasteners, zip ties, wire, and twine, for brittleness, swapping out anything that cracked or weakened.
- I re-center my panels and secure each post with five to six fresh zip ties, compensating for winter contraction and wind loosening.
- I clear dead vines, add two inches of compost, and adjust any wobbly teepees or A-frames based on last season’s lessons.
This yearly rhythm keeps my trellis systems solid and my soil primed for the growing season.





