
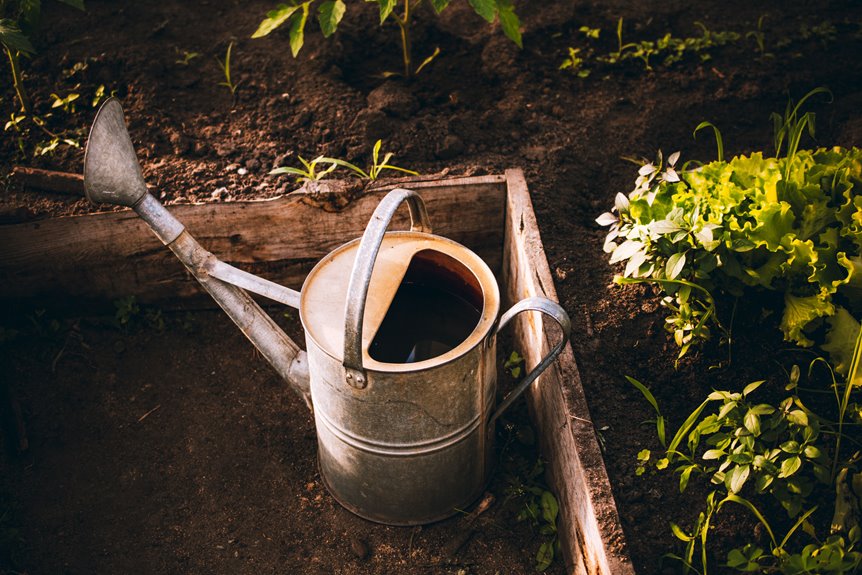
I’ve used raised bed soil in pots for years, and it works well when you know the limits.
First, choose large planters, 24 inches wide or more, that sit on the ground since they mimic raised bed environments better than small containers.
Second, lighten the soil by mixing one part perlite or coconut coir to every three parts soil. This prevents compaction and improves drainage.
Third, add organic fertilizer every 5–6 weeks because raised bed soil needs regular feeding unlike potting mix.
Fourth, ensure your pot has drainage holes and at least 6–8 inches of depth for vegetables and herbs.
Avoid using raised bed soil in pots under 12 inches, as it compacts easily and causes root rot.
Fall amendments with compost or leaves keep the soil healthy for next season.
These practices prevent costly mistakes and maximize container productivity.
When Raised Bed Soil Works in Pots (and When It Doesn’t)
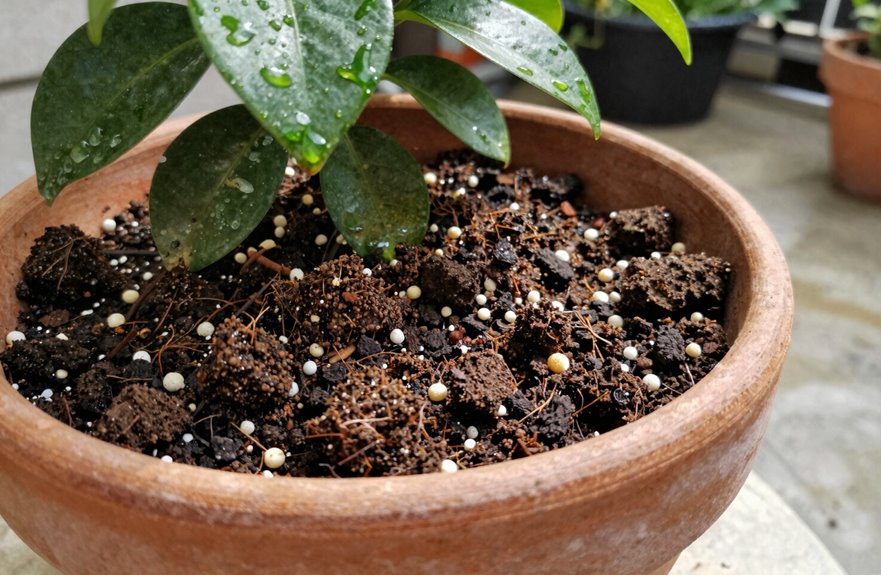
Why do gardeners sometimes reach for raised bed soil when filling pots? I’ve done it myself when I’m out of potting mix and need to get plants settled fast.
Why gardeners sometimes reach for raised bed soil when filling pots: out of potting mix and need to get plants settled fast.
It actually works in these situations:
- You’re filling large planters, 24 inches wide or more, that sit on the ground. The extra volume mimics a raised bed environment.
- You lighten the soil properly. Mix in one part perlite or coconut coir to every three parts raised bed soil. This prevents the compaction that suffocates roots in tight spaces.
- You stay on top of feeding. Unlike potting mix, raised bed soil needs organic fertilizer every 5–6 weeks for vegetables.
Avoid this approach for small pots under 12 inches. The soil compacts, water pools, and roots rot. For those, use proper potting mix instead.
Raised Bed Soil vs. Potting Mix: Key Differences
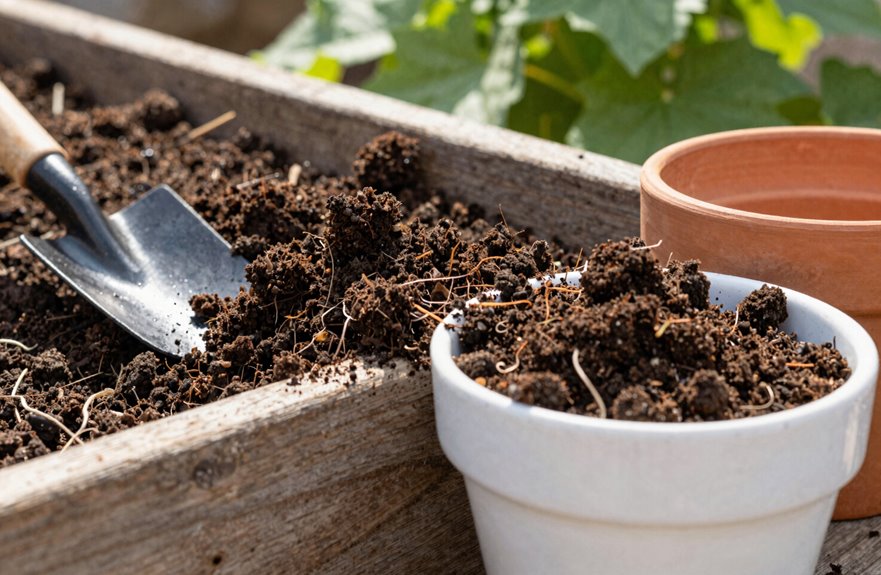
I’ve learned the hard way that these two products aren’t interchangeable. Let me break down what actually sets them apart.
Raised bed soil comes packed with organic nutrients: poultry meal, kelp meal, and worm castings. It works straight from the bag, but my vegetables need extra fertilizer every 5–6 weeks. I also amend it each fall with compost, leaves, or straw to keep things thriving.
Potting mix handles itself differently. It’s a complete, self-contained system built for containers, with balanced pH and built-in air circulation. It requires less ongoing maintenance than raised bed soil.
Here’s my rule now: raised bed soil serves larger planters and in-ground beds, while potting mix belongs in standard pots. Matching the medium to your project prevents costly mistakes and wasted materials.
Pick the Right Pot Depth and Width
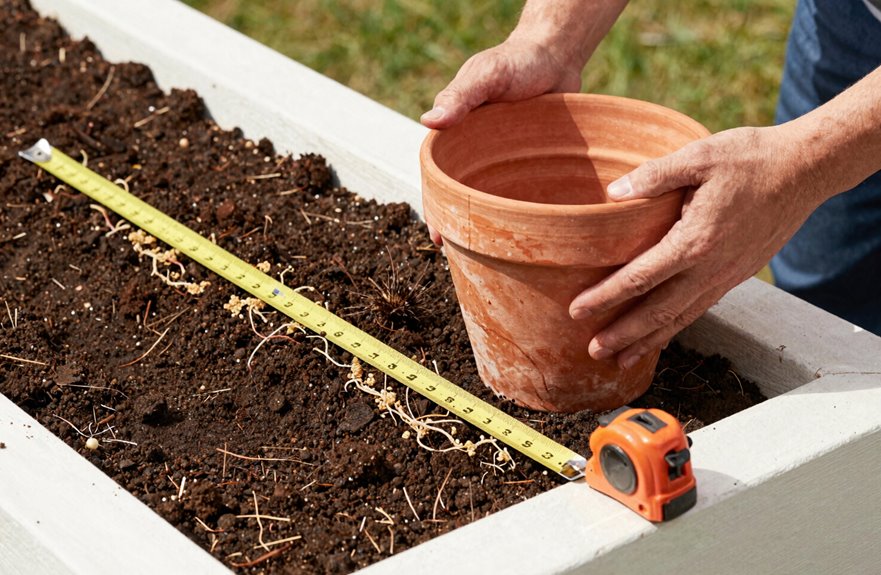
How deep should your pot actually be? Match depth to mature root size, leaving 1–2 inches beyond the root ball so roots spread freely. For vegetables and herbs, use 6–8 inch minimum depth, as this supports healthy rooting and helps drainage work properly.
Match pot depth to mature root size, leaving 1–2 inches of growing room for healthy root spread and proper drainage.
Let’s break this down together:
- Measure your plant’s mature root ball first, then add 1–2 inches for growing room
- Use 6–8 inch depth minimum for vegetables and herbs to balance rooting space and drainage
- Pick wider pots for stability and root spread, but keep weight movable
- Pair raised bed soil with containers that have drainage holes already built in
- Match pot width to mature plant width; skip oversized depth for small plants to avoid soggy soil
Width matters too. Balance surface area with manageable weight, ensuring your plants thrive without waterlogged roots.
Drainage Fixes for Raised Bed Soil in Pots
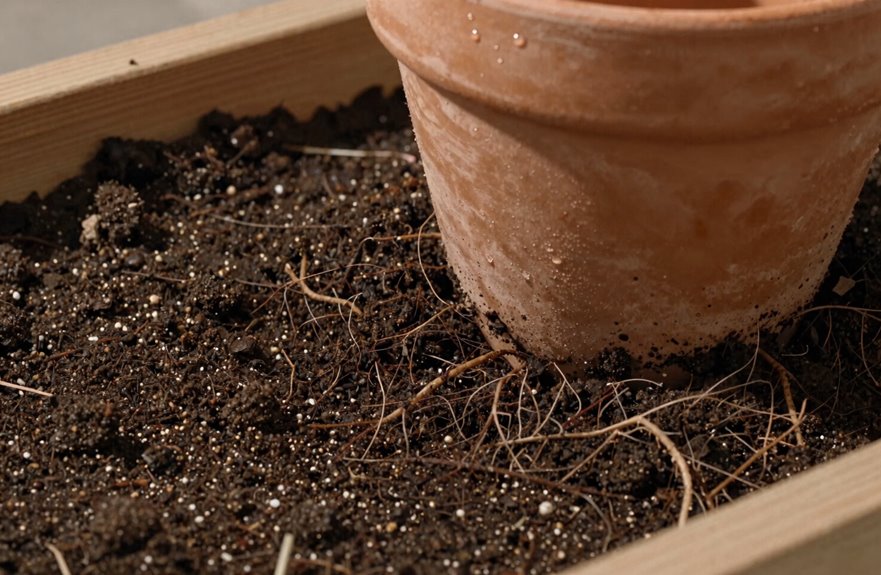
I know raised bed soil can get heavy and packed in pots, so I’m going to show you two reliable fixes. First, I’ll explain how mixing in perlite, about one part perlite to three parts soil, creates air pockets that keep water moving instead of pooling around roots. Then I’ll cover bottom aeration tricks, like adding a gravel layer or mesh screen above your drainage holes, so excess water actually exits the container.
Perlite Addition
Why does water sometimes sit too long in your pots when you’re using raised bed soil? Raised bed mix often packs too densely in containers, suffocating roots and trapping moisture. Perlite solves this problem.
Here’s what perlite does for your potted plants:
- Creates tiny air pockets that break up dense soil
- Prevents root rot by stopping waterlogged conditions
- Allows faster drying between waterings
- Supports deeper root penetration in tight spaces
- Maintains nutrients better than plain drainage fixes
I mix perlite into my raised bed soil at a 1:1 or 1:2 ratio, perlite to soil. This gives me the drainage I need without stripping away the good stuff my plants crave. It’s simple, affordable, and effective. Your roots will benefit from improved aeration and reduced moisture stress.
Bottom Aeration
Perlite loosens the mix from the inside out, but drainage starts at the bottom. I’ve fixed soggy containers by layering coarse materials before adding my raised bed soil.
| What I Feel | What I Do |
|---|---|
| Dread seeing water pool | Add 1 inch gravel or broken pottery |
| Worry roots will drown | Mix 30% perlite into bottom third |
| Relief when it flows | Ensure holes are unblocked |
| Hope for healthy growth | Top with coconut coir blend |
| Pride in my plants | Re-amend each spring |
I combine coconut coir with perlite to lighten my raised bed soil without sacrificing moisture balance. I check drainage holes twice yearly, clearing debris. When settling occurs, I work in fresh organic matter. Containers with proper aeration prevent root rot, and regular maintenance ensures consistent plant performance.
Add Perlite and Coir to Lighten Your Mix
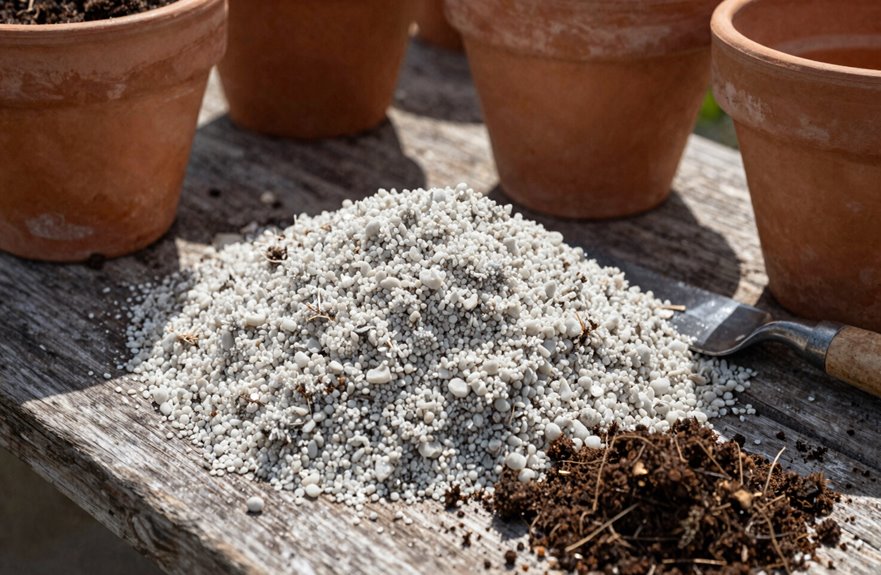
How do we keep raised bed soil from turning into a brick inside our pots. We lighten it with perlite and coir.
I mix equal parts raised bed soil, perlite, and coconut coir to create breathing room for roots. Perlite creates tiny air pockets that stop compaction, while coir holds moisture without drowning plants. This combo delivers specific benefits:
- Perlite opens airways so roots don’t suffocate
- Coir softens the mix and keeps water available
- Equal parts balance drainage and retention
- Roots grow easier in fluffy, workable soil
- Containers mimic healthy garden beds
This blend transforms heavy soil into a medium where roots thrive. The compaction problem disappears entirely.
Calculate Soil Volume for Any Container Size
Where do I start when I don’t want to buy too much or too little soil? I measure the inside of my pot, not the outside rim.
First, I convert inches to feet. I multiply width by length by desired soil depth. That gives me cubic feet. For my 18-inch square tub with 12 inches of soil, that’s 1.5 × 1.5 × 1 = 2.25 cubic feet. I multiply by 28.316 if I need liters.
Second, I add 10–20% extra. Raised bed soil settles over time, so this prevents plants from sinking.
Third, for multiple pots, I calculate each soil volume separately, then add them up.
Measuring carefully ensures you buy the correct amount on your first purchase.
Best First Plants for Raised Bed Soil Containers
Why start with tricky plants when I’m just testing my soil? I pick forgiving starters that let me learn what my raised bed soil can do.
Go-to list:
- Cardinal flowers, sedges, and monkshood for damp corners
- Rosemary and lavender for that Mediterranean vibe
- Russian sage, coreopsis, and false indigo when I forget to water
- Big bluestem for structure and height
- Sedums and echeverias for sunny, dry spots
I keep my pH between 5.8 and 7.5, and I feed edibles every 5–6 weeks with organic stuff. Come fall, I mix in compost to keep my raised bed soil rich. These plants build my confidence and expand my network of fellow growers.
Watering Pots Filled With Raised Bed Soil
When I first filled my pots with raised bed soil, I learned fast that my old watering routine wasn’t going to work. Without proper soil amendments, the mix stayed too dense, and water pooled on top instead of sinking in.
Here’s what works best:
- Amend first. I blend in one part perlite or coconut coir to every three parts soil. This lightens the mix so water moves through evenly.
- Check daily. I stick my finger two inches down. If it feels dry, I water until it drains from the bottom.
- Watch for uneven spots. Dense pockets stay wet longer; I aerate gently with a fork if I notice this.
Since adding worm castings and compost as soil amendments, my containers hold moisture more predictably. Raised bed soil behaves differently than standard potting mix, so close monitoring prevents overwatering and root rot.
Fertilizing Schedule for Heavy-Feeding Containers
Because my tomatoes started looking pale and hungry after just six weeks, I realized raised bed soil in pots needs more frequent feeding than I’d planned. This is how I keep my heavy-feeding containers thriving:
- I add organic matter through compost every 5–6 weeks as my base fertilizing routine
- I switch to liquid Fish & Kelp every 2–3 weeks when my plants need quicker nutrient boosts
- I grab tomato-specific fertilizers to match what my vegetables actually crave
- I watch for yellowing leaves, my signal to bump up nitrogen immediately
- I reapply compost periodically since container organic matter depletes faster than in-ground beds
This schedule keeps my pots productive without guessing. My plants stay green, and I avoid nutrient deficiencies through consistent monitoring.
Signs Your Container Soil Is Compacting
I notice when my container soil starts feeling brick-hard and my plants’ growth slows to a crawl. These are the first heavy texture indicators that compaction is setting in. Watch for water that sits on top instead of soaking in, or leaves turning yellow from oxygen deprivation symptoms, because roots can’t breathe when air spaces collapse. You can test your soil’s density with a simple finger press to catch compaction before it stunts your plants.
Heavy Texture Indicators
How can you tell if your container soil is turning into a brick? Compaction develops gradually, and learning to spot early signs prevents root damage.
Watch for these heavy texture indicators:
- Press your fist into the mix; it feels dense and wad-like, not crumbly
- Spot visible hardening or crust forming on the surface
- Notice water pooling instead of draining through after you water
- Feel soil staying sticky and clumping, resisting when you try to break it apart
- See roots spiraling or pressing against walls, staying near the surface
Bottom layers compact first, blocking deeper root exploration. Check by pushing a finger in; resistance indicates compaction has begun. Repeated watering without adding coarse material accelerates the problem. Identifying these signs early allows you to restore soil structure before roots suffer permanent damage.
Oxygen Deprivation Symptoms
Spotting oxygen starvation in your plants often shows up before the soil looks ruined on top. Wilting leaves even when you’ve watered recently indicate roots can’t breathe.
Your plants show they’re struggling in three clear ways:
- Growth slows down, and leaves turn yellow for no obvious reason.
- The surface feels hard as a rock when you poke it with your finger.
- Roots look pale or ashy instead of white and firm when you gently lift a plant.
Raised bed mix can compact faster in pots than in ground beds. Water pools at the bottom, creating a “soggy-bottom” effect where roots drown. When you dig in and see no air pockets, add perlite or coconut coir before rot sets in.
Check and Fix Soil pH Without a Chemistry Kit
Why guess when your plants can tell you something’s wrong? Yellow leaves or stunted growth often signal pH trouble in containers. pH testing doesn’t require fancy lab equipment, and growers at every skill level can master it with test strips or a simple meter.
Here’s my straightforward approach:
- Water your soil first, then test; dry soil gives false readings
- Dip pH test strips into the runoff, or insert a home meter probe
- Aim for 5.8–7.5, the sweet spot for most raised bed mixes
- Add lime to raise pH, or sulfur to lower it, a tablespoon at a time
- Retest after one week, watching how your plants respond
Container soils drift faster than garden beds, so I check monthly. Small adjustments prevent big headaches, and your plants will develop vigorous, green growth.
DIY Raised Bed Soil Mixes vs. Store Bags for Pots
Where exactly should you turn when filling your containers: your own mixing station or the garden center aisle? I’ve tried both paths, and each has its place in our growing community.
- DIY blending gives you control. I mix raised bed soil with perlite or coconut coir plus vermiculite, about one-third amendment to two-thirds soil. This lightens the weight and opens air pockets roots need.
- Store bags save time. Grab raised bed soil off the shelf, but know it’s often dense and nutrient-heavy for pots. I prefer adding handfuls of coarse material before planting.
- Feeding differs. Bagged potting mix contains complete nutrition; raised bed soil needs supplemental fertilizer. I fertilize every 5-6 weeks for vegetables and monitor for soil compaction.
Choose your method, observe plant growth patterns, and adjust your approach based on what you observe.
Root Health Signs to Watch For in Container Plants
Once I’ve settled on my soil mix, I look downward because the real story lives under the surface. In containers where roots can’t roam freely, I run through five regular checks to keep them breathing.
- I check root color and structure. Healthy roots show white or light tan coloring with even distribution, while dark, slimy patches indicate rot from poor aeration.
- I examine root mass density. Thick, evenly branched systems indicate strength, but sparse or circling roots signal that the pot is too small.
- I watch for toppling or stunted growth. When roots can’t hold the plant up, drooping occurs even with wet soil.
- I spot foliar clues. Yellowing leaves or early leaf drop often trace back to struggling roots below.
- I test drainage fast. Waterlogged soil suffocates roots, so I ensure holes flow freely and my mix stays porous.
Reusing Raised Bed Soil in Future Seasons
When I look at my raised bed soil at season’s end, I start by checking its condition: how it smells, whether it’s clumping, and if it’s lost that loose, crumbly feel. I then refresh the nutrient content by mixing in one to two inches of compost, since those original organic fertilizers like poultry meal and kelp get used up after months of growing. Finally, I address compaction by adding perlite or coconut coir (about 20% by volume) if water pools on top instead of soaking through. This improves drainage and air circulation for healthy root development in the next season.
Assessing Soil Condition
How do I know if my raised bed soil is still good for another round? I start by checking what my soil in raised beds is telling me. Reusing it takes some detective work, but it’s worth it.
Here’s my quick assessment checklist:
- I squeeze a handful. If it crumbles easily, structure’s good; if it’s rock-hard, I’ve got compaction trouble.
- I check drainage by watering a small portion. Puddles mean I need amendments.
- I test pH with a simple kit, aiming for that 5.8–7.5 sweet spot.
- I dig down to see if roots grew well last season or struggled against dense soil.
- I measure remaining depth; less than 6 inches means I’m adding material.
These five checks show me exactly where my soil stands before potting time.
Refreshing Nutrient Content
I’ve figured out whether my soil’s worth keeping. Now it’s time to feed it. I refresh my organic soil by mixing in compost and organic matter each fall, restoring fertility before spring planting. This simple step rebuilds what my hungry vegetables took out.
| Amendment | When to Apply | Amount |
|---|---|---|
| Compost | Fall | 2–3 inches |
| Fish & kelp liquid | Every 2–3 weeks | Per label |
| Organic fertilizer | As needed | Per crop needs |
I test pH too, aiming for 5.8–7.5. If it’s drifted, I adjust before sowing. For edibles, I add nutrients every 5–6 weeks. This routine keeps my organic soil productive season after season. Consistent soil management builds long-term fertility and reliable harvests.
Preventing Compaction Issues
Before I plant again, I need to fix what last season left behind. When I reuse soil in raised beds for pots, compaction sneaks in as roots settle and air pockets collapse. I keep things loose and welcoming for new growth through these steps:
- I turn the soil lightly with a fork to break up clumps and restore breathing room
- I mix in one part compost to three parts existing soil for fresh texture
- I add a handful of perlite or coconut coir per gallon to boost drainage
- I blend amendments throughout rather than layering heavy stuff on top
- I check drainage yearly, watching for slow water or stunted roots
Properly amended soil maintains structure and drainage across multiple growing seasons.





