
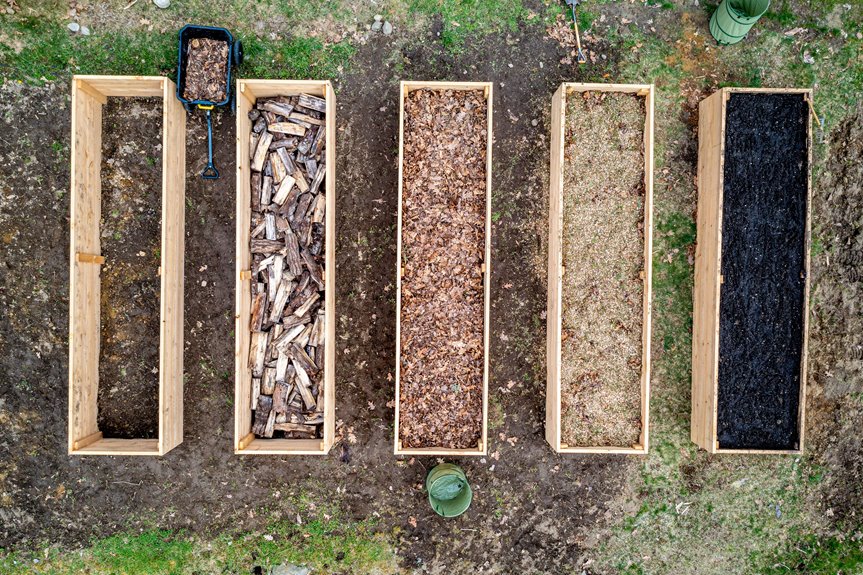
I blend one-third native soil with two-thirds amendments to keep costs down and build healthy beds. First, I test my dirt with a squeeze or jar test to see what I’m working with. Then I mix in 30% compost and 20% coarse sand if it’s clay-heavy, or add peat and vermiculite for sandy spots. Unamended soil packs tight and drowns roots, so this step is essential.
Before planting, I check that the texture crumbles, not clumps. Each season, I top-dress with 2-3 inches of fresh compost to keep everything loose and fertile. Native soil, when properly amended, provides a cost-effective foundation for productive raised beds.
Yes, Native Soil Works: But Only With These Fixes
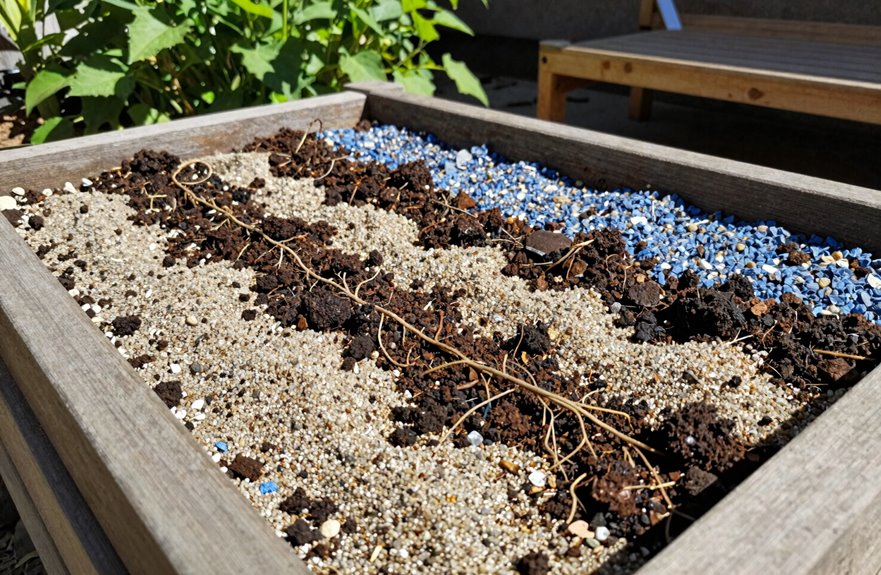
Why spend a fortune replacing soil you already own? In-ground soil works in raised beds after proper fixes.
First, test your native dirt using the Squeeze Test. If it clumps tight and stays wet, it needs amendments for better drainage and root penetration.
Test your native dirt with the Squeeze Test: clumps that stay tight and wet need amendments for drainage and root penetration.
Second, mix thoroughly at the start. Blend your in-ground soil with compost and organic matter, aiming for roughly 30% organic material by volume, about 5% by weight. Add peat moss or coconut coir and a touch of vermiculite to lighten heavy texture.
Finally, build your base right the first time. One comprehensive mix prevents the need for patchwork fixes later.
Your native soil belongs in your garden. With these amendments, you can transform backyard dirt into thriving raised beds without significant expense.
Why Your Dirt Costs Less Than Bagged Mix
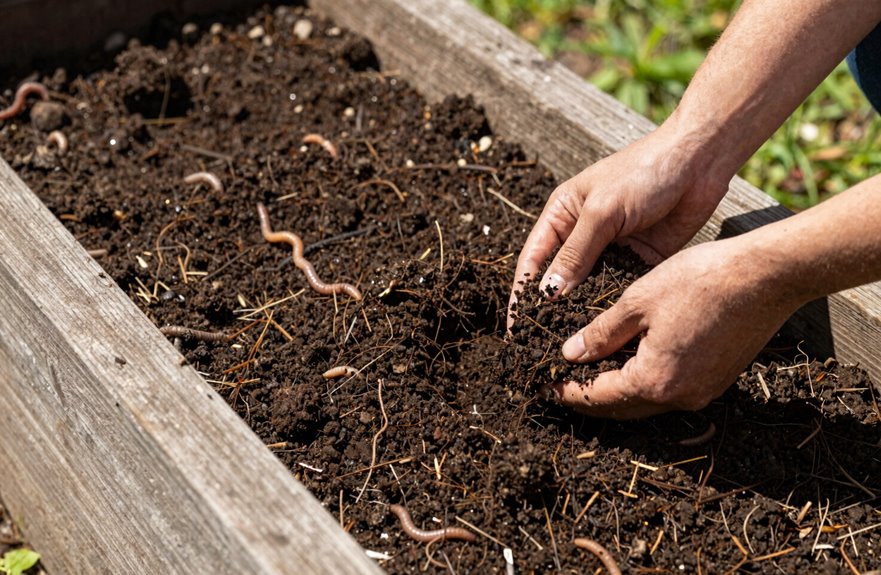
When I started building raised beds, I nearly emptied my wallet on bagged soil until I realized the dirt already sitting in my yard could do the same job for a fraction of the cost.
Here’s why in-ground soil saves you money:
- Bagged mix runs $5–$10 per cubic foot, while your native dirt is free. For a 4×8 foot bed that’s 12 inches deep, you’d need 32 cubic feet. That’s $160–$320 in bags versus zero dollars from your yard.
- I blend my in-ground soil with last year’s raised bed dirt to repurpose what I’ve already got. This stretches my resources further.
- Heavy native soil needs help, though. I add 2–3 inches of organic matter, such as compost, aged manure, or leaf mold, to improve drainage and structure. Without it, water sits and roots struggle.
Start with what you’ve got, then build it better.
Test Your Soil Type: Squeeze, Jar, or Drainage Check
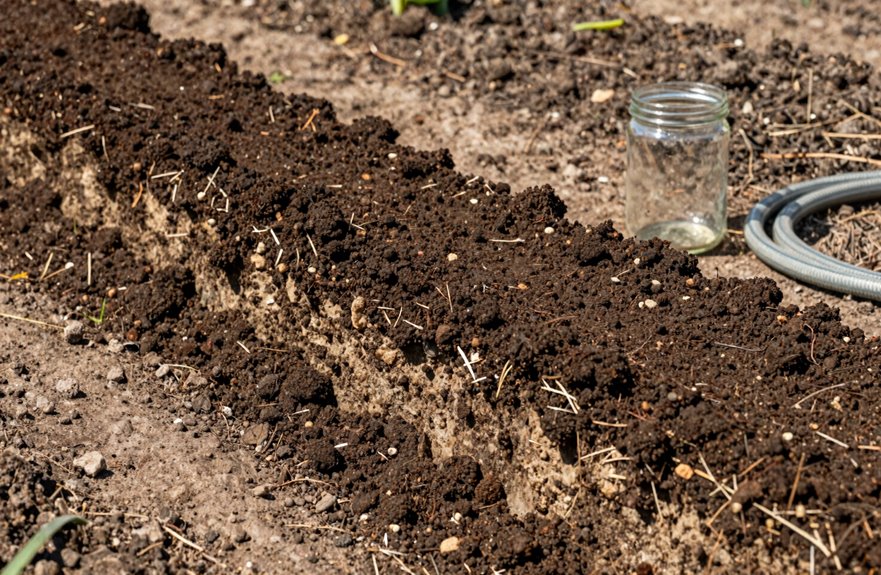
Before I mix my in-ground soil into raised beds, I run two quick tests to know what I’m working with. First, I’ll grab a handful of moist soil and squeeze it tight. If it holds together for a moment then crumbles when I poke it, I’ve got decent texture. If it stays in a sticky ball, I’m dealing with heavy clay that’ll need extra help. For the jar test, I fill a clear quart jar two-thirds with soil, add water to the top, shake hard for a minute, and let it settle overnight. This reveals exactly how much sand, silt, and clay are present in distinct layers.
Squeeze Test Method
How do you know if your native soil is up for the job? Grab a handful of damp earth and perform the Squeeze Test. Firm pressure reveals everything about soil texture.
| What I Feel | What It Means |
|---|---|
| Holds shape, then crumbles | Loamy goodness—mix right in |
| Won’t hold together | Too sandy—needs organic matter |
| Stiff, sticky ball | Clay-heavy—definitely amend |
Dark brown color with an earthy smell indicates decent soil conditions. Very sandy or stubborn clay soils create drainage problems, so work in compost until reaching roughly 5% organic matter. This quick check determines whether native soil works in your raised bed blend or if you need to source better components for healthy root development.
Jar Test Analysis
The squeeze test told me a lot, but I wanted hard numbers to work with. The jar test provides those numbers.
Here’s how I do it: I fill a quart jar two-thirds with my in-ground soil, add water to the top, and shake hard for a minute. Then I wait. After one minute, sand settles to the bottom. After two hours, silt forms the middle layer. Clay takes days to settle on top.
I measure each layer’s height and divide by the total soil height to get percentages. This reveals my true soil texture, whether I’m dealing with 40% clay or 70% sand.
Those percentages matter because they tell me exactly which amendments I need. Heavy clay requires compost and coarse sand. Sandy soil needs peat and vermiculite. The jar test eliminates guesswork when building soil that supports plant growth.
Don’t Plant in Unamended Garden Soil
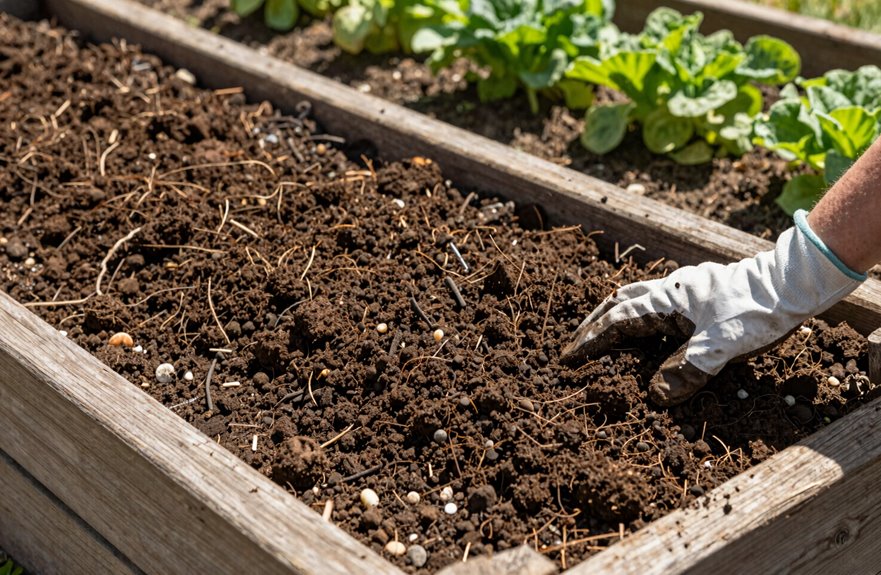
I learned this the hard way: when I dumped straight backyard dirt into my new raised bed, the tomatoes sulked for weeks because that heavy soil turned into a brick. Unamended in-ground soil packs tight around roots, trapping water until your plants rot at the base or gasp for air they can’t reach. Before you plant anything, fluff that dirt with generous compost, ideally at a 1:1 ratio, so water drains in about 10 seconds rather than pooling like a bathtub.
Compaction Risks
Why risk your plants’ health from start? I learned this lesson the hard way. When I used heavy in-ground soil straight in my raised beds, compaction crushed my carrots.
In-ground soil weighs more than fluffy bed mix. Without amendments, it packs tight. That compaction squeezes out air spaces and blocks drainage. Roots can’t push through concrete-like dirt.
I blend my native soil with generous compost, about one-third by volume. For clay-heavy ground, I add coarse sand or vermiculite, roughly two cups per cubic foot. Peat moss works too.
These amendments loosen everything up. They create pockets for roots to roam and water to move. My beds stay fluffy and my plants thrive. Proper soil structure prevents root restriction and improves plant survival rates.
Drainage Problems
Because I’ve seen water pool around drowning tomato roots, I’ll never plant directly in in-ground soil again. That heavy, coarse stuff traps water like a bucket with no holes. Your plants suffocate when drainage fails.
I’ve learned to spot trouble before it starts. Do the Squeeze Test: grab a handful of damp soil. If it stays sticky and clumped, you’ve got a problem. Heavy soil needs amendments fast.
What works: blend in two to three inches of compost with your native soil. This single step opens up structure and fixes drainage within days. No full replacement needed.
For gradual improvement, topdress with compost and mulch each season. I’ve watched beds transform from soggy to thriving using this layered approach. Your plants will respond to better drainage.
Loosen Clay Soil With Sand and Compost
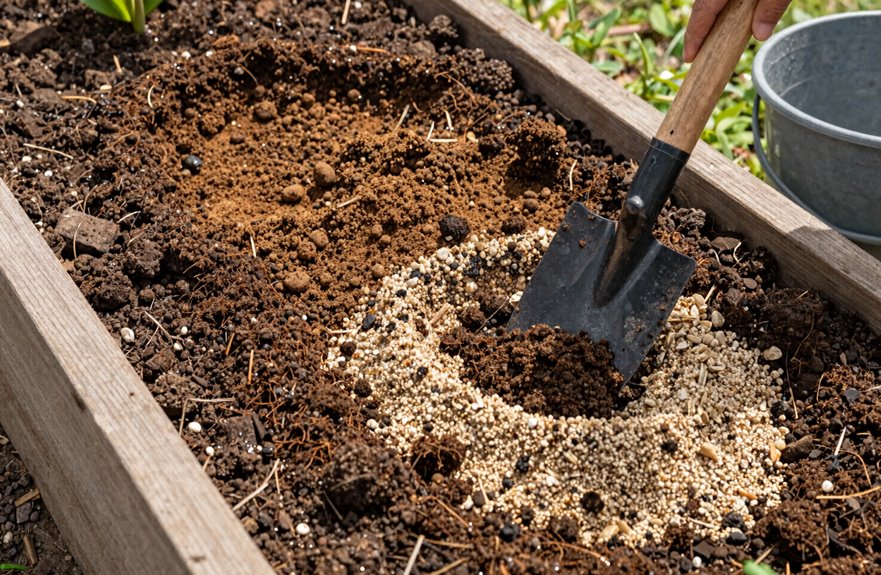
So you’ve got heavy clay soil and you’re wondering how to fix it. I’ve dealt with this problem and can walk you through what actually works.
Here’s my step-by-step approach:
- Test it first. Grab a handful, squeeze it tight, then open your hand. If it holds together like pottery, you’ve got clay soil that needs help with drainage.
- Mix your ratio. I combine roughly 50% existing soil, 30% compost, and 20% coarse sand. Skip the fine stuff; it won’t create the air pockets you need.
- Blend thoroughly. Don’t just layer it. Turn the mix multiple times to break up clumps and distribute compost evenly.
- Check your work. Squeeze again. Proper drainage means it crumbles with gentle pressure.
This method transforms stubborn ground into raised bed material your roots can penetrate.
Drain Fast: Add Grit to Heavy or Wet Soils
When your raised bed stays waterlogged for days after rain, it needs grit. First, dig out rocks. Then work coarse river sand into heavy soils a little at a time. Never dump it all in one spot because that blocks drainage. Mix to about eight inches deep so water channels form and roots can breathe. Check progress with the Squeeze Test. The soil should hold together but break apart.
| Problem | My Fix |
|---|---|
| Water sits for days | Add two inches of grit |
| Soil packs too hard | Till to eight inches deep |
| Roots hit walls | Mix for larger pore spaces |
| Clumps stay soggy | Incorporate gradually, not all at once |
Build Fertility: Compost, Manure, and Leaf Mold Ratios
Now I’m going to mix amendments into my native soil to feed my plants, and you’ll want to get the proportions right. Start with a simple blend: one part compost to one part in-ground soil, then layer in aged manure so it doesn’t burn tender roots. For leaf mold, add another third if you have it, creating a loose, crumbly mix that holds water without turning soggy.
Compost Mix Ratios
Although I started with basic garden soil, I quickly learned that mixing the right compost ratios makes all the difference in how my raised beds perform. Finding your ideal compost mix means balancing nutrients, drainage, and structure from day one.
Here’s how I approach soil ratios in my garden:
- Start with Mel’s Mix – I use one-third peat moss, one-third vermiculite, and one-third compost for light, fluffy soil that drains beautifully.
- Try the 50-30-20 blend – Half topsoil, 30 percent compost, and 20 percent leaf mold or other organic matter builds lasting fertility.
- Source diverse compost – I mix bulk compost, worm castings, and poultry-based compost to feed my raised beds throughout the season.
- Mix thoroughly before filling – I blend all components evenly so every root zone gets equal access to nutrients and organic matter.
Manure Application Guidelines
Because raw manure can burn plants and invite trouble, I always reach for aged or composted manure when building fertility in my raised beds. I fold it into my soil mix for balanced, thriving beds.
- Start with a base. I combine 50% in-ground soil with 30% compost, then blend in 20% aged manure and other organic matter. This ratio mimics the “Perfect Soil” approach; fertility without overwhelming plants.
- Adjust for drainage. If native soil runs heavy, I lighten the mix with vermiculite or perlite. The manure feeds slowly, while compost holds moisture and feeds soil life.
- Test before planting. I dig in, feel the texture, and ensure it crumbles rather than clumps.
These proportions build beds with active microbial communities that sustain plant growth across multiple seasons.
When to Add Perlite or Vermiculite (And When to Skip It)
Why spend money on additives you might not need? Perlite and vermiculite aren’t must-haves for every bed. I use perlite when my native soil runs heavy with clay and drainage suffers. Vermiculite earns its spot when I’m building moisture-retentive mixes like Mel’s Blend, where it holds water and nutrients right where roots need them.
Skip the additives unless your soil actually needs them—perlite for clay drainage, vermiculite for moisture retention.
How I decide:
- I skip perlite if my soil drains well already. Sand and loam don’t need it.
- I add 10-20% perlite to clay-heavy blends to open up drainage channels.
- I include vermiculite in 50/30/20 mixes when I want steady moisture for vegetables.
- I leave both out if my topsoil, compost, and organic matter already balance water and air.
Check your soil’s texture first. You’ll save money and build beds that match your conditions.
Match Your Mix to Rainy or Drought Conditions
How do I keep my plants from drowning in a wet spring or drying up in August? I adapt my soil mix to the weather patterns I face.
For rainy conditions, I blend my heavy in-ground soil with generous compost and other organic matter. This creates pore spaces that drain excess water while still holding what roots need. I aim for about 30% compost in my initial mix.
When drought threatens, I focus on moisture retention. I combine topsoil with organic amendments: roughly 50% topsoil, 30% compost, and 20% additional organic matter like leaf mold. This balance prevents the compaction that kills roots in dry spells.
I maintain this structure year after year by adding fresh compost and green mulch. My raised beds become more resilient with each season.
3 Soil Recipes for Clay, Sand, or Loam Starts
Once I’ve matched my mix to my local weather, I turn to my starting soil type. Raised bed success depends on choosing the right soil recipes for clay, sand, or loam foundations.
- Mel’s Mix – I blend one-third peat moss, one-third vermiculite, and one-third compost. This produces light, fluffy drainage with few weeds, though costs run higher.
- Perfect Soil Recipe – I combine 50% topsoil, 30% compost, and 20% other organic matter. This works well unless spring rains hit heavy clay, which causes drainage problems.
- Bagged Soil – I mix four bags organic garden soil, two bags topsoil, plus worm castings. Assembly feels easy, though tomatoes may grow slower initially.
Whichever I choose, I aim for roughly 5% organic matter by weight, about 30% organic material by volume, mixing thoroughly for even distribution.
Layer Ingredients or Mix Everything at Once
Because I’ve already settled on my soil recipe, I need to decide whether to layer my ingredients directly into the bed or blend everything first in a pile. Most experienced gardeners prefer mixing everything at once rather than raised bed soil layering. This soil mix strategy ensures my organic matter integration happens evenly from day one, so no spot ends up too rich or too lean.
My plan: I’ll combine about 30% organic material by volume with 70% mineral soil to hit roughly 5% organic matter by weight. That means for every cubic foot, I’m blending quality topsoil, dark brown and earthy smelling and passing the squeeze test, with compost and maybe peat or vermiculite. For big beds, I’ll order bulk materials and mix on a tarp. One thorough blend prevents layers from settling unevenly later.
Check Texture and Drainage Before You Plant
Before I plant anything, I assess my soil’s composition by squeezing a handful of damp dirt to see if it holds together briefly then crumbles. This indicates workable texture rather than heavy clay that won’t drain. I also test drainage capacity by filling a hole with water and checking how fast it disappears. This shows me whether I need to add more compost or perlite to keep roots from rotting. These two quick checks, texture and drainage, prevent problems later because they reveal exactly where my in-ground soil stands before I commit my seeds.
Assess Soil Composition
Gardeners often jump straight to planting, but checking in-ground soil first prevents costly mistakes. Before filling your raised beds, understand what you’re working with.
Here’s how to assess soil composition:
- Dig down 6-8 inches and grab a handful of earth to test soil texture. Is it gritty, smooth, or sticky?
- Squeeze the damp soil firmly. If it holds shape but crumbles when poked, you have workable structure.
- Compare what you feel to fluffy store-bought mixes. Heavy native soil needs amendments to match commercial blends.
- Note if your soil feels dense or rocky. This signals drainage problems that could drown roots.
If in-ground soil feels too heavy, blend in 2-3 inches of compost before planting.
Test Drainage Capacity
I’ve checked what my soil is made of, but texture alone won’t keep my plants alive. Now I’m testing how water moves through my raised beds before I commit my plants to the soil.
First, I water the bed thoroughly and watch how quickly puddles form. Good drainage means water disappears within a few hours, not days. If it sits longer, I have a drainage problem.
Next, I use the squeeze test for soil texture. I grab a moist handful and gently press. If it forms a tight, sticky ball like modeling clay, my mix is too heavy. I’m aiming for soil that holds together loosely, then crumbles when I poke it.
For my raised beds, I’ll blend 50% topsoil with 30% compost and 20% other organic matter. This improves structure and drainage. If my base soil feels gritty or heavy, I’ll add peat moss, vermiculite, or perlite to balance it out.
Top Up With Compost Every Season
Why settle for soil that grows weaker each year when you can build it up instead?
I treat compost as my hidden ace for thriving raised beds. When I’m working with in-ground soil mixed into my raised beds, I never skip this soil amendment.
- Spread 2-3 inches of finished compost across the bed surface each spring
- Work it gently into the top 6 inches of soil with a fork
- Add another 1-inch layer in midseason after heavy cropping
- Top-dress with 2 inches of compost each fall, letting winter do the mixing
This practice keeps my soil fertility high, supports the unseen organisms doing the real work, and locks in moisture through hot summers. My plants develop stronger roots and steadier growth.
Fix Soggy Beds, Compaction, and Yellowing Leaves
Even with steady compost additions, you’ll hit some rough patches. I’ve fought soggy beds, compaction, and yellowing leaves myself.
- Test drainage first. I dig a hole, fill it with water, and watch. If it sits for hours, you’ve got a problem.
- Break up compaction. I work in coarse organic matter: compost, shredded leaves, or perlite. For heavy clay, I add sand. I aim for 50% topsoil, 30% compost, 20% other organic matter.
- Adjust the blend. Vermiculite holds moisture; peat moss or coconut coir fluffs things up.
- Maintain yearly. I top with compost and green mulch each season. This prevents future drainage trouble and keeps roots happy.
Yellow leaves usually mean the soil has been corrected in time.





