
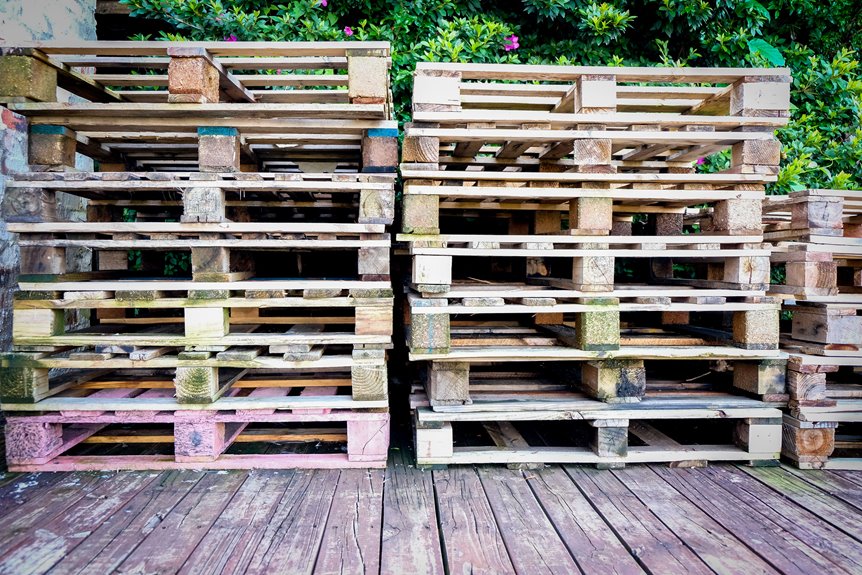
I start by finding an HT-stamped pallet that’s heat-treated and chemical-free, then I pull nails and sand rough edges for twenty minutes.
Next, I build my frame: standing with legs, hanging with reinforced top boards, or angled at 15-20 degrees against a fence.
I staple weed fabric behind each slat row to create soil pockets, making sure water can drain.
I plant shallow-rooted herbs like thyme and parsley, matching water needs per row.
I check moisture daily, tilt the garden 10-15 degrees for drainage, and refresh the backing each spring.
Follow these steps to determine which herbs thrive in each position.
Choose a Food-Safe Pallet for Your Herb Garden
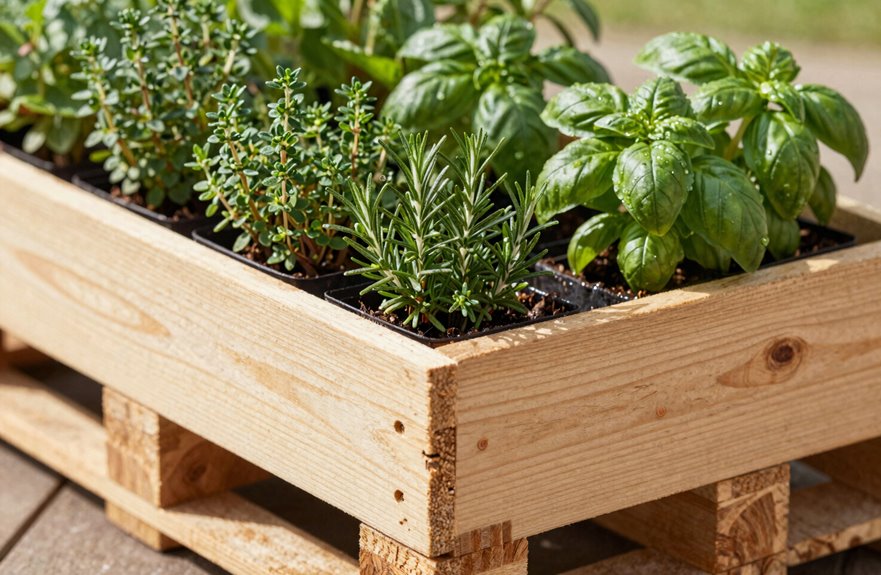
The foundation of a thriving pallet herb garden starts with picking the right wood. Look for HT-stamped pallets. Those “heat-treated” markings indicate they’re food-safe, not soaked with methyl bromide or other chemicals that will leach into your basil and mint.
Before committing to a pallet, run a full inspection. Check boards for cracks, warping, or suspicious stains. Rot-free wood matters; soft spots indicate problems later. Untreated pallets are your safest option for edibles when available.
Once you’ve selected your pallet, begin preparation. Pull protruding nails with a hammer, pry bar, or pliers. Spend twenty minutes sanding rough edges smooth. This removes splinters and contamination risks, leaving clean, stable wood ready for soil and seeds.
Build Your Frame: Standing, Hanging, or Angled
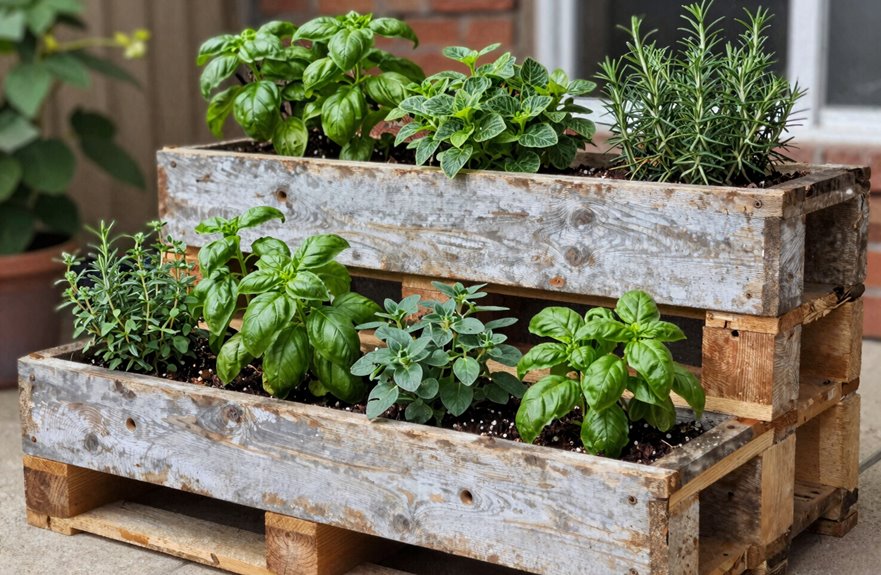
How do you want your herbs to live? I’ve built my pallet garden three ways, and each transforms your space differently.
How do you want your herbs to live? Three pallet garden builds, three ways to transform your space.
For a standing frame, I screw scrap wood legs to my vertical pallet’s base. This creates a freestanding tower that requires no wall. I add horizontal slats across the back slats to form herb compartments, each about 3-4 inches deep.
A hanging pallet requires sturdy hooks rated for 50+ pounds. I reinforce the top board with extra screws before mounting.
My angled planter leans against a fence at 15-20 degrees, which improves drainage and makes harvesting easier. I attach a triangular brace to hold the angle.
Before installing, I plan my weed fabric lining route. This DIY pallet project needs solid soil retention, so I check that drainage holes align with my frame choice. Gravity will water the lower pockets.
Line With Fabric and Fill Your Pallet’s Soil Pockets
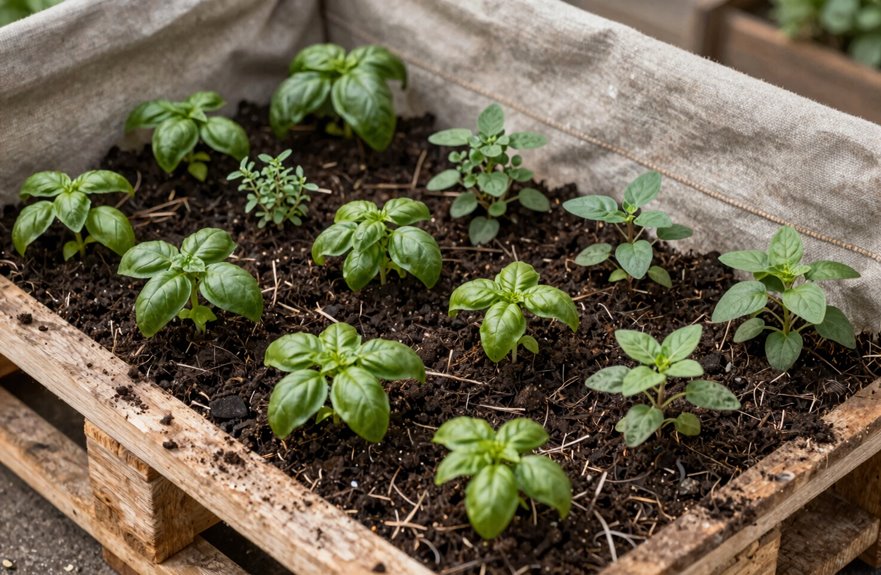
I start by laying my pallet face down and measuring out weed cloth or backdrop fabric to cover the entire back, plus enough extra to wrap around the bottom and sides. I use newspaper to make a quick pattern for each section, then cut my landscape fabric to fit.
Next, I create the soil pockets. I staple fabric behind each row of slats, making sure there’s no solid bottom panel so water can drain down. I staple fabric firmly along the back, bottom, and sides, trimming any excess so nothing pokes through.
Before filling with soil, I check that my DIY pallet garden sits so drainage flows properly between fabric-lined pockets. Proper drainage prevents root rot and ensures healthy plants in this vertical garden setup.
Plant Shallow-Rooted Herbs for Vertical Success
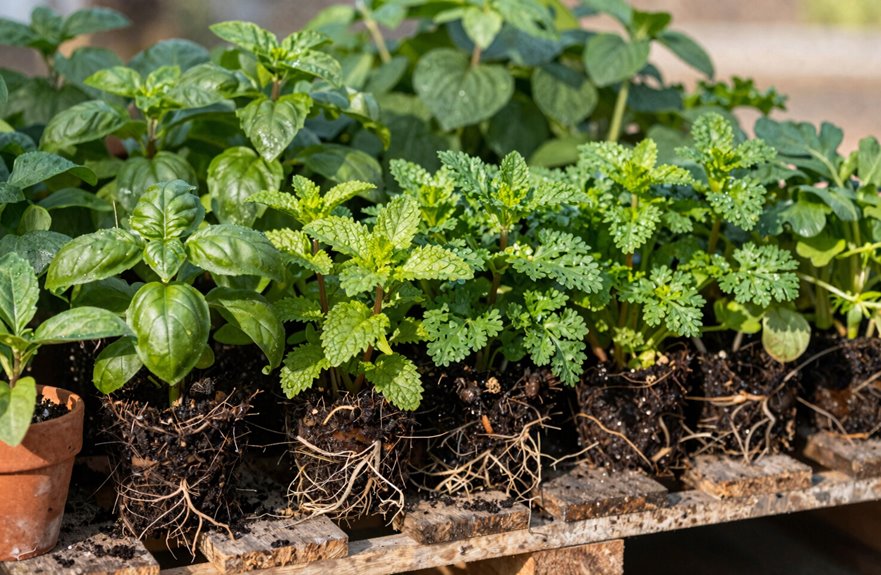
What herbs work best when you’re gardening vertically? Shallow-rooted herbs thrive in a vertical herb garden where every pocket planter offers limited depth.
In my pallet garden, I choose parsley, cilantro, chives, and thyme. These plants don’t need deep soil, and they flourish in compact spaces. I place drought-tolerant varieties like oregano in the sunniest section up top, where light hits hardest, and tuck moisture-lovers like mint in lower pockets with gentler exposure.
I’ve learned to match herbs with similar water needs in each row. This simplifies irrigation tremendously. I fill each pocket with a light, compost-free soil mix that gives good drainage, since vertical planters dry faster than ground beds. Skip rosemary or sage unless you’ve built extra-deep shelves; their roots need more room than a standard pallet provides.
Water, Winterize, and Refresh Your Pallet Garden Annually
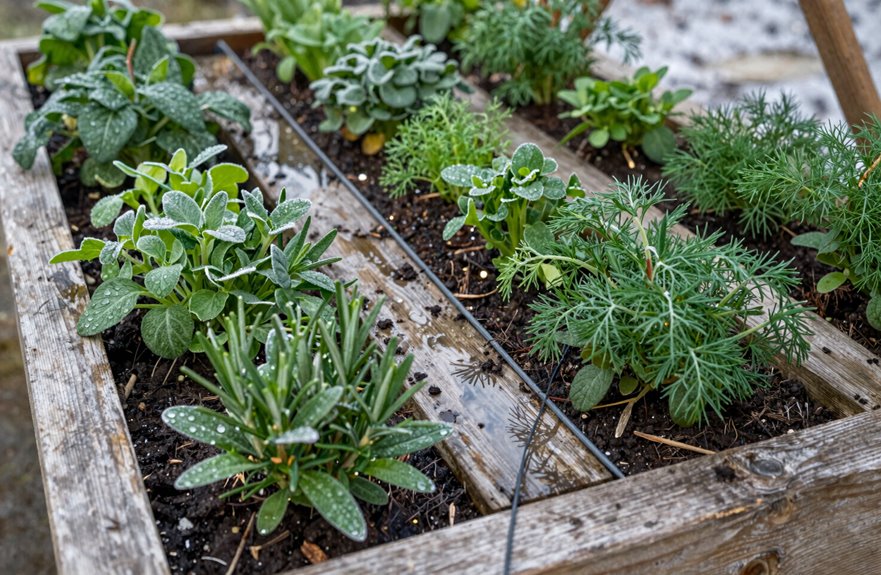
Where does a pallet garden need the most attention once it’s planted? Watering and monitoring soil moisture are critical. Herbs dry out quickly, especially during hot summers, so daily checks are necessary.
Simple routine for maintaining pallet gardens:
| Task | When to Do It |
|---|---|
| Check soil moisture | Daily, more often above 80°F |
| Water thoroughly | When top inch feels dry |
| Tilt for drainage | At setup, 10-15 degree angle |
| Winterize and harvest | Before first frost |
| Refresh backing and weed cloth | Each spring |
Position your pallet with a slight tilt. This drainage technique prevents lower pockets from becoming waterlogged. For annual maintenance, apply a clear protective coat yearly. Before winter arrives, dry your herbs and store them. Each spring, replace worn weed cloth and backing. Consistent attention produces reliable harvests year after year.





