
I make my own outdoor furniture covers in seven steps. First, I measure each piece at its widest points and add two inches. Then I draft custom patterns and pick breathable, 54-inch weatherproof fabric. I cut chalked lines, sew front and rear panels first with UV-resistant thread, and finish with a two-inch hem and elastic cord. I inspect them monthly and store them dry. I’ll walk you through each step next.
Measure Outdoor Furniture for Custom Cover Fit
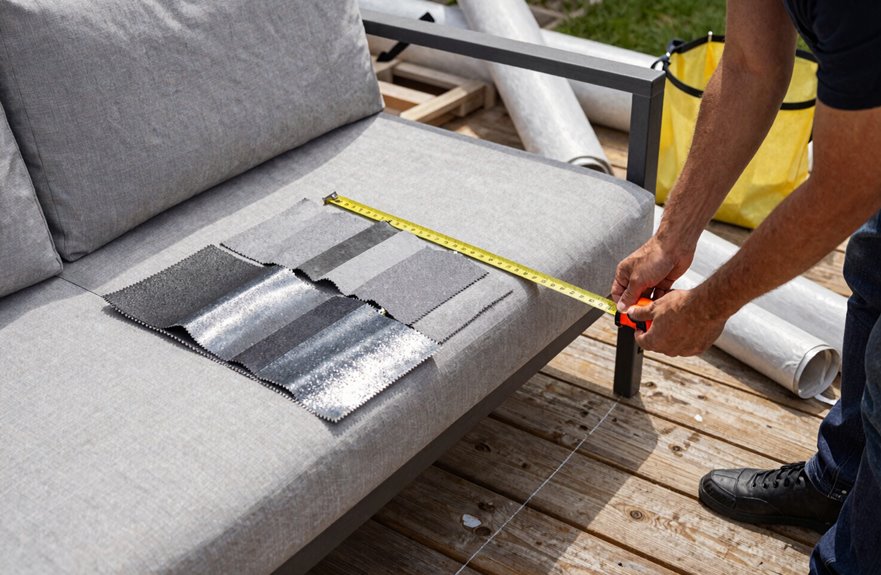
Where do you even begin when every chair and table seems a slightly different shape? Start with a tape measure and a simple plan.
First, measure each piece from top to bottom, front to back, and include the arm lengths. You need length, width, and depth for outdoor furniture covers that actually fit. Second, add two or three inches to each number. Tight covers tear, and seams need room.
Third, measure every piece separately. Chairs have individual variations, and tables have their own quirks. Write everything down before cutting anything. Fourth, grab chalk and mark your fabric on a flat surface. Straight lines matter here.
Finally, organize your notes so you can make replacements later. Good records save hours.
Pattern Covers for Chairs, Tables, Grills, and More
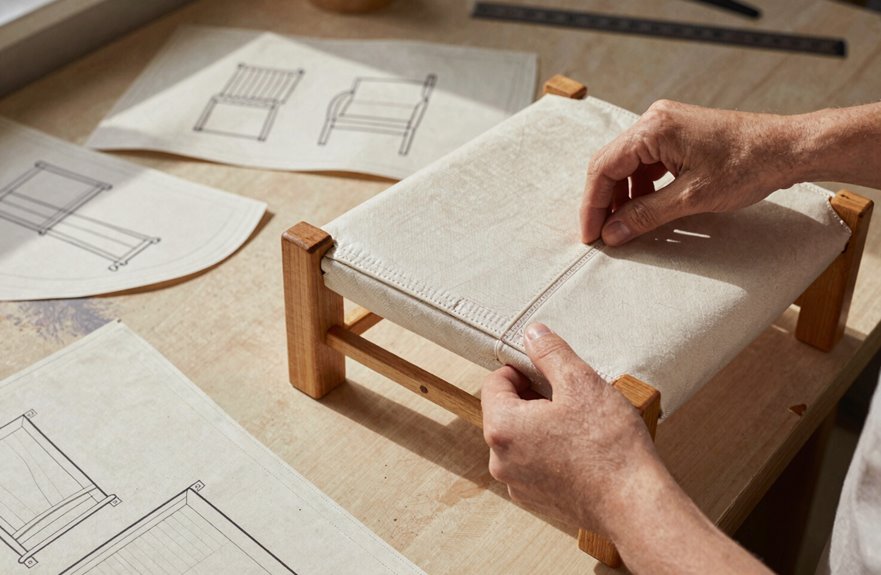
I start by measuring every curve and corner of my furniture: top to bottom, front to back, and across each arm. I add two or three extra inches so the cover will slip on snug without stretching. Next, I sketch front, rear, and side panels on paper, cut my fabric with half-inch seam allowances, and pin the pieces together for a rough drape-over test before sewing. Once I’ve adjusted the fit, I line up my edges carefully, match any stripes or patterns straight, and stitch the panels into a tailored cover that fits my chair, table, or grill precisely because each piece is custom-made for its specific furniture.
Measuring Furniture Accurately
The foundation of any well-fitting cover starts with a tape measure and a patient hand. I always begin by measuring furniture height, width, and depth at their widest points, never at an angle, always straight across. I add three extra inches to each number; tight covers tear, and nobody wants that frustration.
I record every measurement twice, once for my notes and once for my wall chart. Chairs, tables, grills, each piece gets its own row. I use a flat driveway or kitchen floor, marking dimensions with sidewalk chalk before I ever touch fabric. When two cushions match, I lay them side-by-side, saving yardage later. These numbers become my roadmap. Without them, I’m guessing; with them, I’m building something that lasts.
Creating Custom Patterns
With your measurements in hand, you’ll turn those numbers into paper shapes that guide every cut. I draft patterns for front and rear sections plus side panels. This trio works for chairs, loveseats, grills, and tables alike. I mark height, depth, and arm lengths, then add seam allowances around each piece. Using 54-inch fabric width as my guide, I aim for snug fits so cushions lie neatly. I always test a rough drape over the furniture before finalizing anything.
| Pattern Piece | Purpose |
|---|---|
| Front Panel | Covers face, includes drop length |
| Rear Panel | Matches front, allows seat access |
| Side Panels | Bridge front and rear, wrap arms |
| Top Piece | Optional, for flat table surfaces |
I cut fabric along folded edges for straight seams and reinforce with double stitching. After that first rough fit, I adjust patterns as needed. Covers built this way fit your space precisely because they’re made specifically for it.
Pick Breathable, Weatherproof Fabric by the Yard
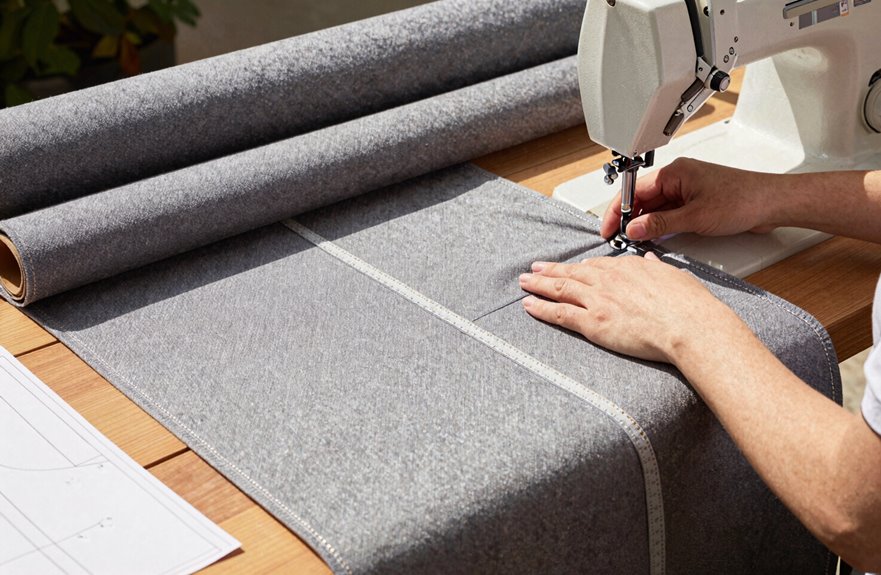
I always start by checking a fabric’s durability rating and breathability score before buying, since trapped moisture ruins cushions fast. Marine-grade polyester or acrylic canvas sheds rain while allowing air to pass through, which prevents mold growth in humid conditions. Pick a 54-inch wide roll, measure your furniture, and buy one yard per thick cushion to avoid running short mid-project.
Fabric Durability Factors
Because outdoor furniture covers face constant exposure to sun, rain, and wind, picking the right fabric requires balancing aesthetics with protective function. Outdoor fabrics directly impact the longevity of your investment.
First, I reach for 18-ounce PVC vinyl or comparable heavy-duty materials. These resist water and wind while feeding smoothly through a sewing machine. When selecting fabric by the yard, I calculate roughly one yard per thick cushion and plan cuts carefully to minimize waste.
Weatherproofing is essential. The chosen material must repel rain without trapping moisture underneath. Bright patterns or subtle grays both work visually, but structural integrity takes priority. Your covers will maintain their appearance and function through multiple seasons.
Breathability Importance
Waterproofing alone won’t save your furniture if moisture gets trapped underneath. Breathability keeps your pieces dry from the inside out.
- Look for fabrics like Sattler Marine Grade, SureRite, or Top Notch 9
- Pick lighter-weight PVC vinyl or performance synthetics for airflow
- Choose reinforced seams that breathe at stitch lines
- Balance water resistance with escape routes for trapped vapor
- Protect against mold, mildew, and staining long-term
Breathability matters because your covers face morning dew, humid afternoons, and unexpected rain. When moisture evaporates through the fabric instead of pooling, your furniture stays cleaner and lasts years longer. You’re building a system that works with weather, not against it. The right choice now prevents costly damage and extends your furniture’s lifespan across multiple seasons.
Cut Fabric Cleanly and Mark Seams Before Sewing
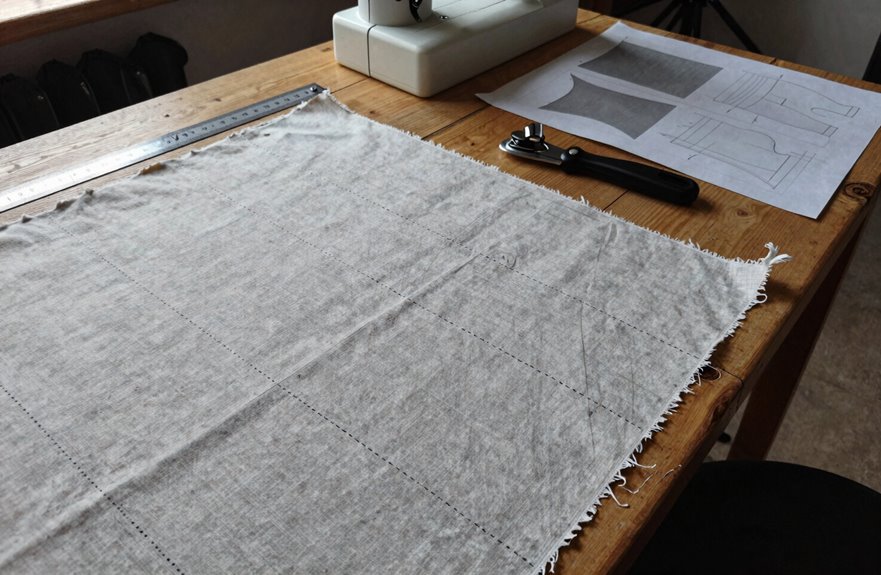
How do you turn a pile of fabric into pieces that actually fit your furniture? I start by mapping front and rear sections plus side panels that adapt to chairs, loveseats, grills, and tables. I measure top to bottom, front to back, and arm lengths, then add seam allowances so my cuts align with future stitching lines.
I lay my fabric flat, mark measurements with chalk or a fabric marker, and cut clean lines with consistent allowances. Striped or geometric fabrics help me keep cuts straight. Before committing, I drape rough pieces over my furniture to test fit and adjust for snugness.
| Step | Action | Purpose |
|---|---|---|
| 1 | Measure furniture dimensions | Ensures accurate panel sizing |
| 2 | Add seam allowances | Aligns cuts with stitching lines |
| 3 | Mark fabric with chalk | Guides precise cutting |
| 4 | Cut along markings | Creates clean, straight edges |
| 5 | Drape for test fit | Allows adjustments before final work |
Sew Panels With UV-Resistant Thread and Reinforced Seams
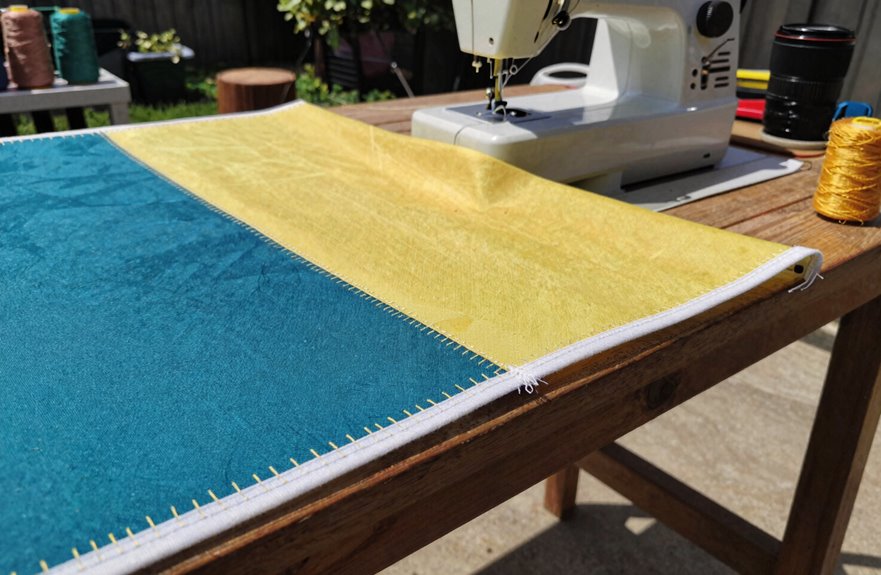
Three key choices separate covers that last from those that fail: thread, seam strength, and how you put the pieces together. I always choose PremoBond Tex 90 White thread because it fights sun damage without fading. I sew front and rear panels first to build outdoor furniture covers that fit snugly around your chairs, tables, and grills. Reinforced seams block rain and resist wind.
- UV resistant thread that stands up to harsh outdoor sunlight damage
- Double stitched seams at every single panel joint for strength
- Front and rear panels sewn before the side panels attach
- Tight even tension across all seams so no gaps form
- Overlapped connections at each panel seam to stop heavy water intrusion
Hem Edges and Add Elastic for Wind-Proof Fit
Once you’ve sewn the panels together, turn your attention to the edges, because a cover that frays or flaps in the wind won’t protect anything for long.
1. Fold the bottom edge up two inches, keeping the seam allowance consistent. Hemming this folded layer with a reinforced stitch gives a clean, durable finish.
| Step | Detail | Result |
|---|---|---|
| Fold | Two-inch edge | Clean finish |
| Stitch | Reinforced thread | No fraying |
| Thread | Elastic cord | Snug fit |
| Tension | Even allowance | Uniform look |
2. Thread elastic hem cord through the bottom hem and pull it tight. This wind-proof fit stops the cover from lifting in strong gusts. For extra security, add optional elastic piping along every seam. The elastic creates a secure barrier that prevents wind infiltration and maintains cover stability in adverse weather conditions.
Clean and Store Covers to Extend Their Life
Your covers are built to last, but only if you treat them right. Caring for outdoor fabric isn’t complicated; it’s about consistency.
Built to last—if you treat them right. Caring for outdoor fabric is about consistency, not complexity.
- Brush off debris weekly so dirt doesn’t grind into fibers
- Wash with mild detergent only; harsh solvents strip waterproof coatings in one go
- Dry completely in shade with airflow. Mildew forms in 24 hours if you rush this
- Inspect seams monthly; reseal weak spots with seam tape before tears spread
- Store flat or loosely folded in a cool, dry spot; never compress covers tightly
I check my covers each season, replacing worn Velcro or ties for that snug fit. This routine takes about 30 minutes and extends the life of covers significantly, keeping them protective and attractive year after year.





