
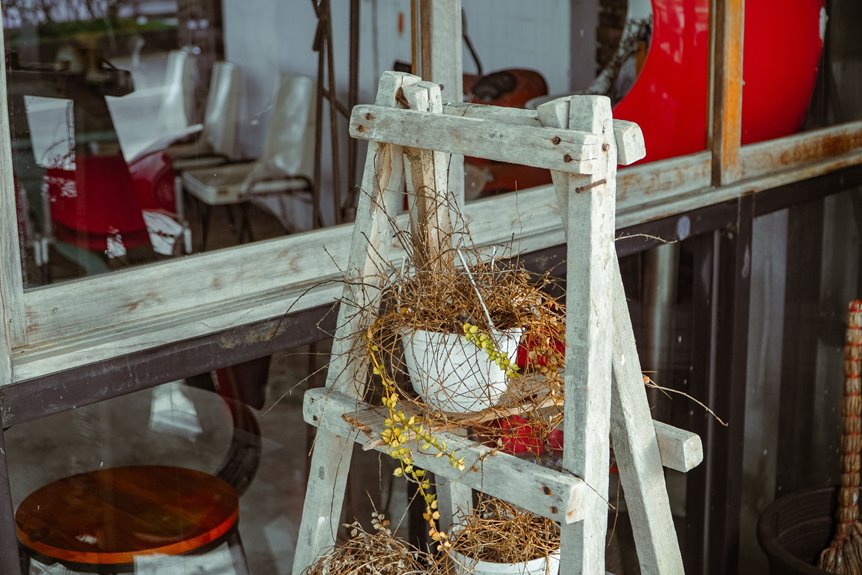
I’ll build a sturdy wooden plant stand in seven straightforward steps.
First, I’ll gather cedar boards, ¼-inch dowel pins, wood glue, and clamps.
Second, I’ll measure my pot’s bottom, add ½ inch, and cut two base pieces to 7½ inches.
Third, I’ll notch the centers ¾ inch deep so they interlock flush.
Fourth, I’ll cut four legs and notch them too.
Fifth, I’ll drill ¼-inch and ⅞-inch holes with Forstner bits, then glue and dowel everything together.
Sixth, I’ll sand with 120-grit then 220-grit, stain with Early American, and seal with polyurethane.
Seventh, I’ll let it cure fully before placing my pot.
This process produces a stable, weather-resistant stand that will remain structurally sound for years with proper care.
Gather Materials for Your Wooden Plant Stand
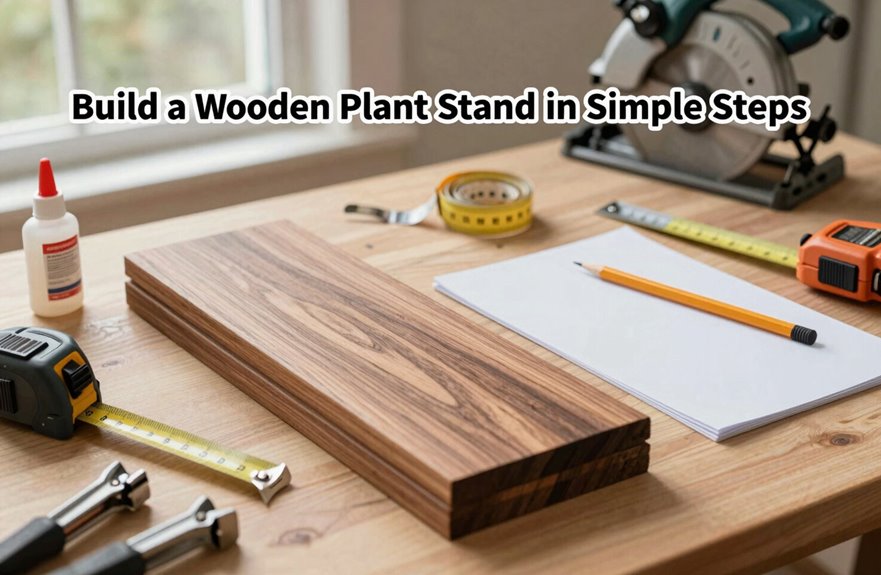
A solid build starts with the right materials, so I’ll gather everything before I make a single cut. I need cedar 12 lumber or exterior-grade wood for outdoor durability, plus ¼-inch dowel pins, wood glue, and clamps for strong joints. I’ll grab my hand saw or chop saw, measuring tape, hammer, and wood chisel for cutting notches.
My drill needs a Forstner bit set: ¼-inch for dowel pins and ⅞-inch for larger connections. I’ll also keep my Kreg jig handy for pocket holes if I want extra strength between rails and legs.
Finally, I’ll pick exterior stain or sealer unless I’m using cedar, which holds up naturally. With materials assembled, I can proceed directly to cutting and assembly.
Measure Your Pot and Cut the Plant Stand Base
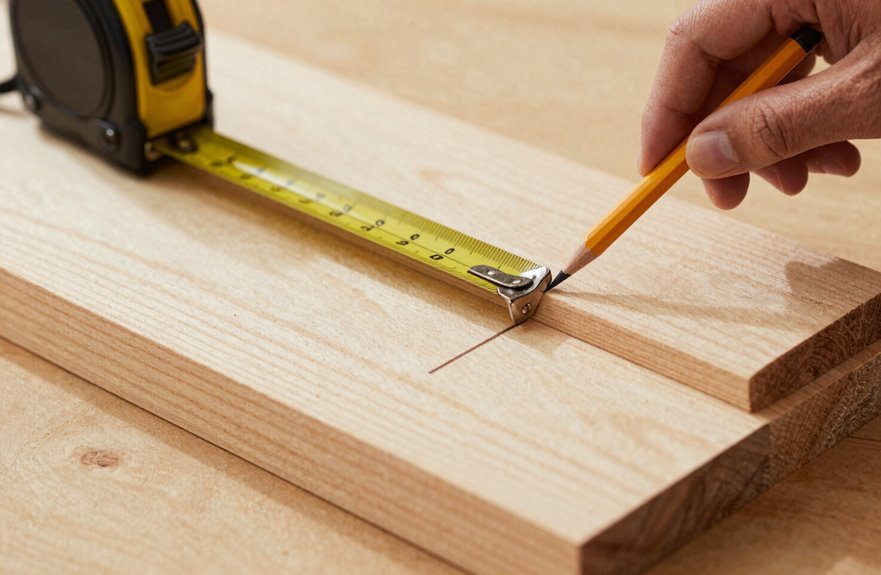
First, I measure my pot’s bottom and add a half inch so it’s wide enough for the pot’s angle. Then I mark two base pieces at that size, divide the remaining board into four equal pieces for the legs, and cut a centered notch in each one so they nest. I smooth every edge with a hand sander, and I’ll screw the center pieces together at the end for a strong, snug fit.
Pot Bottom Measurement
Confidence comes from knowing exactly how much space your pot needs. Grab your tape measure, because every builder deserves a sturdy fit.
- Lay the pot upside down, measuring pot bottom and recording exact width so your stand stays steady.
- Add roughly half an inch to that measurement, creating a little wobble margin to keep everything safe and snug.
- Transfer that final number to mark two base pieces, picturing how they’ll cradle the pot together.
- Sketch notches where those base pieces nest, checking centering and strength so your plant feels right at home.
Once marks are true, your stand is ready to move forward.
Base Board Cuts
Now that my pot measures about seven inches across the bottom, I’ll cut the base at seven and a half inches to accommodate the pot’s angle. I’ll mark two pieces on my baseboard at this length for the central base.
Next, I grab my saw and cut carefully along those marks. With the remaining board, I divide it into four equal pieces for legs. Equal division keeps everything balanced.
After cutting, I smooth all edges with a hand sander so the base joints fit clean and tight. Then I notch the center portions of both base pieces so they’ll nest together, forming a stable cross that distributes weight evenly.
Notch the Base Pieces for a Perfect X-Joint
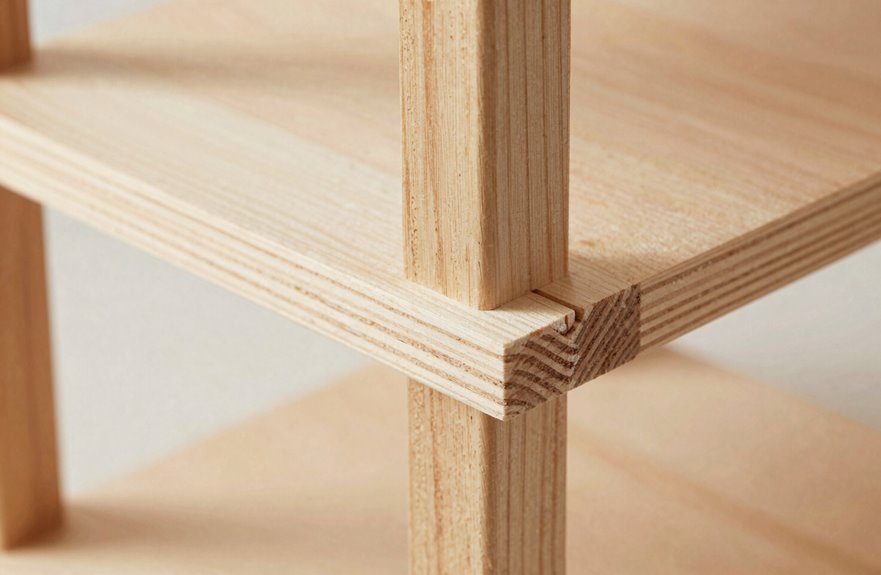
I start by marking the exact center of each base piece, then I draw a 3/8″ offset on both sides so my notches will line up perfectly. I cut each half-lap notch 3/4″ deep with my band saw, checking the fit as I go so the two pieces slide together without gaps. Once those notches nest flush, the X-base will be solid and won’t wobble under the pot.
Marking Center Points
Before I make a single cut, I need to find the exact center of each base piece. If this mark is off, the whole X-joint will wobble or sit crooked. Taking an extra minute here prevents a lopsided plant stand later.
Here’s how I mark my center points and notch boundaries:
- I measure the exact width of my base piece, then mark the center point with a sharp pencil.
- From that center point, I measure 3/8 inch to each side; these lines frame where my notches will live.
- I mark 3/4 inch depth from the top edge, so the notches interlock halfway through each piece.
- I double-check my marks against my other base piece, making sure everything lines up before moving forward.
These marks are your roadmap. Get them right, and the next step follows.
Cutting Half-Lap Notches
Why does a half-lap notch matter so much? It’s what lets our base pieces cross flat, forming a sturdy X-joint that hugs the rounded dowel connection. First, I mark the center point across both base pieces, then measure 3/8 inch from each edge. Next, I cut 3/4 by 3/4 inch notches at those spots using my band saw or a small hand saw. The depth equals the board thickness, so everything sits perfectly flush. Then I align each cut precisely along the center line for an accurate fit. After cutting, I test the fit to check the joint. If the notches feel tight, I shave them slightly until they mate cleanly. We’re building a solid foundation together, one careful cut at a time.
Interlocking X-Base Assembly
How do we turn two simple boards into a rock-solid foundation? We build an interlocking X-base that locks together like puzzle pieces.
- Mark the center line on each base piece to guide notch placement.
- Cut a notch halfway through the thickness, centered precisely, using a band saw or hand saw.
- Clean the notch with a chisel so the two pieces nest flush, creating a perfect 90-degree X-base joint.
- Dry-fit first, then glue and clamp the interlocking connection until completely dry.
The interlocking design distributes weight evenly across all four legs, eliminating wobble and weakness. Your plant stand base is now ready for the top piece.
Cut and Prep Your Plant Stand Legs
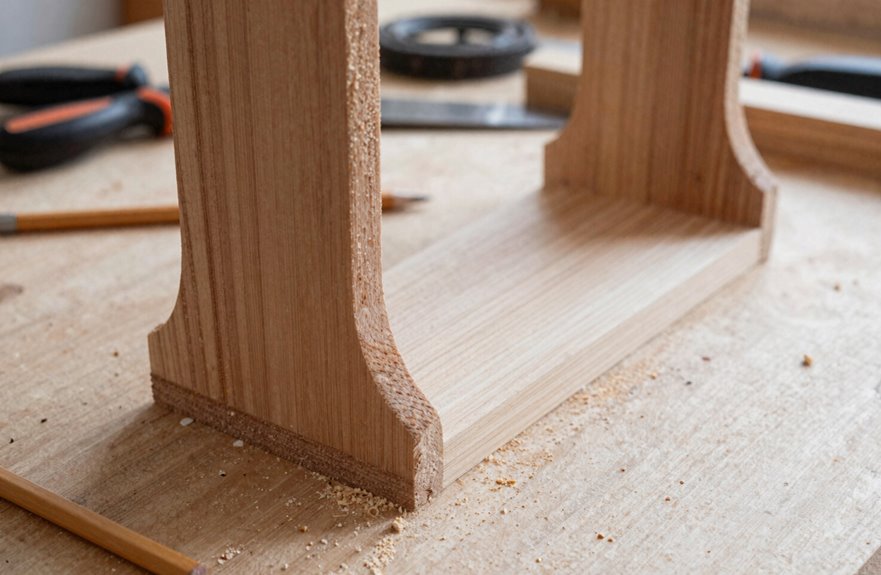
I like to start every build with the legs, since they’re what holds everything up. First, I cut four cedar legs to equal lengths from solid, sturdy wood. Then I carefully mark the centers and measure a total width of twelve inches so your pot will fit just right. Next, I create notches by marking three-eighths inch on each side and cutting three-quarter inch deep halfway through the wood. I use a hand saw or band saw, then chisel the joints completely clean for a snug, flush fit. Finally, I sand all rounded edges to remove snags and splinters, and I always dry-fit every single piece before adding wood glue and clamps.
| Step | Tool | Goal |
|---|---|---|
| Cut | Saw | Wood |
| Notch | Chisel | Joints |
| Sand | Paper | Edges |
Assemble Your Wooden Plant Stand Frame
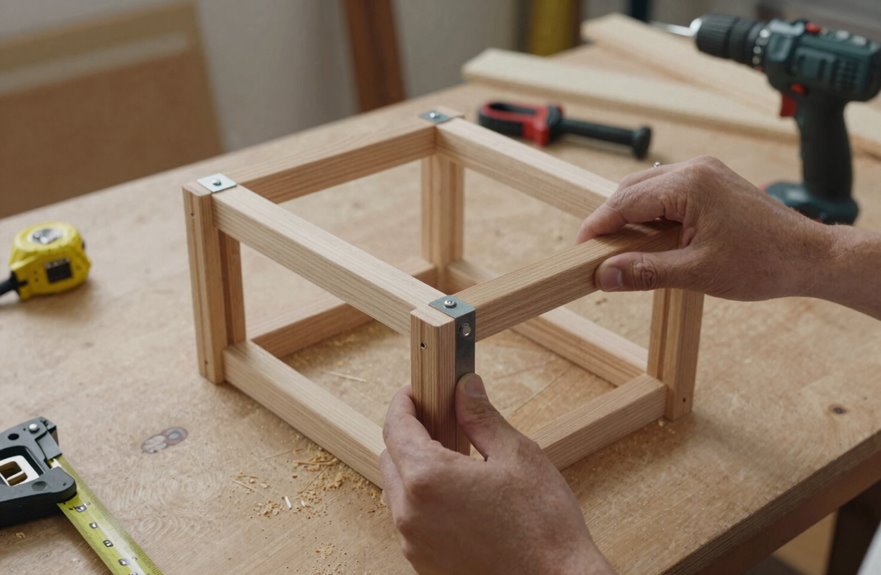
With your legs prepped and ready, you’re set to build the base that’ll hold everything together. Fit the base pieces so their Notches nest halfway through each piece. This creates a sturdy X-shaped base that locks flush. Once interlocked, check that cross-beams sit level and maintain 1/4 inch spacing.
Use a drill press with a Forstner bit to bore holes for Dowels. Add glue, slide Dowels in, and clamp everything tight until dry.
- Match the Notches halfway through each piece for a flush X-joint.
- Align the frame so cross-beams stay level with 1/4 inch gaps.
- Drill precise holes using a Forstner bit for your Dowels.
- Glue and clamp the connection until the joint is rock-solid.
Sand, Stain, and Seal Your Plant Stand
Now that I’ve clamped the frame tight and the glue is dry, I move into finishing. First, I grab my hand sander and sand every surface smooth. This prep work prevents rough spots that compromise the final result. I work through grits: 120, then 220, until the wood feels soft under my palm.
Next comes color. I brush stain with the grain, usually Early American or Golden Oak. These tones warm up any room. I wipe excess after ten minutes. Waiting prevents blotchy finishes. Once dry, I seal with polyurethane. Light sanding between coats builds that glass-smooth armor.
| Step | Action |
|---|---|
| 1 | Sand with 120-grit, then 220-grit |
| 2 | Apply stain, brushing with the grain |
| 3 | Wipe excess after 10 minutes |
| 4 | Seal with polyurethane |
| 5 | Sand lightly between coats |
Cure, Place, and Maintain Your Plant Stand
Why rush the final steps after all that sanding and sealing? Patience now prevents costly repairs later, and it ensures your stand lasts for years.
Here’s how I finish strong:
- Let the wood cure – I let cut pieces acclimate 48 hours before assembly so nothing warps, and I grab exterior-grade wood or outdoor finish for patio stands.
- Place it right – I set mine on stable, level ground, measuring pot width plus 2 inches for the base so air flows and watering’s easy.
- Seal for weather – I brush stain and sealant on cedar, adding weatherproof coating so rain won’t ruin my work.
- Keep up maintenance – I inspect joints monthly, re-glue or clamp loose spots, wipe surfaces dry, and slide drip trays under tall plants to protect the wood.





