
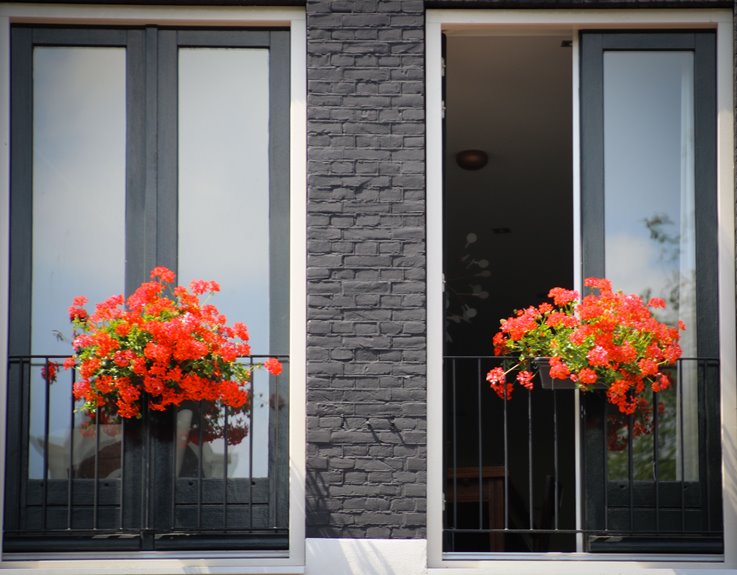
I see window boxes as a compact, elevated growing system that turns unused exterior wall space into productive garden real estate without demanding a yard.
You mount sturdy brackets beneath your window, no drilling needed, and set the box on top, filling it six to eight inches deep with lightweight potting mix layered over perlite for drainage.
Morning watering keeps plants thriving, and you can swap sun-loving varieties for shade-tolerant ones as seasons shift.
The specific measurements and material choices I’ll cover next will help ensure your window box lasts for multiple growing seasons.
How to Install Window Boxes Without Drilling Into Your House
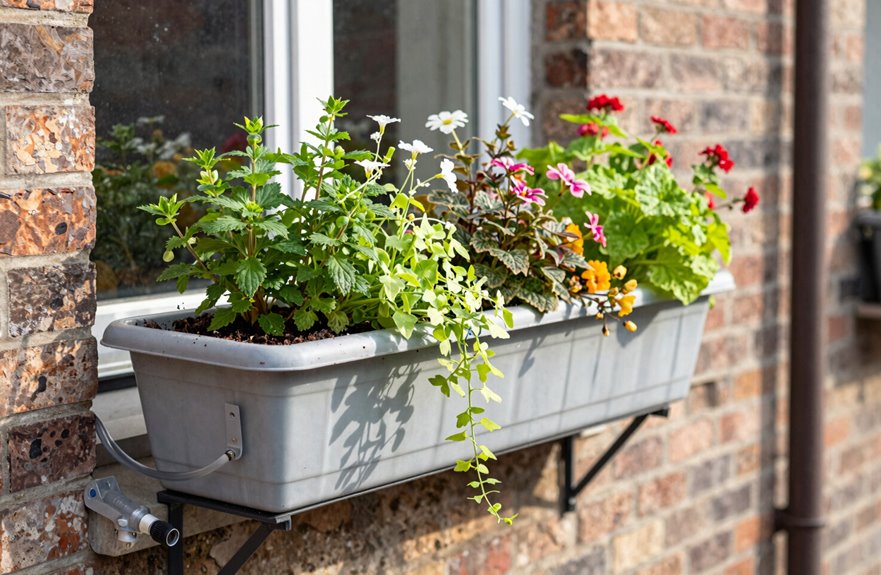
You don’t need to drill holes in your siding to enjoy window boxes. There are safer ways to get that charming look without risking damage.
- Add a shelf. Mount sturdy brackets beneath your window, then set the box on top. This keeps weight off the wall.
- Pick the right box. Choose window boxes with L-shaped brackets or built-in shelf supports. These prevent warping and stay strong.
- Go big and balanced. Use longer, heavier-duty boxes on below-window shelves. This spreads weight evenly and creates the proper proportions.
- Plan for water. Add drainage holes and a moisture-retentive lining. This protects your wall from trapped dampness.
- Consider self-watering options. Reservoir-equipped window boxes cut down on spills when you can’t drain through the wall.
These steps let you garden while keeping your home’s exterior intact.
Where to Place Window Boxes for Morning Sun and Easy Access
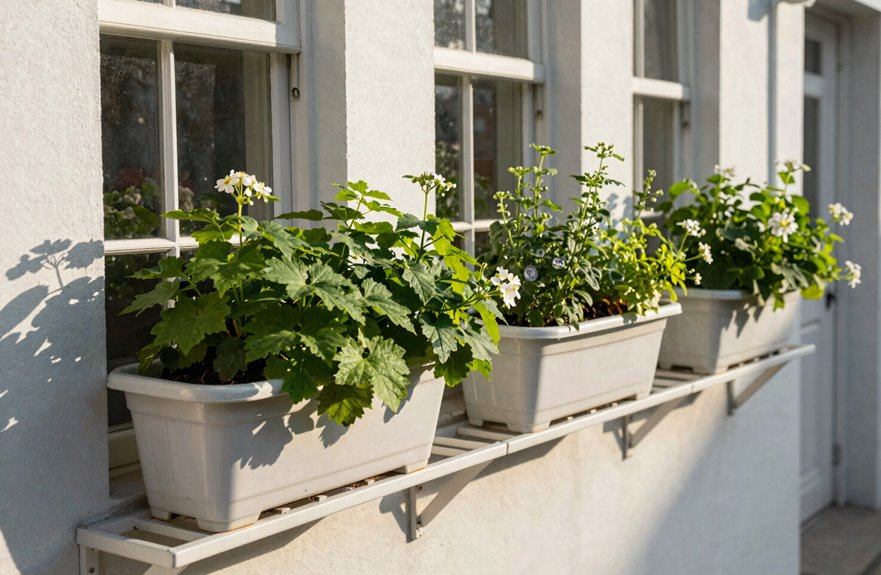
Where exactly should a window box go so plants thrive and I’m not wrestling with a watering can at odd angles. Placement makes or breaks this whole endeavor.
First, chase morning sun. East-facing windows give plants gentle light without scorching afternoon heat, and you get to enjoy fresh growth with your coffee. Six hours of direct morning light keeps most herbs and flowers happy.
Chase morning sun—east-facing windows give gentle light for your coffee ritual and keep herbs thriving without the scorch.
Second, think about your body. Place each window box where you can reach it from inside or outside without a ladder or yoga contortions. Waist to chest height works best, about 30 to 48 inches from the ground, so you’re not bending double to check soil moisture.
Third, check your mounting hardware. A filled window box weighs 80 to 100 pounds, so verify brackets can handle that load before you commit.
Finally, pick windows you pass daily. Plants placed out of sight become neglected, leading to preventable disappointment.
How to Size Window Boxes for Visual Balance
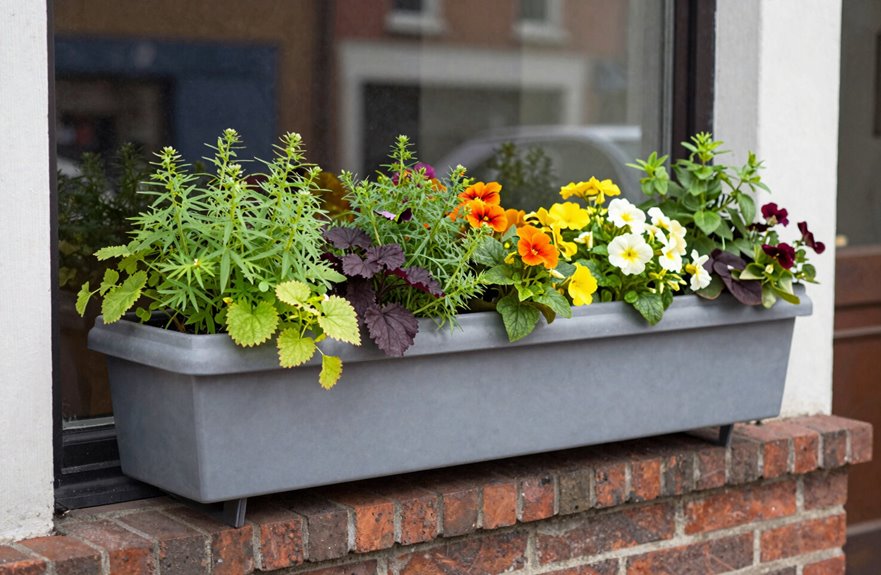
I want to get the width right first, because a box that’s too skinny or too wide throws off the whole look. I usually add two to three inches on each side of the window frame. This anchors the display without looking bulky. Then I check the depth: nine inches minimum gives roots room to spread and lets me mix trailing vines with upright blooms.
Width Matching Window
Why does a window box sometimes look “off” even when the plants are thriving? It’s usually about window width mismatch. When I size my boxes, I extend them 2–3 inches past each side of the window frame. This small overhang anchors everything visually and gives my plants room to spill over gracefully.
What I’ve discovered about getting that “just right” feeling:
- Too narrow, and the box looks timid, like it’s hiding from the house
- Too wide, and it dominates the facade, throwing off the whole street’s rhythm
- Matching the window width creates harmony that makes neighbors pause and smile
- That gentle overhang welcomes you home every single day
I always measure twice, install once. The right width doesn’t just hold soil; it holds the whole look together.
Visual Proportion Balance
How do you know when a window box looks right? It’s all about proportion: getting that sweet spot where your window boxes feel like they belong there.
- Start with width. I extend my window boxes 2–3 inches past each side of the window frame. This creates a grounded, balanced look that supports the window rather than floating beneath it.
- Match the width closely. Boxes that span nearly the full window width achieve harmony; anything drastically wider or narrower throws off the whole facade.
- Consider depth. At least 9 inches gives enough planting room while keeping proportions in check.
- Plan your layers. I position spillers and cascading plants so they don’t block sightlines. This preserves the visual balance between greenery and architecture.
Get this right, and your window boxes will look intentional and settled.
Depth for Plants
Nine inches is my minimum for window box depth, and that number matters.
That depth gives roots room to grow. It lets me plant tall statement makers alongside trailing beauties. Shallow boxes limit me to boring, low-profile choices.
Proper depth unlocks these benefits for gardens:
- Freedom to grow bold, towering blooms that catch every neighbor’s eye
- Roots won’t bake or dry out on hot summer days
- Space for mixing thrillers, fillers, and spillers in one living display
- Window boxes that feel intentional rather than hastily assembled
I match my box depth to my plant ambitions, then balance that depth against window width. The result feels harmonious and creates window boxes that welcome everyone home.
Which Materials and Hardware Survive 20 Years of Weather
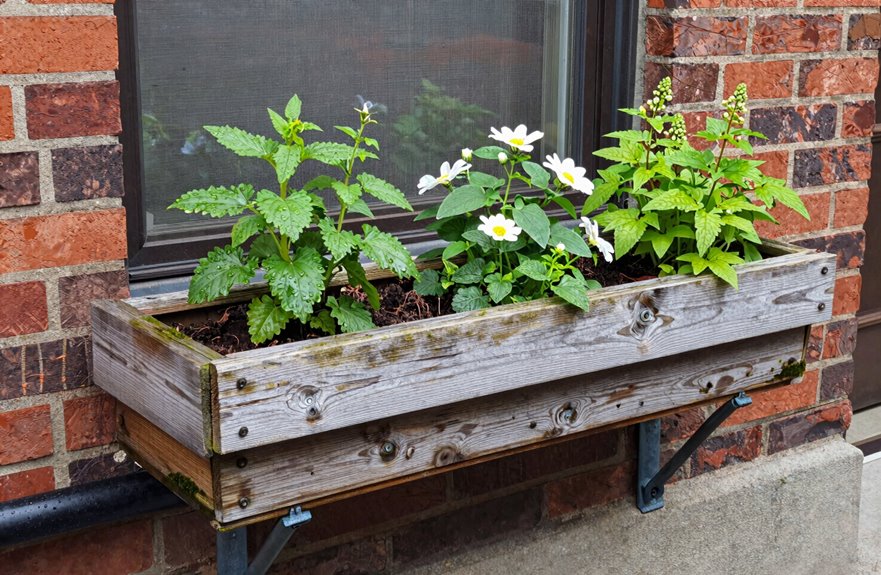
I’ve learned that picking the right materials and hardware makes the difference between a window box that lasts five years and one that thrives for twenty. You’ll want to focus on three key areas: choosing rot-resistant materials like cedar or high-grade polymer, selecting stainless steel or brass fasteners that won’t rust through, and installing proper drainage with ¼-inch holes every six inches along the bottom. Walk through each step so your investment holds up against decades of rain, sun, and freeze-thaw cycles.
Durable Material Selection
Why do some window boxes crack and sag after just a few seasons while others stay solid for decades? The answer lies in smart material choices.
When building window boxes that last, I prioritize:
- Reinforced wood or polymer composites that resist rain and sun without warping
- Hard plastics from trusted names, reducing maintenance demands
- Coconut fiber or sphagnum moss liners that retain moisture and prevent soil loss
- Self-watering reservoirs with overflow protection for consistent plant hydration during busy periods
I fill the bottom third with perlite, not rocks, to keep weight manageable. I always drill drainage holes and match hardware to my filled box’s weight. These choices preserve both the materials and the satisfaction of growing something beautiful over many seasons.
Rust-Resistant Hardware Choices
How often do we focus on the box itself but forget what holds it up? Hardware makes or breaks a twenty-year window box.
- Choose brackets wisely. I use powder-coated steel, galvanized steel, or marine-grade aluminum. These survive rain, snow, and summer heat without weakening.
- Pick the right fasteners. I select stainless steel screws, A2 for most climates and A4 for coastal salt air. They cost more upfront, but they won’t rot from irrigation leaks.
- Skip the cheap stuff. Untreated iron turns orange and crumbles. Low-grade alloys fail within three seasons.
- Check finishes. Anodized aluminum or epoxy-coated steel blocks rust through wet-dry cycles.
- Inspect yearly. I examine brackets, joints, and drainage holes each spring. Replace anything corroding promptly. One weak point stresses everything else.
Weatherproofing Installation Techniques
With brackets and screws locked in place, the real test begins: building a box that won’t rot, crack, or drown your plants before the decade’s out.
Proper drainage separates thriving gardens from soggy disasters. These elements keep window boxes standing strong:
- Bottom holes that let water escape, not pool around roots
- Self-watering reservoirs with overflow guards for dry spells
- Perlite layers and permeable liners stopping compaction
- Weatherproof plastics or composites in earth tones that refuse to fade
I check drainage yearly and refresh soil to maintain that balance. When we build with these materials, following manufacturer specs and choosing blacks, browns, or tans, we create structures that withstand seasonal changes year after year.
How to Layer Soil for Drainage and Light Weight
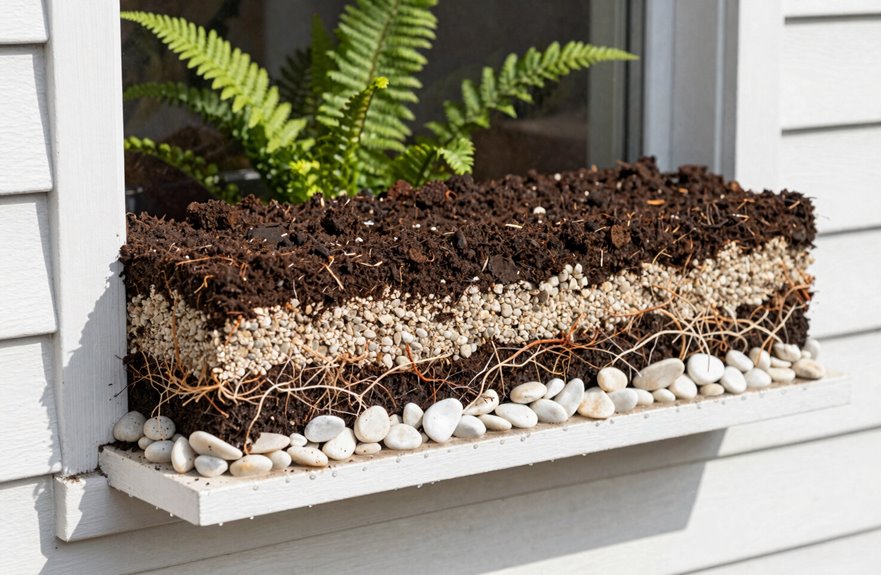
Where exactly should I start when I want my window box to drain well without weighing down my sill? Smart layering makes all the difference.
First, I line the box with a permeable weed barrier. This keeps soil in and lets water out. Next, I fill the bottom one-third to one-half with perlite. This lightweight filler creates drainage channels, reduces weight, and stops roots from sitting in soggy soil. I skip heavy rocks entirely since they add heat and strain my sill.
Layer weed barrier, add perlite for drainage and weight savings, skip the rocks—your sill will thank you.
Then I combine a moist potting mix with those lighter fills. This balances moisture without bulk. I also consider self-watering reservoirs and mold-resistant liners to keep everything fresh.
With these layers, my window box stays light, drains properly, and thrives all season.
How to Pick Plants for Shallow Container Soil
Once I’ve got my soil layers sorted, I turn my attention to what actually goes in the box. I pick plants that don’t require much maintenance but deliver strong results.
What works well:
- Spillers that tumble over the edge and create visual interest for neighbors
- Compact herbs I can snip while cooking dinner
- Low growers that stay proportional to shallow soil
- Colors that complement the surrounding space
Tall plants go at the back to maintain clear sightlines. Window boxes work best when shallow-rooted varieties match the available soil depth of six to eight inches. Choosing plants that thrive without deep root systems makes efficient use of this confined space, creating an attractive display for anyone passing by.
When and How Much to Water Window Boxes
How do I keep these plants from drying out when they’re sitting in six inches of soil all day? Morning watering makes all the difference. I water my 3–6 foot box with one full large can each dawn, letting leaves dry before nightfall. This stops fungus and lets roots drink deep.
Morning watering makes all the difference—one full can at dawn lets roots drink deep and leaves dry before nightfall.
On scorching Utah afternoons, I check again. Sometimes they need seconds.
I’ve got options when life gets busy. Self-watering boxes hold reservoirs that sip slowly, never drowning, never desert-dry. Or I run drip lines for hands-off consistency.
I refresh soil regularly and replace it annually. Old dirt forgets how to hold moisture, and my plants pay the price.
Watering requires rhythm and attention, combined with understanding your specific box’s needs.
How to Swap Plantings When Your Sunlight Shifts
Watering keeps your plants alive, but light decides what you can actually grow. When sunlight shifting hits your window boxes, swap your plantings to match what’s actually reaching the glass now.
Keep your boxes thriving through the seasons with these strategies:
- Switch to low-growing, sun-tolerant plants so your view stays clear and your neighbors can still wave hello
- For longer sun, pick fast, cascading varieties; for shade, go compact and shade-friendly
- Move from wave petunias to pansies or dwarf boxwoods when trees block your light
- Refresh soil yearly, adding perlite to the bottom third for drainage without the weight
Maintain a self-watering reservoir. Your window box belongs to you, but its success depends on matching plants to the sun you’ve got.





