
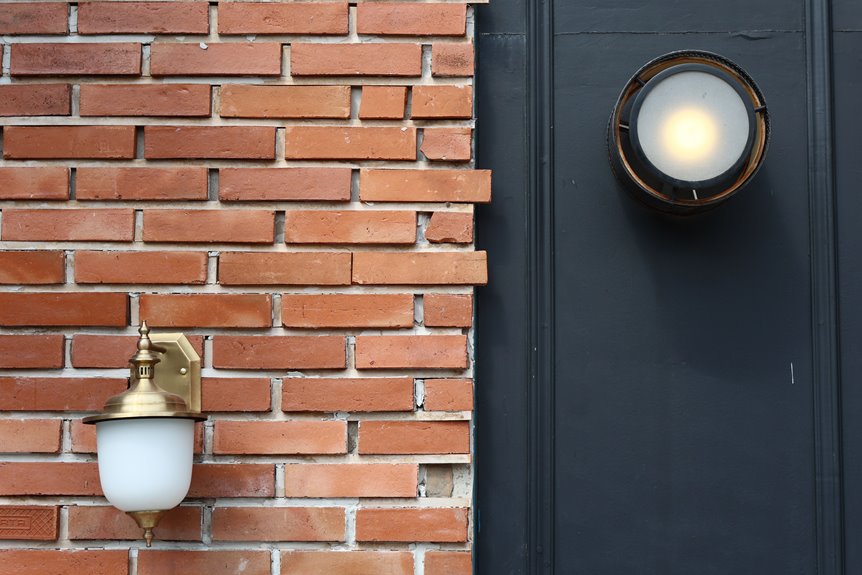
I’ll install exterior wall lights by following six straightforward steps.
First, I gather my tools: a wet-location rated fixture, weatherproof junction box, voltage tester, wire connectors, and mounting hardware.
Next, I assess whether I’m swapping an existing light or running new wiring, checking that my junction box can handle 120V and support the fixture’s weight.
I shut off power at the breaker and verify it’s dead with my tester before removing the old fixture.
Remove the bulb first, then caulk, screws, and wires.
If the junction box is damaged, I replace it with a weatherproof model, routing wires through knockouts and connecting black to black, white to white, ground to green.
I strip 3/4 inch of insulation, twist connections tight, and tuck everything neatly inside.
Finally, I mount the bracket level, seal the base with exterior silicone caulk, restore power, and test.
Each step builds on the last, and the details will ensure the installation is completed correctly.
Tools and Materials to Install an Outdoor Wall Light

Before you grab your ladder and start drilling, gather everything you’ll need. Nothing’s worse than climbing down mid-project to hunt for a missing screw.
Gather everything before you climb. Nothing’s worse than climbing down mid-project to hunt for a missing screw.
You’ll need:
- Outdoor wall light rated for wet locations
- Weatherproof junction box with 120V capacity
- Voltage tester to confirm power off
- Mounting bracket and mounting screws (or wall anchors for masonry)
- Wire connectors for solid splices
- Silicone gasket for weatherproofing
Check your wall material first. Brick, concrete, wood, or hollow siding each need different hardware. Wear insulated gloves and safety glasses, especially when verifying power off at the breaker.
Missing any items will slow your installation. Gather everything before you start.
Assess Your Setup: Simple Swap or New Wiring?
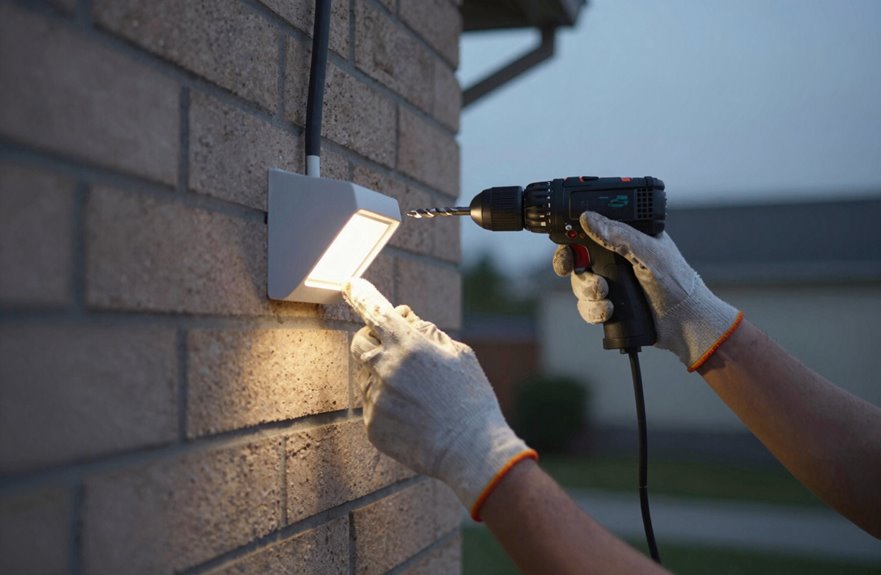
Since you’ve already gathered your tools, I’ll walk you through how I assess every setup. First, I check if I’m doing a simple swap or need new wiring. For a simple swap, I verify the existing junction box is solid and rated for outdoor lighting installation. I confirm the 120V supply and inspect grounding connections.
If I’m running new wiring, I plan the electrical wiring carefully. I’ll need weatherproof components, conduit, and a proper mounting surface. Solid brick or wood studs work best; otherwise, I add mounting blocks.
I always check that exterior wall lights have proper sealing and that my junction box handles the fixture weight. Whether it’s a quick replacement or full new wiring, correct installation prevents electrical hazards and ensures reliable outdoor lighting performance.
Shut Off Power and Remove the Old Fixture
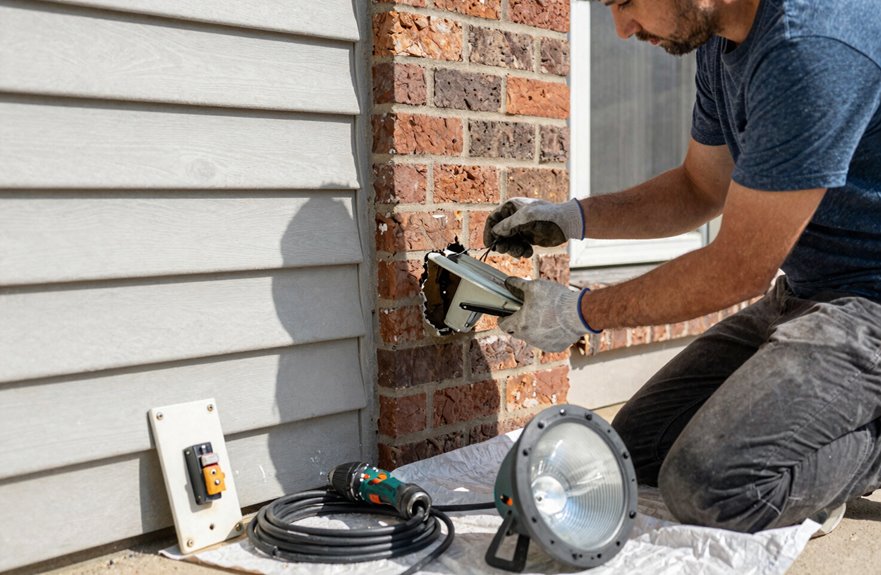
The first thing I do is find the correct circuit breaker and flip it to the off position to avoid contact with live wires. I shut off power at the source completely, then check for de-energization with a voltage tester to confirm safety. I remove the bulb to reduce weight and prevent breakage. I pry away any old caulk with a chisel, loosen the screws, and carefully remove the old fixture from the wall. Then I start the wiring disconnect by untwisting the hot wire, the neutral wire, and the ground wire one by one. If the fixture still works, I recycle or donate it. Finally, I remove the old mounting bracket entirely, leaving a clean, flat surface for the new installation.
Install or Replace the Outdoor Junction Box
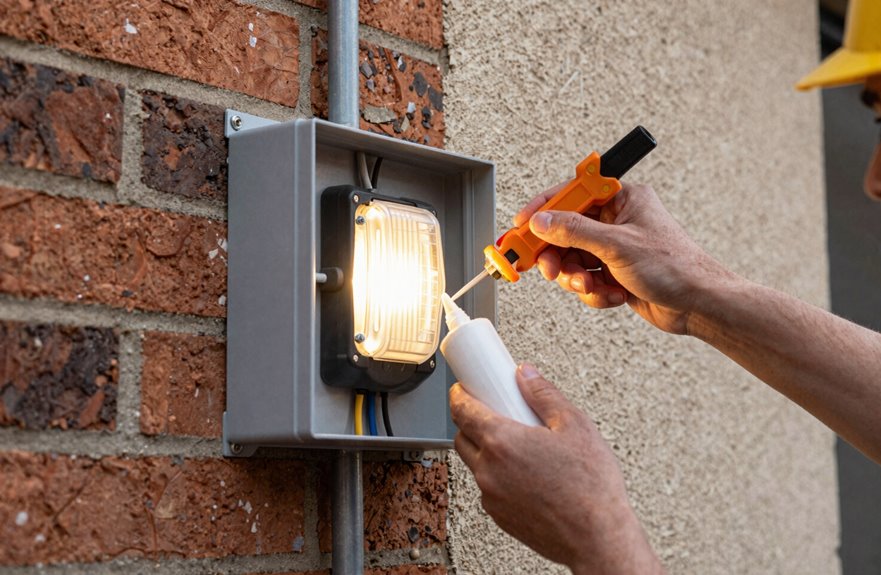
Solid weather protection starts with the junction box. Examine what remains after removing the old fixture. If you spot cracks, rust, or a missing cover, replace it with a weatherproof exterior junction box rated for outdoor use.
Solid weather protection starts with the junction box—replace it if you spot cracks, rust, or a missing cover.
- Mount the box to a solid surface, or install a retrofit exterior junction box if no compatible surface exists.
- Use your voltage tester and double-check the circuit is dead before opening the old box.
- Route wiring through the proper knockouts, then connect hot to black, neutral to white, and ground to green screw or bare copper.
- Cap connections, tuck wires neatly, and seal the gasketed cover tight.
- Follow manufacturer instructions to mount the fixture, ensuring all seals seat properly against the elements.
Match the Wires: Black to Black, White to White
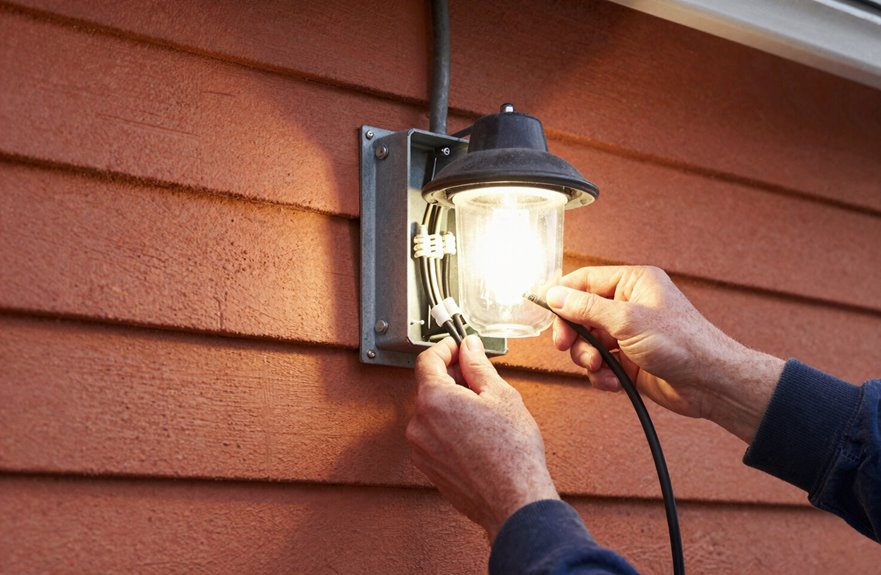
Strip back about ¾ inch of insulation from each wire end to expose clean copper. You’re now ready to match the wires for your outdoor lighting.
Start with the hot side. Take the fixture’s black wire and twist it to your home’s black wire, black to black. These wire connectors keep everything tight. Next, connect white to white, linking the neutral wires so current flows home through your electrical circuit.
Do not skip grounding. Wrap that green or bare copper wire around the grounding screw, or twist it with the home’s ground wire. Proper grounding prevents electrical hazards when working with exterior wall lights.
Push all three connections into your weatherproof junction box, keeping wires neat. Once you restore power, test the light to confirm your wiring works properly.
Mount, Seal, and Test Your New Exterior Light
With the wiring matched and secured, I’m ready to put everything in its place. I attach the mounting bracket to the wall with screws, using a level so it’s straight. Then I hang the light, confirm ground bonding, and tuck all capped wires neatly back into the junction box.
| Step | Check |
|---|---|
| Mount and Seal | Bracket level, caulk base, no gaps |
| Test | Restore power at breaker, light works |
Installing exterior wall lights means sealing every edge with care. I apply exterior silicone caulk around the base, blocking moisture intrusion so the installation stays weatherproof. I restore power at the breaker, flip the switch, and verify the warm bulb glows steady and bright.





