
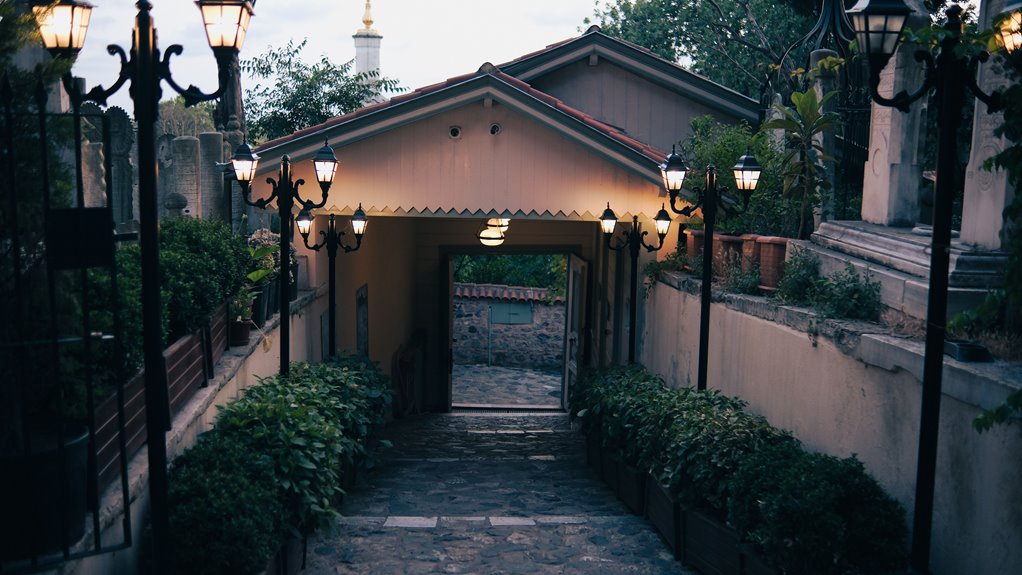
I start every garden lighting plan with three layers: path lights spaced 8–10 feet apart for safe walkways, uplights placed 6–12 inches from tree trunks for drama, and downlights mounted 8–10 feet high for gentle ambient glow.
I use low-voltage LED systems at 12 volts for safety, select weatherproof fixtures, and keep each wiring run under 150 watts to prevent voltage drop. I match color temperature to each space: 2700K for intimate seating areas, 4000K for pathways, and 3000–3500K for architectural highlights. Then I size my transformer with 20% headroom above total wattage.
I map my layout on graph paper, divide into zones, and verify GFCI outlets and local burial codes before digging. Wiring gauges, fixture finishes, and seasonal maintenance schedules depend on these core specifications.
What Kind of Garden Lighting Do You Actually Need?

Where do you even begin when every garden store shows you hundreds of blinding options? Start with an outdoor lighting plan built around light layering. You’ll want three to four fixture types working together: pathway lighting, uplighting, and downlighting. This approach makes your garden feel deep and welcoming, not flat and harsh.
Use low-voltage LED systems at 12 volts. They’re safer for DIY, and voltage drop stays minimal. Pick weatherproof fixtures rated for outdoor use. Space path lights 8–10 feet apart on both sides of walkways; the pools of light should overlap for safe walking.
For drama, uplight trees and statues. For gentle glow without glare, downlight seating areas and ground planes. Always buy a transformer with 20% headroom above your total wattage. This gives you room to expand later without replacing the transformer.
What Your Garden Lighting Project Will Actually Cost

How much will this really set me back? It depends on your choices, but I’ll break it down so we can plan together.
A landscape lighting kit like Max Spread gives you a 150W transformer, 100 ft cable, and basics to start. I prefer low voltage systems because they’re safer and DIY-friendly. You’ll save on labor, but budget for accessories and possible electrician fees for the transformer hookup.
Smart zoning keeps costs down. I run multiple zones at 100–150W each to avoid oversizing. Path lights cost less than uplighting, but features add up fast.
| Cost Factor | What I Pay Attention To |
|---|---|
| Wattage per zone | Keeps my system efficient |
| Warranty coverage | VOLT®’s lifetime deal saves on maintenance costs |
| Kit contents vs. needs | I compare bulbs, cable, connectors |
| Optional features | Color lenses, underwater lights cost extra |
Plan well, and your garden lighting will deliver efficient illumination without unnecessary expense.
Map Your Garden Lighting Layout Step by Step
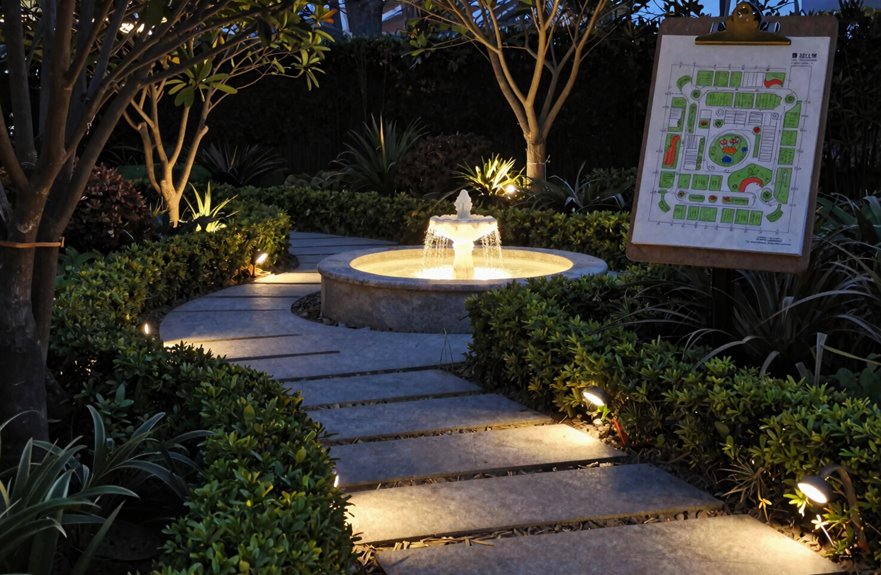
Now that we’ve covered what this project will cost, let’s get your plan down on paper. I’ll walk you through sketch planning your landscape lighting plan step by step.
- Grab graph paper and mark your property boundaries. Note existing features such as trees, paths, and patios, then pencil in fixture types where you want light.
- Plan your transformer placement near the house, ideally hidden behind shrubs. For large properties, use multiple transformers closer to fixture groups.
- Divide your lighting layout into zoning with separate pages for front yard, backyard, and side gardens. This keeps wire runs manageable.
- Map daisy-chain wiring between fixtures, grouping similar distances together. Watch voltage drop. Keep VOLT LEDs at 8–15V and halogen at 10–12V.
- Tape your sketch to a clipboard. Walk the garden, adjust distances, and mark actual measurements. This approach ensures your installation will function properly over time.
Pick Your Techniques: Uplighting, Downlighting, and Silhouettes
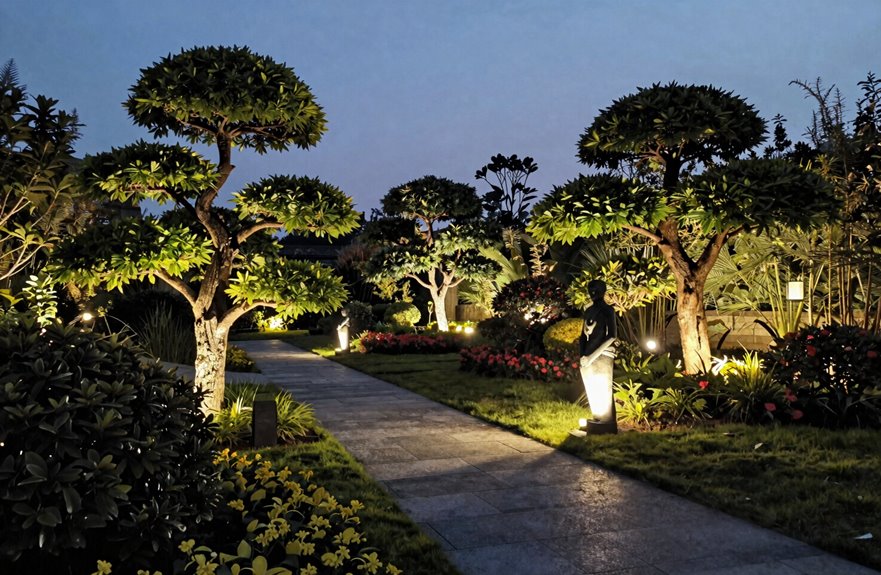
Once you’ve mapped your layout, it’s time to choose how you’ll actually light each feature. Start by matching technique to purpose, then blend approaches for depth.
- Use uplighting for drama. Place fixtures 6-12 inches from tree trunks or architectural features, aiming upward to cast bold shadows and draw eyes where you want them.
- Add downlighting for safety. Mount fixtures 8-10 feet high along pathways and stairs, directing light downward to prevent trips without harsh glare.
- Create silhouettes for mystery. Position lights behind shrubs or sculptures, 2-3 feet from the backdrop, so dark shapes emerge against glowing surfaces.
Layered lighting transforms flat yards into inviting spaces. Balance brightness by spacing fixtures 10-15 feet apart and dimming to 40-60% for evening mood. Consider each element’s height and distance to achieve brightness balance that feels welcoming rather than overwhelming.
Choose the Right Color Temperature for Each Outdoor Space
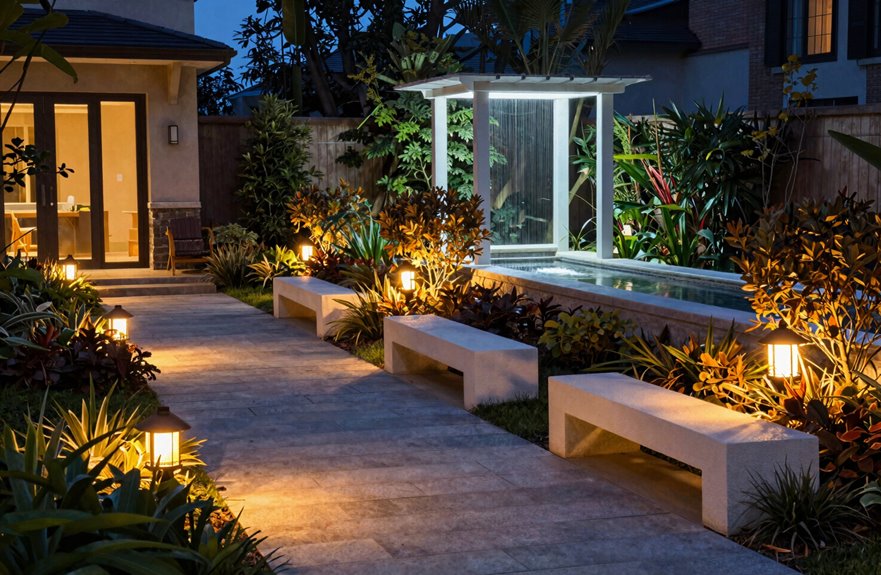
Why does the same garden feel magical one evening and harsh the next? Color temperature in your outdoor lighting makes the difference.
I measure this in Kelvin. For intimate spaces where we gather, I choose warm white at 2700–3000K. It creates that golden glow people naturally prefer. Along pathways, I switch to cool white at 4000–5000K because visibility matters for safety.
For architectural highlights, I land at 3000–3500K. Brick and stone look natural, not washed out.
My method involves three steps: First, layer your ambient lighting with 2700K LEDs. Second, add focal points at 4000K for gentle contrast. Third, check that everything balances.
I always pick LED bulbs. They keep their color temperature steady year after year, so your garden remains consistently welcoming.
Select Garden Lighting Fixtures That Match Your Hardscape
When I walk through a garden at dusk, I notice how the fixtures either fade into the background or stick out like sore thumbs. Matching your hardscape materials creates that seamless look we all want.
To choose fixtures that feel like they belong:
- Match your finish to your hardscape. Brass or aluminum fixtures complement stone and wood beautifully.
- Layer your lighting types. Combine path lights for safety, wall-mounted fixtures for texture, and recessed lights for subtle elegance.
- Keep your design language consistent. Mix in-ground, wall-mounted, and recessed fixtures that share lines and materials.
Select LED low voltage landscape lighting with warm color temperature (2700–3000K) for cohesion. Your fixtures should feel like they were always meant to be there.
Size Your Garden Lighting System Without Electrical Headaches
How do you keep your garden lighting project from turning into an electrical nightmare? Start with math, not guesswork.
First, add up every fixture’s wattage. Then pick a low voltage transformer with 20% extra capacity. Headroom prevents overload. For big spaces, split installations into zones. Each run stays under 100–150W to fight voltage drop. With LED fixtures, group more per run, but keep one home run per zone for easy fixes later.
Wire gauge matters. Use 12-gauge for runs up to 10,000W and 10-gauge for 10,001–15,000W. Longer runs need zone splitting.
Transformer location is key. Place transformers near GFCI outlets, or use multiple transformers across large properties to balance load and reduce voltage drop further.
| Component | My Rule | Why It Helps |
|---|---|---|
| Transformer | 120% of total wattage | Prevents overload, extends life |
| Run capacity | ≤100–150W each | Limits voltage drop, eases repair |
| LED grouping | More fixtures per run | Efficient, modern, cost-saving |
| Wire gauge | 12-gauge to 10K, 10-gauge above | Handles load without loss |
| Transformer location | Near GFCI, multiple if needed | Safe, balanced, expandable |
DIY Wiring Routes vs. When to Call an Electrician
Where exactly should all those wires go? Smart wiring routes make or break a low-voltage garden system.
Map your layout first, then choose your path. Here’s how to keep it simple:
Plan your layout before you run a single wire—route selection starts with a clear map of where everything goes.
- Pick your method: Use daisy-chain for straight paths, or hub method when fixtures cluster together. Both approaches beat running single long wires that cause voltage drop.
- Size everything right: Calculate total wattage, add 20% buffer for transformer sizing, and keep each run under 100–150W. For longer runs, use 12-gauge wire (up to 10,000W) or 10-gauge for heavier loads.
- Know your limits: Call a professional electrician when you need multiple transformers, face complex routing around utilities, or feel unsure about outdoor safety.
Getting this right means your lights glow evenly, year after year.
Check Your Outlets and Local Code Requirements
Before I start digging or buying fixtures, I map out exactly where my outdoor outlets sit and whether they can handle the extra load my lighting plan demands. I pull up my local electrical codes online or call the building department, since rules about GFCI protection, transformer placement, and trenching permits vary block by block. Getting this right upfront prevents ripping out finished work later or failing an inspection that stalls the whole project.
Verify Outlet Locations
Why risk a failed installation when a quick outlet check saves hours of frustration. Start by locating outdoor-rated GFCI outlets, since these protect against shock and handle transformer location safely.
Distance mapping strategy:
- Measure from each outlet to where you’ll mount the transformer, keeping cables under 100 feet for best voltage.
- Check for planters obstruction or hardscape that blocks the path, and clear vegetation for moisture protection.
- Verify weatherproof enclosures and tamper-resistant receptacles are in place. If outlets fall short, plan weatherproof power strip compliance or new installations.
Mount everything six inches above ground, ensuring proper clearance. Proper outlet verification and positioning prevents electrical hazards and installation delays.
Check Local Codes
How do I know I’m doing this right? I check my local landscape lighting codes before I dig a single hole. I want my garden to shine, but I need it to be safe and legal too.
First, I call my city building department. I ask about permits for outdoor electrical work. Some areas require them for any buried cable; others don’t. I find out fast.
Next, I verify GFCI protection on every outlet I’ll use. This is safety compliance that keeps my family protected from shock.
I also confirm buried cable regulations. Most codes demand 6-inch depths for low-voltage lines, but I double-check. Weatherproofing matters too; I need covers rated for my climate.
Finally, I ask about professional licensing. Some towns require licensed electricians for transformer installs. I schedule electrical inspections early, so I’m not tearing up finished work later.
| Task | Why It Matters | My Action Step |
|---|---|---|
| Check landscape lighting codes | Avoids fines and do-overs | Call building department Monday |
| Secure permits | Keeps project legal | Submit application with site plan |
| Verify GFCI protection | Prevents electrocution | Test every outlet with a button |
| Follow buried cable regulations | Protects lines from damage | Mark 6-inch depth with spray paint |
| Confirm professional licensing | Ensures qualified work | Ask if I need an electrician |
Assess Power Capacity
Where exactly will my power come from? My low-voltage system needs a transformer plugged into a GFCI-protected outdoor outlet. I’ve checked my local codes already, so now I’m sizing my power capacity with room to grow.
Here’s my plan:
- Pick a transformer rated 20% above my total wattage, like a 75W or 100W unit for expansion planning.
- Match my wiring gauge to run length. 12-gauge handles most loads, 10-gauge for longer distances.
- Split my layout into circuit zoning, keeping each run under 150W to prevent voltage drop and simplify fixes.
My setup can grow with my garden while maintaining safe operation.
Maintain Your Garden Lights Year After Year
Since I want my garden lights to perform beautifully for years, routine care is essential. I schedule seasonal maintenance each spring and fall to check weatherproofing on every fixture, inspecting for worn gaskets and verifying IP ratings still protect against rain and dust.
I prevent corrosion by cleaning brass or aluminum monthly with soft cloths, removing buildup before it etches the finish. My regular inspections catch problems early: green oxidation, cracked seals, and dimming lenses. This routine keeps my lights glowing consistently and protects my investment. Consistent maintenance means your garden stays well-lit and welcoming every night.





