
I restore faded outdoor light fixtures in six simple steps. First, I assess the fixture’s material: brass, aluminum, or steel, and check for corrosion.
Second, I gather supplies including oil-rubbed bronze spray paint, microfiber cloths, masking materials, and safety gear.
Third, I clean gently with warm water and mild dish soap, testing a hidden spot first.
Fourth, I remove oxidation using vinegar for brass or baking soda paste for aluminum, avoiding steel wool.
Fifth, I repaint metal parts with outdoor-grade coating and apply protective sealant.
Sixth, I test the fixture and schedule maintenance every 3–6 months.
Each step builds on the last, ensuring your restoration remains effective when you maintain it consistently.
Can Your Outdoor Light Fixtures Be Restored?
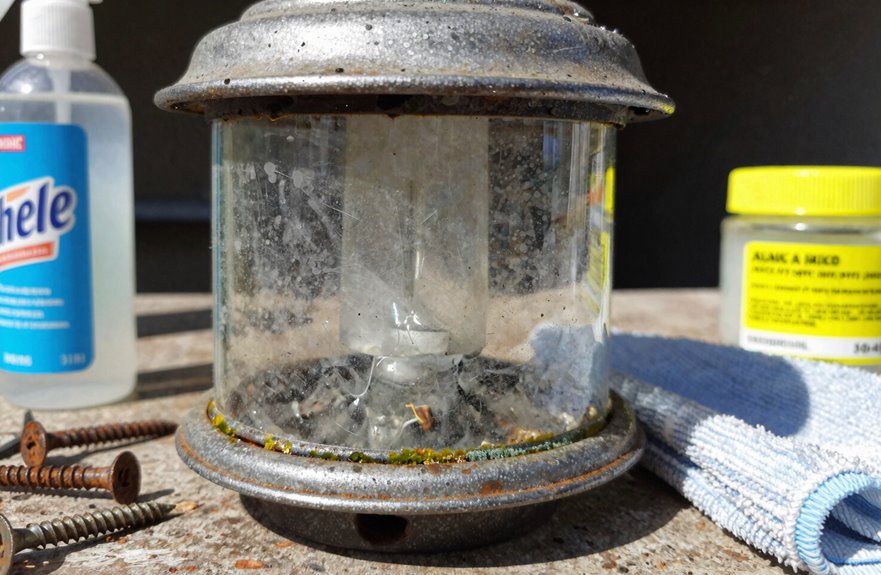
Why let worn fixtures drag down your home’s curb appeal when you might bring them back to life? Most outdoor lights from the 1990s can undergo restoration, though results vary based on what’s underneath.
Before starting, consider these points:
- Check your fixture’s material. Brass-plated steel won’t shine like solid brass, no matter how hard you polish. Test a hidden spot first to see what you’re working with.
- Restoration works best when you shield surrounding surfaces, such as stone walls and siding, and paint components in place. You’ll avoid overspray damage.
- Protect glass elements completely. Tape them off carefully before cleaning or painting.
- Re-tighten every screw after reassembly. Loose fixtures wobble and wear faster.
Your outdoor lights are worth restoring.
Gather Supplies to Restore Faded Fixtures
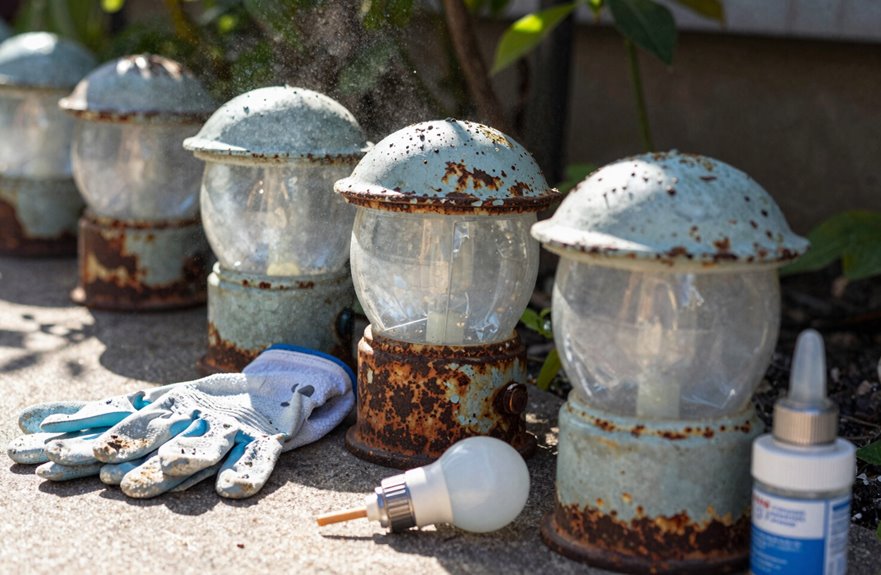
Before I touch any paint, I’ll grab everything I need at once to avoid interruptions midway through. Gather a screwdriver, a bulb removal tool, and cleaning rags for essential cleaning and reassembly. You’ll also need foam core or cardboard, kraft paper, and duct tape for protective shielding, along with oil-rubbed bronze spray paint to finish the job.
Essential Cleaning Materials
Where exactly do you start when your outdoor fixtures have gone dull and gray? Gathering the right cleaning supplies makes all the difference for bringing outdoor lighting back to life. Here’s what I keep on hand:
| Item | Purpose |
|---|---|
| Warm water | Base for gentle cleaning solution |
| Dish soap | Cuts through grime without damage |
| Microfiber cloths | Lift dirt without scratching surfaces |
| Soft brush | Reach crevices and textured areas |
| Oxidation remover | Restore metal’s original finish |
I always turn off power at the breaker first. Safety comes before anything else. Then I mix warm water with a few drops of soap, dampen my cloth, and wipe away surface dirt. No steel wool, no harsh chemicals. Just patience and the right tools. Once they’re clean and dry, I assess whether that oxidation remover needs to step in.
Protective Gear Needed
Safety gear demands the same attention as your cleaning supplies. I’ve learned that the hard way after getting soap in my eyes one too many times. Here’s what you’ll need to stay safe while restoring your fixtures.
- Gloves: I always grab nitrile or rubber gloves first. They protect my hands from harsh cleaners and rough metal edges that can slice skin unexpectedly.
- Eye protection: Safety glasses or goggles shield your eyes from splashing vinegar, soap, or debris. You’ll prevent eye irritation and injury this way.
Beyond these essentials, I keep a long-sleeved shirt handy to guard against chemical drips. Since we’re working with electricity outdoors, proper protection isn’t optional. It prevents chemical burns, cuts, and electrical hazards that require medical attention.
Clean Your Outdoor Fixtures Without Damaging the Finish
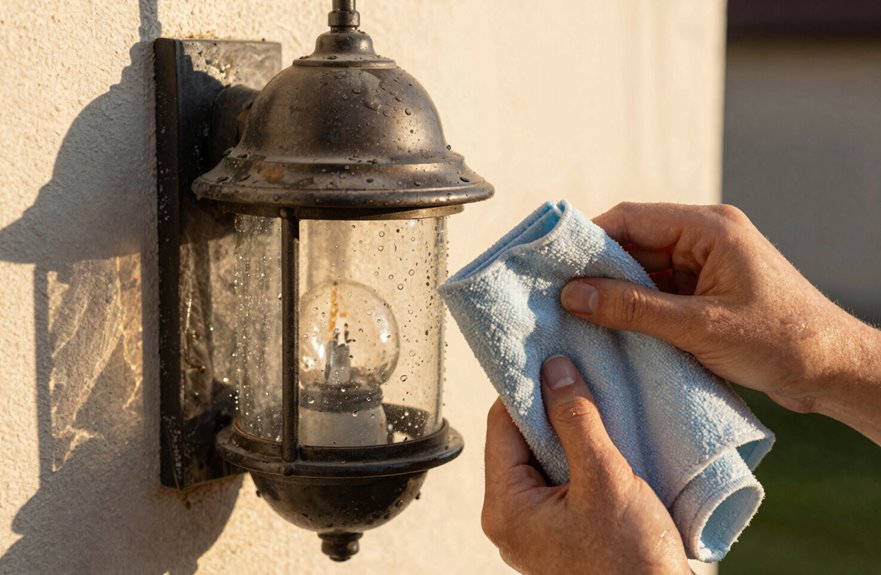
I start by spraying the top of each fixture with a garden hose set to gentle mist, letting gravity carry dirt downward so water won’t seep into the housing. For stubborn grime, I mix one tablespoon of mild dish soap into a gallon of warm water and apply it with a soft microfiber cloth, testing a hidden corner first to ensure the finish stays intact. I shield nearby stone or siding with painter’s plastic before spraying, then reassemble every glass panel and bulb by hand, checking that each screw turns three full rotations to secure without stripping.
Gentle Cleaning Methods
Outdoor light fixtures often collect layers of dust, dirt, and cobwebs from constant rain and sun exposure, so I always start with gentle cleaning before attempting any polish or restoration.
- I remove loose dirt with a dry cloth first.
- I hose the top of the Lighting Fixture lightly, keeping water away from the housing.
- I use a soft brush on the Exterior Wall side, lifting grime without scratching.
- I skip harsh abrasives entirely; they’re too risky for old finishes.
- I test 0000 steel wool cautiously on brass or steel, checking a hidden spot first.
Afterward, I reassemble everything snug. Your fixtures will look refreshed, and your home will feel welcoming again. Lighting fixtures worth preserving deserve proper care.
Finish Protection Tips
How do I keep that freshly cleaned look without stripping away years of protection? Outdoor finish care means working with the surface, not against it.
- Clean gently. I remove loose dirt first, then hose from the top down. I use a soft brush and metal-appropriate cleaner. Never use steel wool or harsh abrasives that scratch.
- Shield against damage. Moisture, temperature swings, and UV rays weaken protection over time. I skip disassembly when possible to preserve factory seals.
- Apply barriers. Automotive wax, clear sealants, or metal protectant sprays create moisture barriers that slow oxidation.
- Maintain rhythm. I dust monthly, wash every 3–4 months, and schedule protective waxing once yearly.
This routine keeps fixtures looking fresh and extends their life.
Remove Oxidation From Faded Metal Surfaces
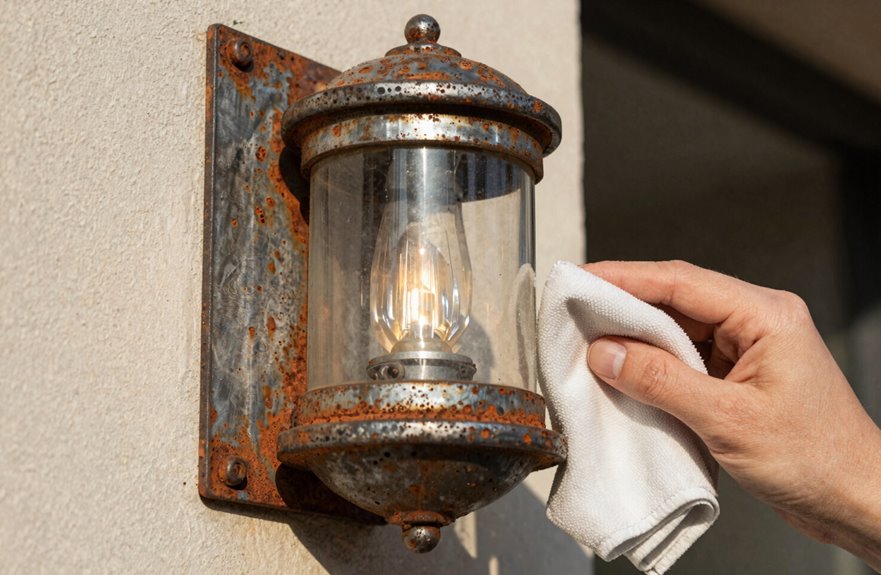
The chalky white film on your aluminum sconce or that reddish-brown crust creeping across your steel lantern isn’t just ugly. It’s oxidation, and it’s eating away at your fixtures every time rain hits or humidity climbs. Steel rusts, copper tarnishes, aluminum turns powdery, and each requires specific care.
To remove oxidation:
- Cut power at the breaker, then wipe away loose dirt with soapy water and a soft cloth
- Apply white vinegar or lemon juice to brass and copper for 10-15 minutes
- Mix baking soda paste for aluminum surfaces, scrubbing gently with a nylon brush
- Avoid steel wool, as it scratches and speeds future corrosion
- Rinse thoroughly, dry completely, and inspect for missed spots before moving forward
Proper maintenance prevents further deterioration of your fixtures.
Seal Restored Outdoor Fixtures Against Future Damage

Once you’ve stripped away that oxidation and your fixtures look fresh again, you’re not quite finished. I always seal my outdoor pieces right away. A quality sealant blocks moisture from hitting that bare metal, and automotive wax works great for most fixtures.
Here’s my simple schedule:
| Material | Reapply Every |
|---|---|
| Brass/Copper | 3–4 months |
| Aluminum | 4–6 months |
| Stainless Steel | 6 months |
| Coastal Areas | 2–3 months |
| Heavy-Duty Sealant | 1–2 years |
Match your sealant to your metal. Brass needs different care than aluminum. If you’re near the ocean, double up on protection. Salt accelerates corrosion significantly faster. Regular resealing prevents oxidation from returning and keeps your fixtures looking sharp throughout the year.
How Long Does Restoration Last vs. Buying New?
Why spend hundreds on new fixtures when a careful restoration can buy you years. Restoration longevity often matches replacement durability when you choose quality materials and proper technique. Brass fixtures have stayed vibrant for eight years after repainting, while copper develops that lovely patina we actually want.
Quality restoration matches new fixture durability, with brass staying vibrant for eight years and copper developing its desired patina.
What makes restoration last:
- Brass and stainless steel respond beautifully, giving you 5-10 years with minimal touch-ups
- In-place painting protects your stone and siding from overspray damage
- You’ll see results immediately, not after weeks of ordering and installation
- Quick annual maintenance extends life far longer than expected
- Replacement only wins when corrosion eats through metal or wiring fails
Restoration belongs in every homeowner’s toolkit when these conditions are met.





