
I built my first raised garden box on a sloped driveway and learned the hard way that a wobbly frame won’t hold soil for long. Follow these steps to build one correctly:
1) Pick wood suited to your climate. Cedar resists weather but costs more, while untreated pine saves money but rots faster in wet regions.
2) Size your bed about 36 inches wide so you can reach the center, and keep end pieces at least 16.5 inches tall to save your back.
3) Assemble the frame on flat ground first, clamping shorter boards to corner posts and checking corners with a speed square.
4) Brace everything tight with 4×4 posts and add mid-span supports if sides bow.
5) Lay cardboard for weeds, set the box in place, and shim until level.
6) Fill with 60% topsoil and 40% compost, aiming for 12–18 inches deep, then seal the exterior with weatherproof paint.
Each step builds on the last. Following these details will help you avoid the mistakes I made.
Pick Wood That Lasts in Your Weather (Without Breaking the Bank)
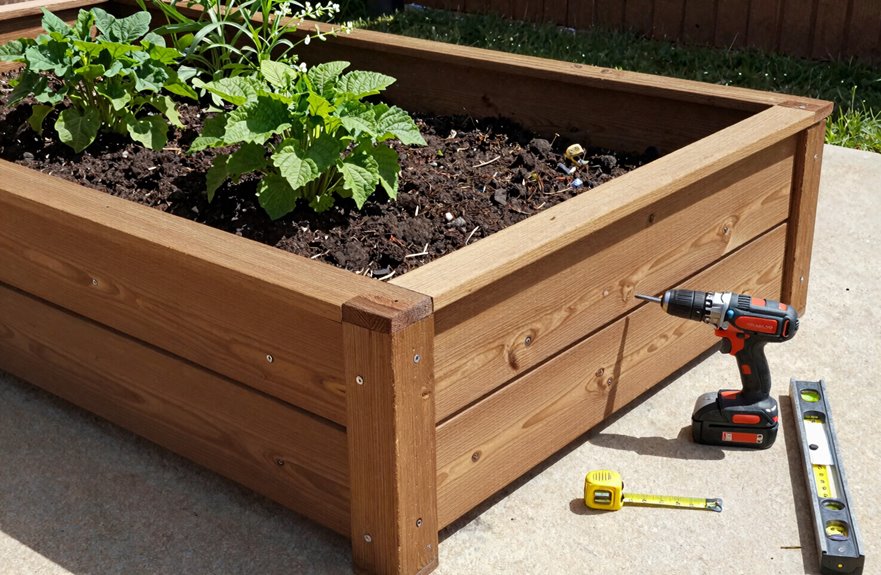
Where do you even begin when every lumber aisle looks the same? I’ve stood there too, overwhelmed and uncertain. Learning to build a raised bed that won’t fall apart requires understanding these key factors.
Where do you even begin when every lumber aisle looks the same? I’ve stood there too, overwhelmed and uncertain.
- Start with your climate. Cedar boards offer excellent weather resistance and last for years, but you’ll pay more and hunt harder for them.
- Consider pressure-treated lumber for durability. Skip it when your vegetables touch the soil; the chemical treatment poses contamination risks.
- Untreated pine saves money and eliminates chemical concerns for soil contact. In dry regions, you’ll get several seasons of use; wet climates mean faster rot and more frequent replacement.
- Check true dimensions. A “2×6” often measures 1.5 by 5.5 inches.
- Test board straightness by sighting down each edge. Wavy boards won’t build square corners, which compromises the structural integrity of your garden bed.
Decide on Dimensions Before You Cut Anything
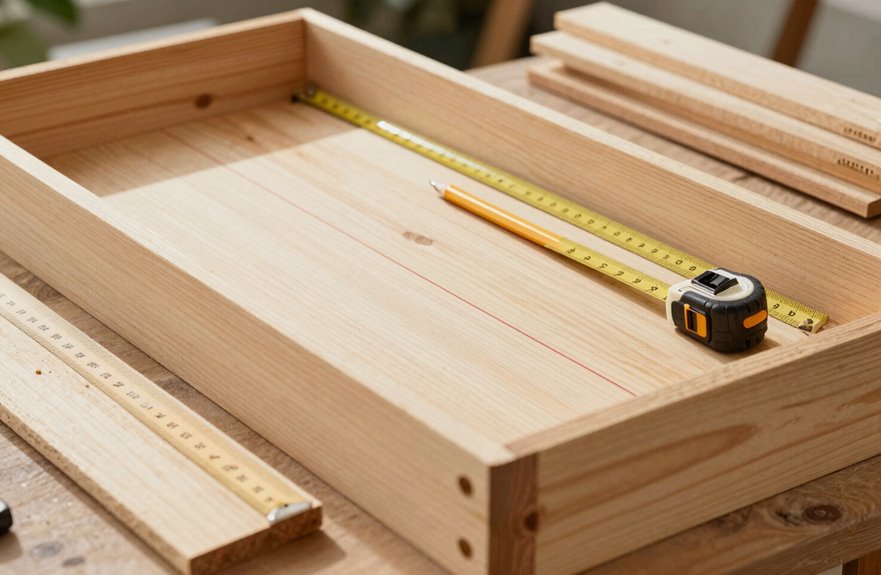
Before I make my first cut, I grab a tape measure and sketch out exactly what I want. Raised bed dimensions aren’t one-size-fits-all, so I plan first to match my space and body.
Here’s how I nail it down:
- I pick my bed size based on reach. About 36 inches wide lets me tend plants without stepping in.
- I check accessibility, aiming for 16.5 inch end pieces or taller to save my back.
- I scout level ground with room to walk around, since wobbling boxes cause problems.
- I finalize depth and long boards, then build my cut list to cut once, not twice.
When dimensions match my needs, my garden fits me, not the other way around.
Assemble the Raised Garden Box Frame on Flat Ground
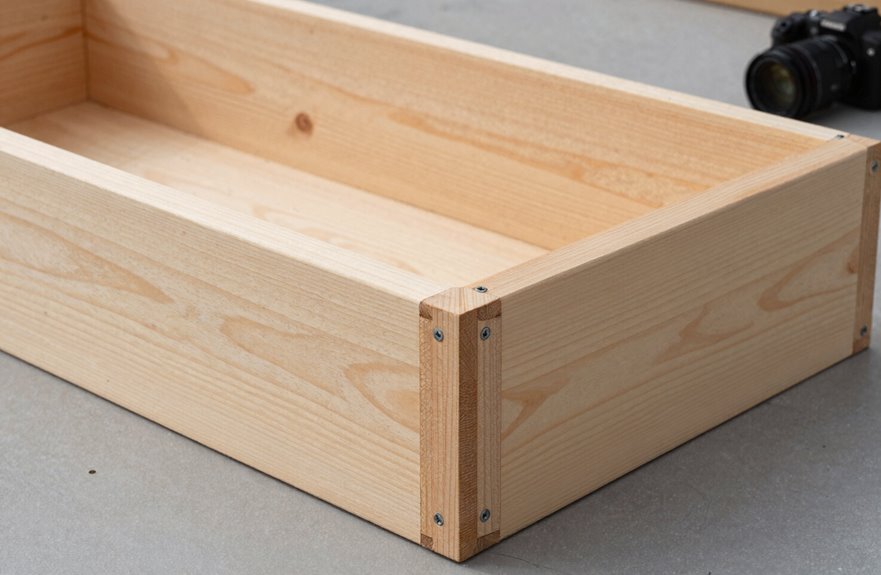
Once I’ve got my cut list ready, I find a flat, level spot on my driveway or patio where I can build the frame without fighting uneven ground. Working on level ground keeps my raised bed frame square and true, preventing wobbly joints later.
I start with two shorter boards, clamping them flush to the corner posts. Helper clamps or a friend’s steady hands keep everything aligned while I work. Then I attach the longer boards flush to the edges of those shorter pieces, building out the sides of my raised garden beds.
Before driving screws, I pre-drill pilot holes about two inches from each end of my 2×6 boards. This stops the wood from splitting. I check 90-degree angles with a speed square, add my second row of boards the same way, and the frame is ready to move to its home.
| Step | What I Do | Why It Matters |
|---|---|---|
| 1 | Find flat, level ground | Keeps frame square during assembly |
| 2 | Clamp shorter boards first | Creates stable corners |
| 3 | Pre-drill pilot holes in 2×6 boards | Prevents splitting at ends |
| 4 | Check 90-degree angles | Ensures square raised garden beds |
| 5 | Use helper clamps or a friend | Reduces bowing, maintains alignment |
Brace the Corners and Fix Wobbly Sides
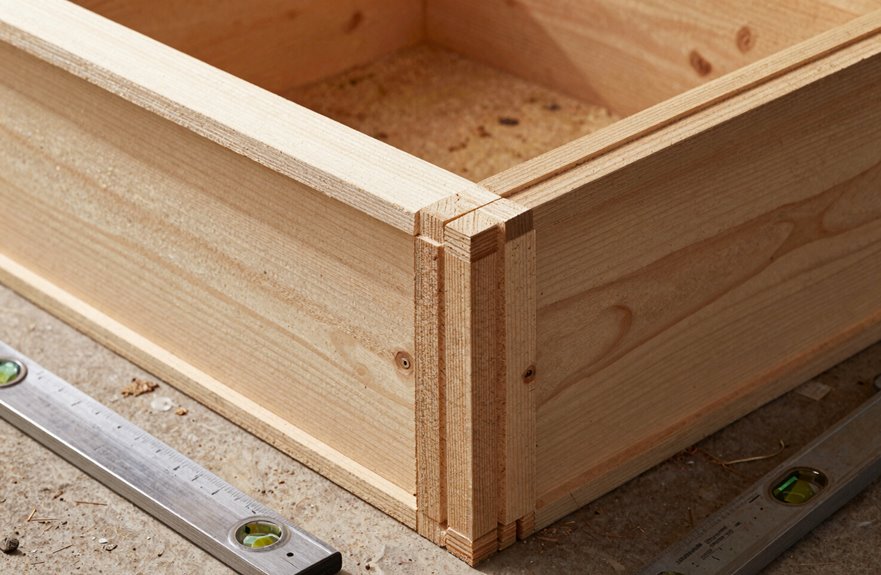
I’ll secure the corners first, since that’s where most wobble starts. I attach 4×4 posts at each corner, pre-drilling pilot holes two inches from the board ends to keep the wood from splitting when I drive the screws. Once those posts are tight, I’ll check for bowed sides and straighten them with center supports if needed, making sure everything stays square with my speed square before adding the next row.
Corner Bracing Methods
How do you keep a raised garden box from twisting out of shape? Solid corner bracing locks everything together.
- Anchor 4×4 posts at each corner, attaching shorter boards flush to the posts first, then longer boards to the ends. This creates a rigid frame with significant racking resistance.
- Add Simpson strong ties or framing angles at corner joints for extra shear strength under soil load.
- Install a mid-span brace between opposing boards when sides bow to straighten and stabilize the box.
- Pre-drill holes 2 inches from ends, then drive screws into corner posts to prevent splitting.
Check level and squaring throughout, tightening only when corners sit at true 90 degrees. Your bed will remain square season after season.
Side Stabilization Techniques
Solid corners keep your box square, but the long sides need help too. Stack a second row of 2×6 boards flush to the shorter corner boards to build rigidity into your raised garden box frame. When long boards bow, add side stabilization with a center support or Simpson ties to hold square corners true.
| Problem | Fix |
|---|---|
| Long boards bow outward | Add center support brace |
| Splitting at ends | Pre-drill holes 2 inches in |
| Wobbly frame | Clamp and check with speed square |
| Misaligned sides | Re-cut individual sides to fit |
Always pre-drill holes before driving screws. Keep a helper steadying the long boards while fastening. This prevents the raised garden box from racking and creates a structurally sound frame.
Add Weed Barrier and Level Your Box on Site
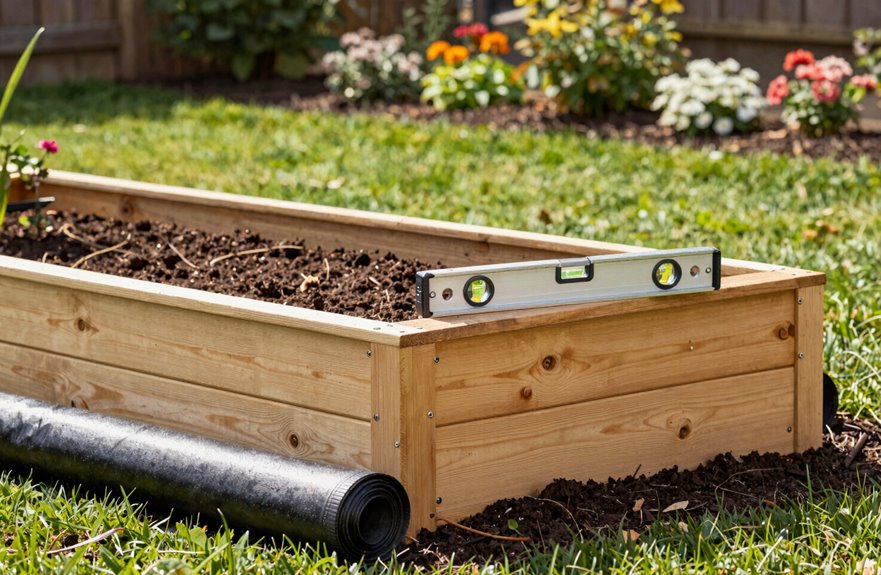
A level bed is the foundation of healthy growth, so I take time to get this step right before my box touches the ground.
- I lay cardboard directly on the ground for weed suppression, overlapping edges by 6 inches to block persistent roots.
- I set my raised bed frame on top and check for level with a carpenter’s level, eyeing all four corners.
- I adjust by shimming low corners with thin wood strips or lifting with packed soil underneath.
- I secure the weed barrier under the bottom frame when possible, tucking edges to prevent weed breakthrough.
With my box sitting flush and even, the frame won’t bind soil or wobble at the corners. The solid ground supports consistent growth. I skip mulch here; that comes later.
Fill With the Right Soil Mix and Seal for Weather Protection
Now I’ll tackle the soil mix, drainage, and sealing steps that set your raised bed up for years of growing success. I blend 60–70% quality topsoil with 30–40% compost, then work in perlite or coarse sand for drainage. About 10–15% of the total volume provides adequate drainage. Before I fill the bed, I seal the exterior wood with weatherproof paint and line the inside with plastic or landscape fabric to block moisture and rot.
Soil Mix Selection
Choosing the right soil blend is essential for a successful raised bed garden. A proper soil mix directly determines whether plants struggle or thrive.
Here’s what works:
- Mix 60% topsoil, 30% compost, and 10% coarse sand or perlite for balanced drainage and aeration.
- Aim for 12–18 inches of soil depth for most vegetables. Go deeper for carrots and parsnips.
- Add amendments like extra compost each season to maintain fertility as organic matter breaks down.
- Seal the exterior with weatherproof paint and line the interior with 6–8 mil plastic to protect your raised bed from moisture damage.
Top-dress with fresh compost yearly. This maintains living soil, supports root health, and sustains consistent garden productivity across multiple growing seasons.
Drainage Layer Setup
Every raised bed I’ve built taught me the same lesson: skip the drainage layer, and you’ll be fighting soggy roots all season. Here’s how to set yours up properly.
1) Line the bottom with hardware cloth or landscape fabric. This keeps pests out while letting water escape.
2) Add a 2-inch ventilation layer of coarse gravel or crushed rock if your bed sits on compact ground. Skip this if you’re on well-draining soil.
3) Place a plastic liner along the interior walls, not the bottom. This creates crucial moisture control by blocking direct soil-to-wood contact without trapping water.
4) Fill with your soil mix: 60% topsoil, 30% compost, 10% perlite. This blend maintains airflow and prevents compaction.
Refresh your soil mix yearly. Your plants will develop stronger roots and produce bigger harvests.
Wood Sealing Options
- Pick an exterior wood sealant labeled for outdoor use. Spar urethane or spar polyurethane handle rain and sun best.
- Apply two thin coats of outdoor wood finish with a brush, letting each coat dry fully.
- Check your cedar raised bed each spring; UV protection fades, so plan on re-sealing exterior surfaces every one to three seasons.
- Seal only the outside and top rim. Leave interior bare for soil contact.
This routine keeps your raised garden box strong and beautiful for years.





