
I built my modern outdoor chair in one weekend using 2×4 and 2×6 lumber, a pocket-hole jig, and basic tools. First, I measured my 24 x 24 inch cushion and cut the seat opening to 23 1/2 inches for a snug fit. Next, I assembled the seat frame with pocket screws, tapering the back edge to 15 degrees for comfort. I cut legs tapering from 1.5 to 2 inches, joined them to armrests with hidden dowels and Titebond III, then connected everything with 2-1/2 inch exterior screws. I added 3/4 x 3/4 inch cleats inside the seat opening, laid five 24-inch slats with even spacing, and finished with two base coats of sealer plus two top coats of spar urethane. Careful execution of each step ensures a durable, functional chair.
Start Your DIY Outdoor Chair: Size to Your Cushion
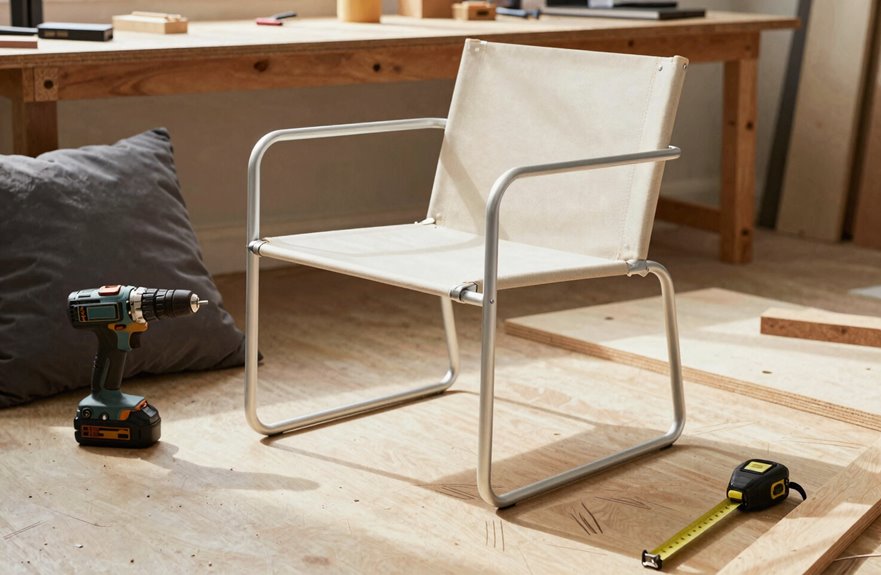
The right cushion makes or breaks your chair, so I’m starting there. I’m building this to fit standard 24 x 24 inch cushions, which means my seat opening needs to be 23 1/2 inches. That half-inch gap lets the cushion compress slightly for a snug fit.
Here’s my plan:
- Measure twice. I’ll check my actual cushion before cutting any pressure treated wood. If it’s off by an inch, I’ll adjust my seat opening accordingly.
- Cut to fit. My frame needs that 23 1/2 inch opening, not 24. The cushion sits on slats with shallow clearance, so compression handles small gaps.
- Secure tight. I’ll use screws to lock everything in place, keeping my cushion from shifting.
This approach ensures your cushion won’t slide or bunch up during use, and you’ll have a structurally sound chair ready for finishing work.
Gather Materials and Tools for This Build
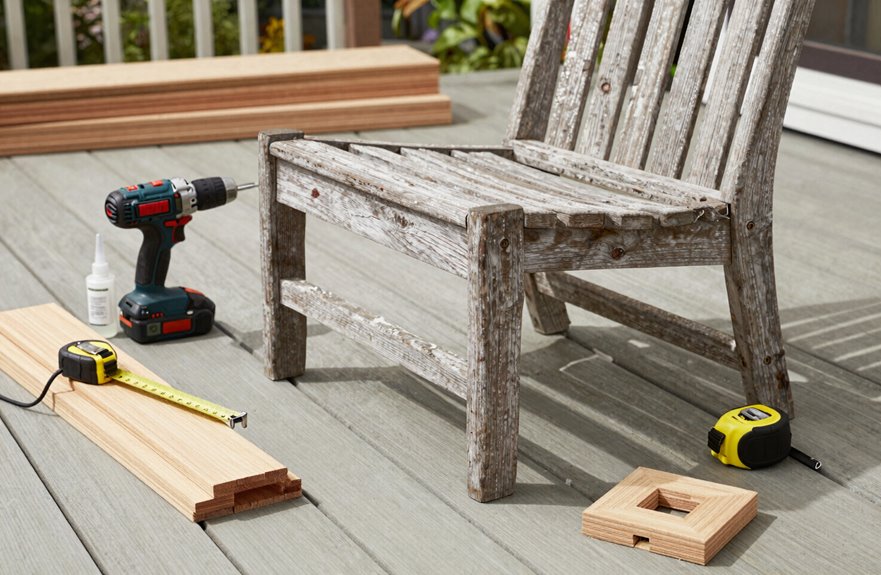
Wood selection sets the foundation for everything that follows, so I’m starting with my lumber list. I’m grabbing 2×4 and 2×6 lumber only, nothing fancy, just straightforward boards that’ll hold up outside. For hardware, I need 2-1/2 inch exterior pocket screws with predrilled holes so nothing splits when I drive them home.
Pocket-hole joinery runs through this whole outdoor chair build. This applies to legs, rails, back slats, and everything that connects this way. A pocket hole jig is essential here; it keeps things tight and square.
For finish coats, I’m going with spar urethane over a sealer base. Two base coats and two top coats provide the weatherproofing needed to keep this chair looking sharp season after season. My seat opening hits 23-1/2 inches, perfect for standard 24-inch cushions once they compress slightly.
Cut and Assemble Your Outdoor Chair Seat Frame
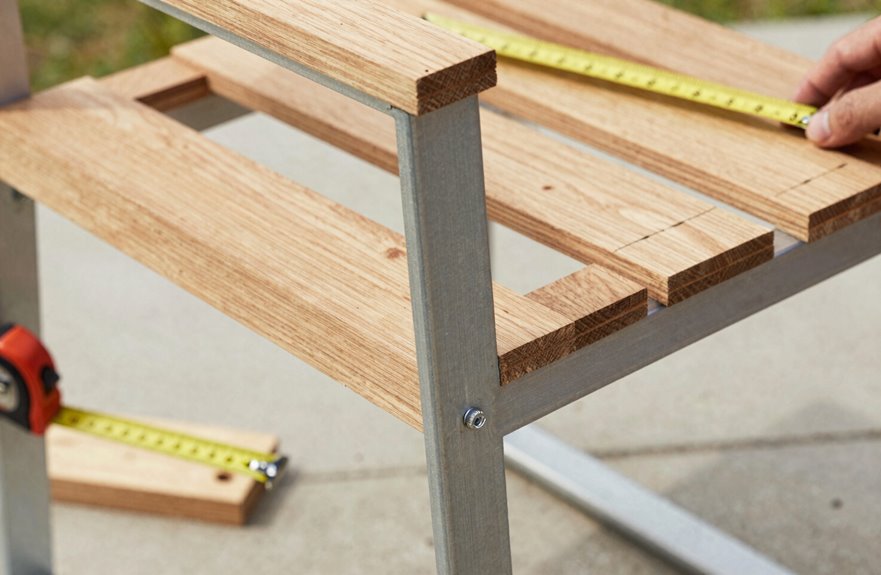
I’ll build the seat frame by cutting those two side pieces and one front piece, then I’ll join them with pocket holes while keeping the offsets in mind so nothing interferes. I’m using 2-1/2 inch exterior pocket screws to lock everything together tight, since this base needs to hold up to real use. Once that’s squared up, I’ll grab my tapering jig and miter saw to trim the back with that 15-degree recline. That angle improves both the appearance and comfort of the finished chair.
Seat Frame Cuts
How do we build a seat frame that’s sturdy, comfortable, and ready for cushions. I’ll walk you through the cuts that make this piece work.
First, I cut two side pieces and one front piece. I use offset work to keep my pocket screws clear later. I grab my tapering jig and miter saw to shape the back edge, which gives that sleek transition into the chair’s back.
I build the seat frame to sit on top of cleats. Those cleats hold the slats that become your seating surface. I make sure my length fits 24-inch cushions, and I add a slight downward angle for comfort.
I predrill everything and align carefully. Keeping the seat frame square is critical. My 2-1/2-inch exterior pocket screws require precision during assembly.
Pocket Hole Assembly
The seat frame comes together with pocket hole joinery. We’ll join the two side pieces and front piece with 2-1/2 inch exterior pocket screws. Remember to offset the front piece slightly so the screws don’t collide.
Before driving screws, brush epoxy or glue-water onto the end grain to stop moisture soaking in. This outdoor chair needs all the protection it can get.
Next, attach 3/4 x 3/4 inch cleats inside the seat opening using 1-1/4 inch screws with countersunk pilot holes.
Finally, rest your slats on those cleats, spacing them evenly, and screw them down. Your seat frame is complete and ready for finishing.
Give Your Seat Back a Comfortable 15-Degree Recline
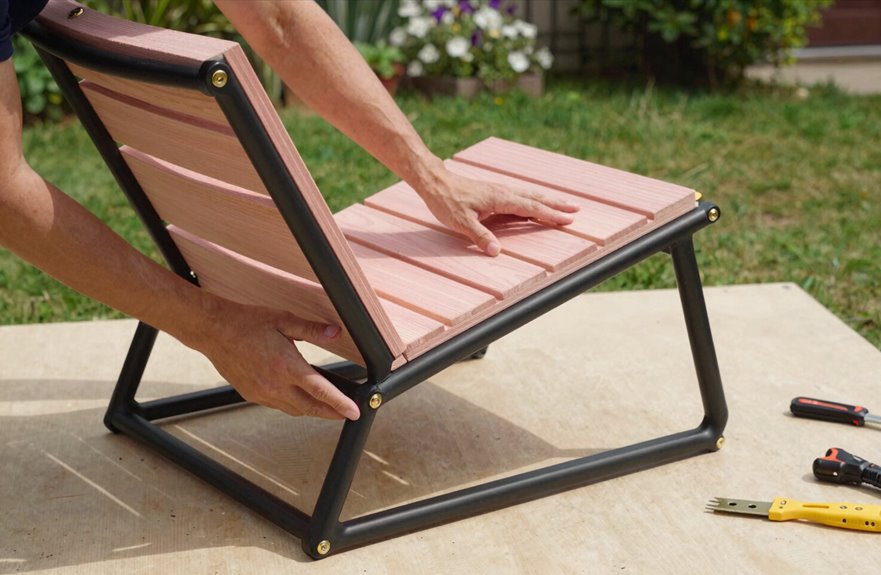
I’ll show you how to shape the backrest so it leans at a relaxed 15-degree angle. Set up your tapering jig and miter saw to cut the back slats narrower at the top, about two inches slimmer than the base, while keeping that consistent recline across every piece. Connect the top and bottom rails with pocket holes, offsetting them slightly so the slats sit flush when you attach them.
Taper Cut Technique
Because comfort matters as much as looks, this chair features a gentle 15-degree recline that’s noticeable every time you sit down.
- Set up your taper cut technique using a tapering jig and miter saw for accurate, repeatable back cuts.
- Cut the long back taper first. Keep the top square while the bottom widens to shape your seat-back profile.
- Create a flat face at the leg join during your final back taper cut. This ensures proper alignment and flushness where pieces meet.
- Connect your top and bottom back rails with pocket holes, using alignment offsets to maintain precise back geometry.
This taper cut technique delivers consistent length across all pieces. The method produces both sleek lines and functional comfort in your finished chair.
Miter Saw Setup
Setting up your miter saw correctly makes all the difference when cutting the seat back pieces. I lock my miter saw base to exactly 15 degrees for the back angle that provides the perfect recline.
Here’s my method:
- Set the miter saw to 15 degrees left for repeatable cuts on matching back pieces.
- Grab your tapering jig with hot-glued reference blocks to replicate each cut precisely.
- Cut the long taper from bottom to top with a square top and wider base for that sleek profile.
- Remember: pocket holes go on the back rails with alignment offsets to keep everything square during assembly.
This setup gives you matching sides and clean joinery. The jig and angle work together to produce professional results with excellent fit and function.
Back Assembly Alignment
Once you’ve got your back pieces cut to that 15-degree angle, you’re ready to assemble them into a solid unit.
- Grab your rails for the top and bottom. I drill pocket holes on the inside faces, two per end, so they stay hidden once everything’s together.
- Offset the top rail slightly back from the bottom rail. This keeps the back panels square when the taper joins meet the legs later.
- Before final assembly, run one last cut on your tapering jig. This creates a flat face right where the leg connection happens. Without it, your back assembly won’t sit flush.
- Clamp everything, check for square, then drive screws into those predrilled pocket holes. The result is a clean outside with a strong internal structure.
Taper the Legs and Cut the Armrests
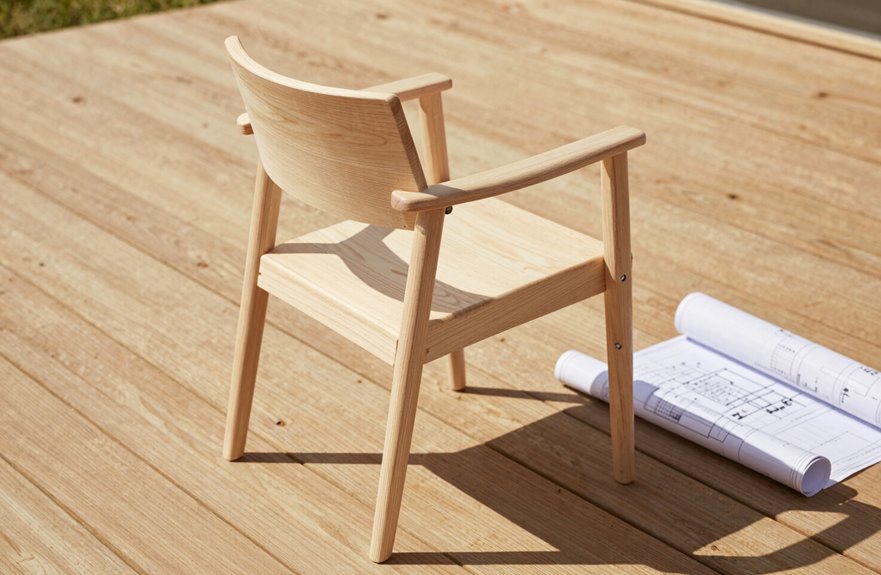
Before I start joining the frame, I taper the legs and cut the armrests because that 15-degree back recline starts with the leg geometry and connects to the back components later. I set my tapering jig to shape each leg from 1.5 inches at the bottom to 2 inches at the top. This gradual widening creates the angled profile I need.
I pay close attention to orientation. The inner-side tapers must mirror each other perfectly, or the chair will look lopsided. I mark left and right legs clearly.
For the armrests, I cut matching 45-degree miters on both ends. I clamp a stop block to my miter saw fence so every piece matches. Consistent measurements prevent assembly problems later.
Once these parts are ready, I can move toward assembly.
Join Legs to Armrests With Hidden Dowels
With the legs tapered and armrests cut, you’re ready to connect these pieces using hidden dowels. This joinery keeps everything looking clean while building serious strength.
- Set up your dowel jig by clamping it to each leg and positioning it for two holes per joint, one at 1 inch from the top and another at 2.5 inches down. The self-centering feature guarantees your holes line up perfectly every time.
- Drill all leg holes first. Then mark matching spots on the armrest undersides and drill those too.
- Brush epoxy onto the leg end grain to stop the wood from absorbing glue later.
- Apply Titebond III to the holes and hidden dowels, then clamp legs to armrests tight. Let it cure overnight. Your frame will be solid without any metal showing.
Connect the Chair Body to the Leg Assembly
How do we turn four legs into an actual chair? Connect the chair body to the leg assembly to bring the build together.
Start by marking your pocket-hole jig settings for precise hole placement on each leg. Position alignment clamps to hold everything steady; this step ensures square joints. Drill two dowel holes per leg using dowel joinery for hidden strength, and brush epoxy on end grain to prevent moisture infiltration.
For the leg-to-seat joints, drive 2-1/2 inch exterior deck screws through predrilled, countersunk holes. Front legs attach straight to the seat front; back legs angle with the slanted back. Clamp, glue, then screw while checking that opposite legs remain matched.
| Step | Tool/Material | Action |
|---|---|---|
| 1 | Pocket-hole jig | Set depth for leg holes |
| 2 | Alignment clamps | Secure legs to seat frame |
| 3 | Dowel jig | Drill two holes per leg |
| 4 | Epoxy + dowels | Join with hidden dowel joinery |
| 5 | 2-1/2″ deck screws | Fasten leg-to-seat joints |
Your chair is now complete and ready to support weight.
Attach Cleats and Install Your Slats
I start by cutting my ¾ x ¾” cleats to size and drilling countersunk pilot holes to prevent splitting. Next, I place the slats in the seat opening to mark exactly where the cleats need to sit, then clamp and secure them with 1-1/4″ exterior screws. I repeat this same process for the back slats, keeping everything spaced evenly for a clean, modern look.
Cleat Positioning Technique
Before you can kick back and relax, you’ll need to give those slats something solid to grab onto. I cut my cleats to size—¾ x ¾ inch—and position them where the seat and back slats will rest. I mark placement, then drill countersunk pilot holes to keep the wood from splitting.
I fasten the cleats with exterior screws, sinking them flush so nothing snags later. Once cleats are secure, I lay my slats across them, using the cleats as my reference points. I clamp each slat, predrill near edges, then drive 1-1/4 inch exterior screws through into the cleats below. The same process applies for seat and back. Install cleats first, then slats, always predrilling. This approach keeps everything aligned and built to last through seasons of use.
Slat Spacing Method
Once you’ve got your cleats locked in place, it’s time to make this chair sit-able. Rest each slat in the seat opening and against the cleats to check your spacing before committing. This visual test prevents problems later.
For the seat and back, use the same cleat and slat system. Clamp each piece, then secure it with 1-1/4 inch exterior screws through pocket holes drilled earlier. The pocket holes hide the fasteners and keep the outside clean.
Maintain even spacing by eyeballing gaps or slipping in thin spacers between slats as you work. Consistency matters more than perfection. Each ¾ x ¾ inch cleat gets countersunk pilot holes first so nothing splits when you drive the screws home.
Final Fastening Steps
With your slat spacing dialed in, you’re ready to lock everything down.
- Attach the cleats. Use ¾ x ¾” cleats, drilling countersunk pilot holes and driving 1-1/4″ screws. The seat opening helps position them correctly.
- Install the slats. Lay five 24″ slats for the seat, drilling 1 ½” pocket holes at the ends to secure them to the cleats and supports. For the back, use a hidden-fastening approach; pocket holes keep everything flush and clean. Predrill near edges to prevent splitting.
- Final check. Test stability, ensure even spacing, and tighten every screw.
| Task | Tool/Material | Why It Matters |
|---|---|---|
| Attach cleats | 1-1/4″ screws | Creates solid foundation |
| Seat slats | Pocket holes | Hidden, clean look |
| Back slats | Exterior-grade screws | Weather resistance |
| Final test | Your own weight | Safety and durability |
You’ve built something real.
Finish Your Outdoor Chair: The Test-First Method
Since I’ve learned the hard way that a bad finish can ruin weeks of work, I test my finish on scrap wood from the same batch before it touches the actual chair. This test-first approach saved me once; I’d skipped it, watched the finish peel, and spent days disassembling and stripping.
For outdoor finishing, I rely on exterior-grade finish that can handle sun and rain. My go-to is spar urethane, TotalBoat Lust in matte. The method is straightforward: sand to 220 grit, wipe clean, then apply two base coats of sealer. Sand lightly between coats. Finish with two top coats, wiping debris each time.
This creates a smooth, protective surface that lasts for years. Test your batch first, follow the process, and your chair will remain in good condition on your patio for an extended period.
Maintain Your Outdoor Chair for Years of Use
Why let a good chair go to waste? Regular maintenance keeps my outdoor furniture going for decades.
First, I clean the chair twice yearly with mild soap and water, then let it dry completely. I inspect all screws and dowels each spring and fall, tightening anything loose with a screwdriver. Small wobbles become big problems if ignored.
I reapply exterior-rated finish every two to three years. I use spar urethane with three coats minimum, sanding lightly with 220-grit between each layer for proper adhesion. When I spot color fade or surface checks, I sand only those areas before recoating.
Winter storage is critical. I store my chair indoors or use waterproof covers during heavy rain and snow. Moisture destroys durability faster than sun or use. These simple habits prevent weather damage and keep the chair in usable condition for years.





