
I start by gathering my tools: an orbital sander, 60-220 grit sandpaper, scraper, tack cloth, and safety gear. I inspect each slat for damage, replacing broken ones with template-cut boards and tightening loose screws. I strip old finish with 80 grit, shape with 120-150, and finish-sand curves at 180-220. I vacuum thoroughly, wipe with tack cloth, then choose my path: primer and exterior enamel for painted, or stain for natural wood. I apply two thin coats, waiting 2-4 hours between water-based layers or 24 for oil-based. I seal with UV-protective topcoat, building 3-4 coats with light 220-grit sanding between. I wait 48 hours for full cure before use, storing chairs dry and elevated off-season. Following these steps prevents the damage and uneven finishes that occurred during my initial projects.
What You’ll Need: Tools to Refinish Adirondack Chairs
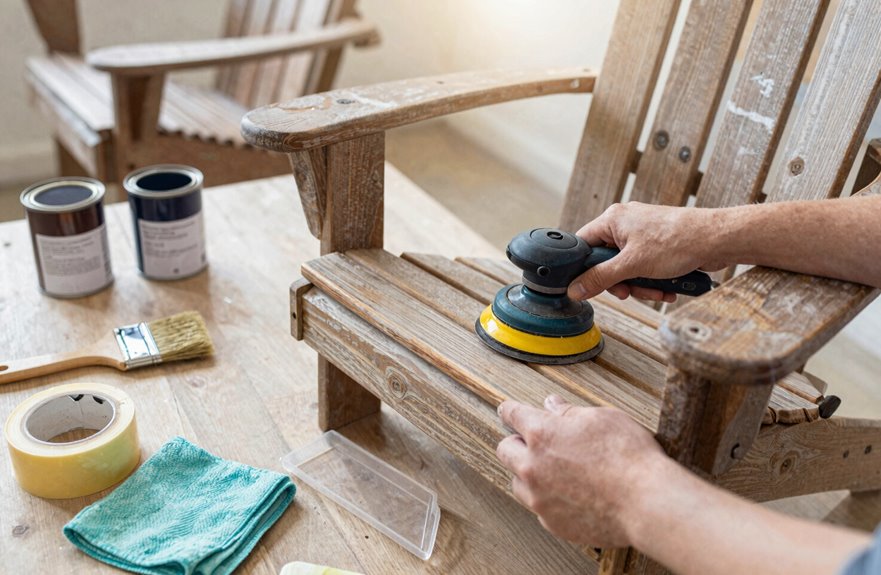
Why start a project without the right gear? Refinishing Adirondack chairs requires proper preparation from day one.
Proper preparation from day one means starting with the right gear for refinishing Adirondack chairs.
- Sanding essentials: Grab an orbital sander for broad surfaces and detail sanding sponges for curved slats. Add a scraper for stubborn old finish, plus a vacuum with brush attachment and tack cloth for dust removal.
- Protection: Wear safety glasses, a respirator, and gloves. Sanding creates fine particles you don’t want to breathe.
- Surface prep: Keep mineral spirits handy for degreasing, and lay down drop cloths with painter’s tape.
- Application tools: Stock angled sash brushes, small foam rollers, and mini rollers for smooth primer coverage.
- Repairs: Include wood filler, exterior glue, clamps, and replacement screws for wobbly joints.
Gather these first. You’ll have the equipment necessary to complete the job effectively.
Assess Damage: When to Repair, Replace, or Rescue
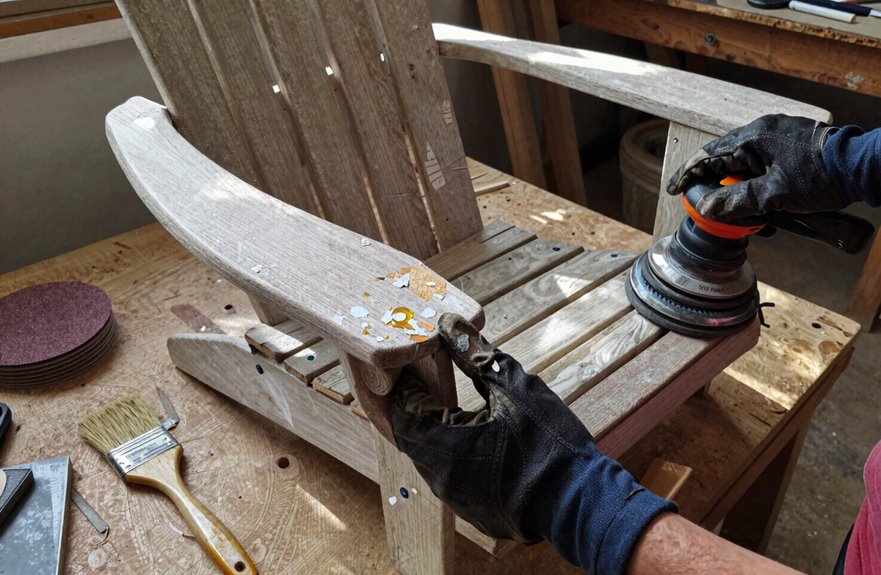
How thoroughly should you examine your chairs before diving in. Check every inch, since small problems become headaches. First, inspect each slat for dents, bends, cracks, or missing chunks. If damage is minor, use wood filler and make simple repairs. For severely damaged slats, go to the hardware store, buy standard boards, and use the old back slat as a template to cut new ones. Next, tighten loose screws, replace rusted ones, hammer down protrusions, and counter-sink fasteners. If seat slats wobble, secure them with finish nails or a Brad nailer, keeping heads flush. Finally, scrub everything with mild soapy water, rinse away dust, and dry wood completely. Your chair is now ready for finishing work.
Strip and Sand: Grit Selection for Curved Slats
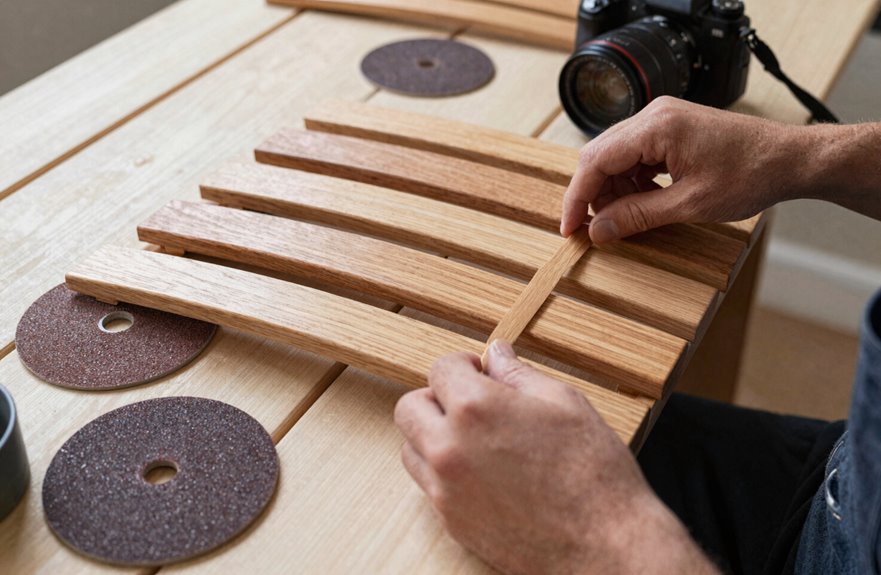
Stripping old finish from curved Adirondack slats takes patience, but you’ll save hours by choosing the right grit from the start. Sanding curved slats incorrectly ruins an otherwise perfect chair. Here’s how to get it right:
- Start aggressive. Grab 60–80 grit to power through old finish on those curved slats without fighting forever.
- Smooth the transition. Move to 120–150 grit so your curved slats keep their shape without ugly gouges.
- Finish smart. Switch to 180–220 grit. This grit minimizes scratches and helps primer stick tight.
- Work the curves. Use a palm sander for broad curves, then hand-sand with the grain for tight spots. Vacuum between stages.
Get All the Dust Out (Or Your Finish Will Fail)
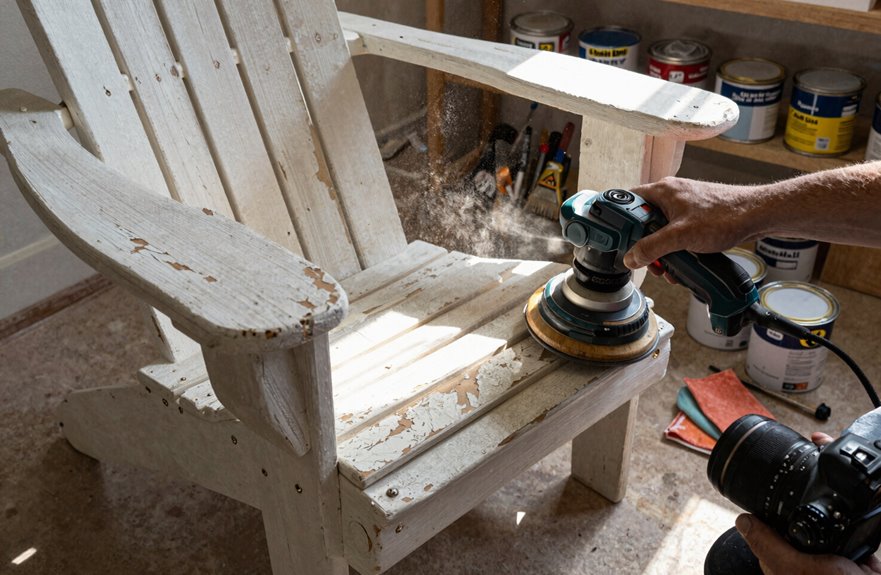
I’ve ruined more finishes than I care to admit by skipping this step, and I’m not letting you make the same mistake.
- Vacuum thoroughly. I use a shop vacuum with a brush attachment to suck up loose dust from every curve and corner of my sanding work.
- Wipe with a tack cloth. This sticky cloth grabs the fine particles my vacuum missed. Skipping this step leads to visible defects in the finish.
- Clean between every grit. When I sand from 60–80 grit up to 120–220, I stop and remove dust completely each time.
- Check for dampness. I let the wood dry fully after cleaning; trapped moisture destroys finishes from underneath.
- Inspect before painting. I run my hand over the surface. Any debris missed at this stage becomes peeling or blistering in the final finish.
Prime or Stain? Choose Your Finish Path
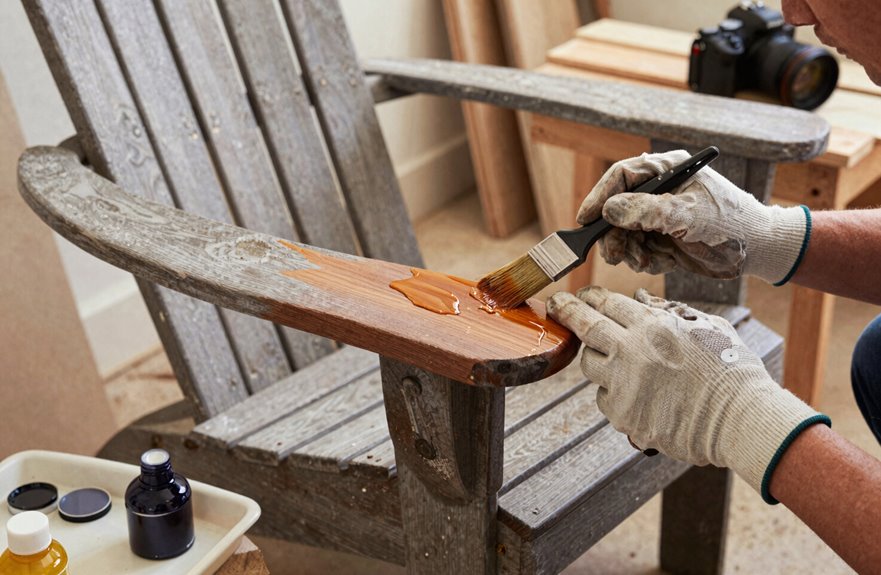
The finish you choose determines everything that comes next. Whether you’re after bold color or natural wood grain, both options are available. Here’s how we pick our path:
- Painted look: Start with priming using Extreme Bond Primer, then brush on two thin coats of durable exterior enamel in Foxhall Green semi-gloss. Back-brush to hide marks; wait 2–4 hours between coats.
- Natural look: Skip the paint. Sand smooth, progressing from 60–80 grit up to 120–220 grit, then apply stain with a pad or cloth in multiple thin layers.
- Seal either way: Both paths need an exterior-grade sealer, polyurethane varnish or wood wax oil, for UV protection and weather resistance.
- Protect your work: Multiple thin coats of clear finish maintain your chairs’ appearance through seasonal changes.
Choose what fits your style.
Apply Paint or Stain in Thin, Even Coats
Once your primer or stain base is ready, build your finish with patience and precision. Apply two thin coats because heavy layers run and peel. If you’re spraying, hold the can or gun 10 to 12 inches away. Use an angled sash brush for edges and slats, a small foam roller for broad arms, and back-brush for a uniform look.
Lightly sand with 220-grit sandpaper between coats to improve adhesion and knock off any nibs or dust. Wipe everything with a tack cloth and vacuum so the next layer grips perfectly. The second coat locks in rich, even color and creates a durable, professional finish.
How Long Between Coats: and How to Tell?
I usually wait two to four hours between coats, though I’ll stretch that to six if it’s humid or cool outside. You’ll know it’s ready when the surface feels dry to the touch and just slightly tacky. Press your knuckle gently; it shouldn’t stick or leave a mark. Proper curing of the base coat ensures your next coat will grip instead of slide.
Wait Time Guidelines
Why rush a good thing? Patience separates amateur results from professional finishes on Adirondack chairs. Getting the wait time right between coats means everything.
What works for our community of dedicated refinishers:
- Allow 2–4 hours between your first and second paint coats, or follow your product’s label for full cure guidance.
- For two thin coats of water-based polyurethane or latex enamel, stretch that to 4–6 hours; oil-based finishes need a full 24 hours before light handling.
- With spray paint, keep your nozzle 10–12 inches away, then let that first coat dry completely; 2–4 hours minimum.
- Drying times stretch in humid or cool conditions, so plan for 24 hours between coats when damp weather hits.
Never recoat until the previous layer is completely dry. Recoating too soon causes blistering, uneven adhesion, and solvent entrapment that ruins your work.
Dryness Test Methods
Knowing the right wait times is only half the battle. You need to confirm your chair is actually ready before applying the next coat.
- Check your product label first. Most finishes need 2–4 hours drying between coats, but don’t rely on timing alone.
- Perform a simple dryness test. Lightly touch a hidden spot on the underside. If it feels tacky or leaves a fingerprint, wait longer. The surface should feel firm and smooth.
- Look for visual cues. A ready surface shows uniform matte color with no wet-looking patches or visible smudges.
- Account for your conditions. At 70°F and 50% humidity, drying proceeds as expected. Higher humidity stretches drying times, so allow additional time.
- When in doubt, allow 24–72 hours for a full cure between coats. Waiting prevents potential damage to your work.
Seal Adirondack Chairs for Weather and UV Protection
I’ll pick a breathable exterior sealant that lets moisture escape while blocking sun and rain. Polyurethane varnish or wax-oil blends work best as the foundation for everything that follows. I apply three to five thin coats, not one thick one, because thin layers dry harder and resist cracking when the wood expands and contracts. Each coat needs 24–72 hours to cure. This patience results in chairs that won’t gray, split, or soak up water after a single season outside.
Choosing the Right Sealant
Selecting the right sealant determines whether chairs last two summers or ten. This choice is worth careful consideration.
What to look for:
- Outdoor sealant with UV blockers built in to stop graying and cracking before it starts
- UV protection that actually works, not just marketing claims on the label
- Flexible formulas that bend with the wood when temperatures swing
- Exterior/UV topcoat compatibility with your primer or paint, plus water-repellent properties
Check labels carefully. A mismatched topcoat peels, and that creates unnecessary problems. Lock down this choice before moving to the next phase.
Applying Thin Coats
With the right sealant in hand, I’m ready to put it to work. Multiple thin coats beat one thick coat every time because this prevents drips and lets UV protection sink in evenly.
- I work in a well-ventilated space, applying the sealant with thin, smooth strokes using a brush or wipe-on applicator.
- I wait 2–4 hours for water-based sealant to dry, or 24 hours for oil-based, before the next coat.
- Between coats, I lightly sand with 220-grit paper. This removes raised grain and helps the next layer stick.
- I repeat until I’ve built three to four solid coats.
This patient layering creates a smooth, durable finish that resists weather damage without skipping sanding or rushing dry times.
Weather Protection Benefits
Beyond mere appearance, I’m sealing these chairs to shield them from what nature throws at them. A quality weather sealant is essential. It’s what keeps our hard work from washing away.
Proper sealing delivers these benefits:
- Durability boost: Polyurethane varnish or wax oil adds years to your chair’s life outdoors.
- UV defense: UV inhibitors stop color fading and that ugly gray wood look.
- Smart application: Multiple thin coats work better than one thick layer. Less peeling, less blushing.
- Proper timing: Wait 2–4 hours between coats, or longer if the can says so.
I’ll reseal yearly where sun and rain hit hardest, or stretch it longer for sheltered spots. Your chairs stay inviting and protected from the elements.
The 48-Hour Wait: Curing Before First Use
Once I’ve brushed on that final coat of sealer, the hardest part is still ahead: waiting. The 48-hour cure isn’t negotiable. It’s what separates amateur jobs from lasting results. I hunt for a spot with good airflow, away from dust and direct sun, so my outdoor paint dries evenly without debris stuck in the finish.
Here’s my countdown plan:
- Day one: primer and first coat. Day two: second coat and sealer. Then I wait.
- I resist the urge to test-fit my patio setup. That curing time builds the hardness my chair needs.
- Cooler, humid days stretch my patience, but the 48-hour rule stands firm.
- I mark my calendar, distraction-free.
When those two days pass, the finish has reached full hardness and my seat will last for years.
Seasonal Storage and Touch-Up Schedule
Although that fresh finish looks tough, winter will test it if you don’t store your chairs right. Solid seasonal storage and a smart touch-up schedule keep our outdoor maintenance routine on track, so our chairs stay in the circle year after year.
Here’s my proven system:
- Store dry and elevated – Place chairs on a pallet or drop cloth in a shaded, dry spot, keeping them off the ground to stop moisture and UV damage.
- Inspect before storing – Check slats for warping or cracks, then fill or replace them to protect structural integrity.
- Schedule mid-season cleaning – Wash with mild soap, dry thoroughly, and touch up paint or sealant as needed.
- Log every detail – Record dates, products, and repairs for consistent care.





