
I build folding Adirondack chairs using six proven steps. First, I trace templates onto 1x lumber and cut components with a miter saw, band saw, and router for precision.
Second, I assemble the seat frame with half-inch gaps between slats and verify the 24-inch width.
Third, I angle the backrest and install 1/4-inch pivot hardware.
Fourth, I attach arms with nylon-lock bolts.
Fifth, I add a folding pivot block two inches up the back arch.
Sixth, I apply three thin coats of oil-based finish.
Each step produces a sturdy, weather-resistant chair that folds flat for storage and transport.
Cut Components Using Folding Chair Templates
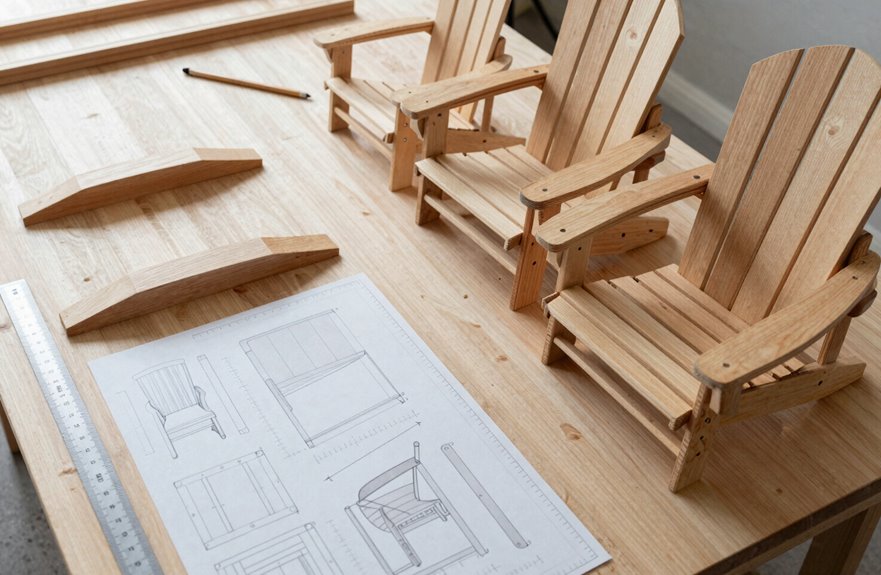
Where do we start when every cut matters? I grab my folding templates and lay them over 1x lumber, securing each with standard scotch tape. This step is essential for ensuring accurate sizing before cutting begins.
When every cut matters, folding templates and scotch tape on 1x lumber ensure accurate sizing before you ever touch a saw.
- Position your templates to map out every piece. Trace each outline carefully, noting exact dimensions for the bottom components and planning your project flow.
- Cut your pieces methodically. Use a Miter Saw for longer boards, a Band Saw for rough cuts, and finish with a Router fitted with a flush trim bit for precision. Following template traces eliminates guesswork.
- Check your work. Aligning pieces to templates guarantees correct spacing and geometry, which are critical for the folding mechanism and chair stability.
These templates provide assembly guidance through accurate dimensions. When dimensions match, everything fits.
Build the Seat Frame and Front Carry Support
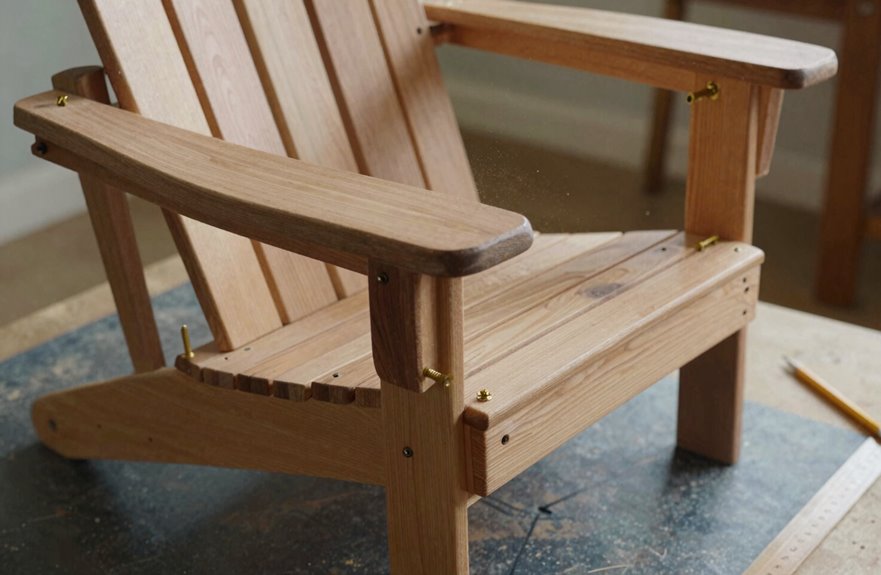
How do we turn those cut pieces into something you can actually sit on? We build the seat frame together, step by step.
I lay out the two main legs and attach the front slats first. You’ll want a helper here, as those pieces shift if you’re alone. I use the last slat to square everything up, checking that our seating surface sits true at 24 inches wide. The gaps matter: I space each slat 1/2 inch apart, predrilling holes for every 24-inch piece so nothing splits.
| Step | What I Do |
|---|---|
| 1 | Lay out main legs on a flat surface |
| 2 | Attach front slats with helper assistance |
| 3 | Square frame using final slat placement |
| 4 | Maintain 1/2 inch gaps between all slats |
| 5 | Mark and drill front leg holes for alignment |
I mark the front leg holes from templates, drilling with a 1/4-inch bit for perfect alignment. Once the seat frame feels square and sturdy, we’re ready to move forward.
Angle the Backrest and Install Pivot Hardware
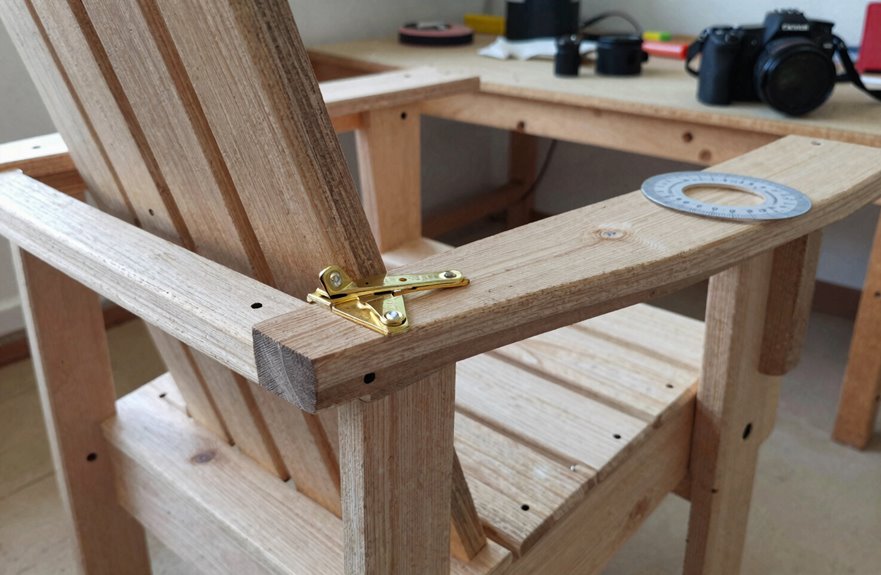
Now I’ll angle the backrest and install the pivot hardware. Starting with tracing the back arches onto slats before cutting them on the Band Saw, I’ll center those arches carefully and clamp everything in place. Counter sink the holes so the screws sit flush without splitting the wood. Finally, I’ll attach that small pivoting block to the lower back arch, pre-drilling first to ensure the folding action operates smoothly and the seat remains sturdy when someone settles in.
Backrest Angle Calculation
Why does the backrest angle matter so much? It determines whether you’ll sink into comfort or fight your chair for two hours. I’ve learned this through experience.
To calculate it correctly, I grab my templates and trace the back arches onto sturdy stock. I cut them with my band saw, following the curves carefully. The templates come with pre-marked holes, and I use these to guide my drill bit through the arches.
Next, I lay everything on my workbench. I align the holes with the back slats, checking twice before committing. The spacing stays consistent this way, with no guesswork needed.
I tighten the assembly gently, centering the arches so they sit evenly. Then I drill pilot holes and drive screws home. The backrest feels solid and balanced, supporting years of regular use.
Pivot Point Placement
Where exactly should the pivot point sit? I position it near the main leg, coordinating with a pivoting block on the back lower arch. This lets the chair fold smoothly without over-tightening.
I center the arches before attaching slats, using clamps to hold everything steady.
| Step | Action | Purpose |
|---|---|---|
| 1 | Mark pivot locations from templates | Ensures precise alignment |
| 2 | Pre-drilling holes at marked spots | Prevents wood splitting |
| 3 | Add counter sink before screws | Creates flush, stable connection |
| 4 | Test fold before final fastening | Confirms smooth backrest attachment |
I keep the back separate from the seat initially. This approach allows you to align the pivot hardware accurately before locking everything down. Pre-drilling holes at exact angles guarantees your chair folds consistently and reliably.
Hardware Secure Installation
With the pivot points marked and the backrest arches centered, you’re ready to lock in the hardware that makes this chair fold.
- Drill the pivot holes. Use a 1/4 inch drill bit and bore through the pre-marked spots on both side rails. Alignment matters here; one crooked hole and your backrest binds or wobbles.
- Counter-sink before you screw. Set your bit to create shallow recesses. This lets the screw heads sit flush, so nothing catches clothing or skin. It also stops the wood from splitting when you tighten down.
- Clamp and fasten. Hold the backrest in place with clamps, checking that arches stay centered. Then drive the screws home until the hardware locks solid. The folding mechanism should move smoothly without play.
Test the mechanism and adjust if needed.
Attach Arms With Nylon-Lock Bolts
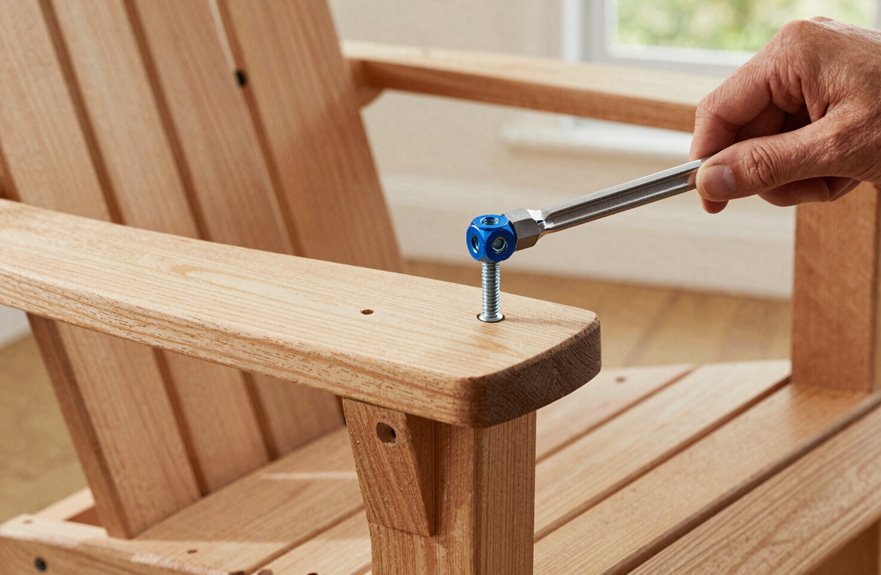
How do we keep these arms from working loose after a season of folding and unfolding? We use a nylon locking nut and sturdy bolts for every arm attachment point.
First, I pre-drill holes through the arm and back frame to ensure clean alignment. I hold the arm level, checking with a small level to keep everything square with the seat. Then I slide a bolt through, add a nylon ring, and tighten the nylon locking nut until snug. Over-tightening will crack the wood.
This hardware resists vibration and seating stress. I check each joint twice, confirming the arm sits flush against the back arch. When complete, the arms will not shift, wobble, or loosen over years of regular use.
Add the Folding Pivot Block Near the Legs
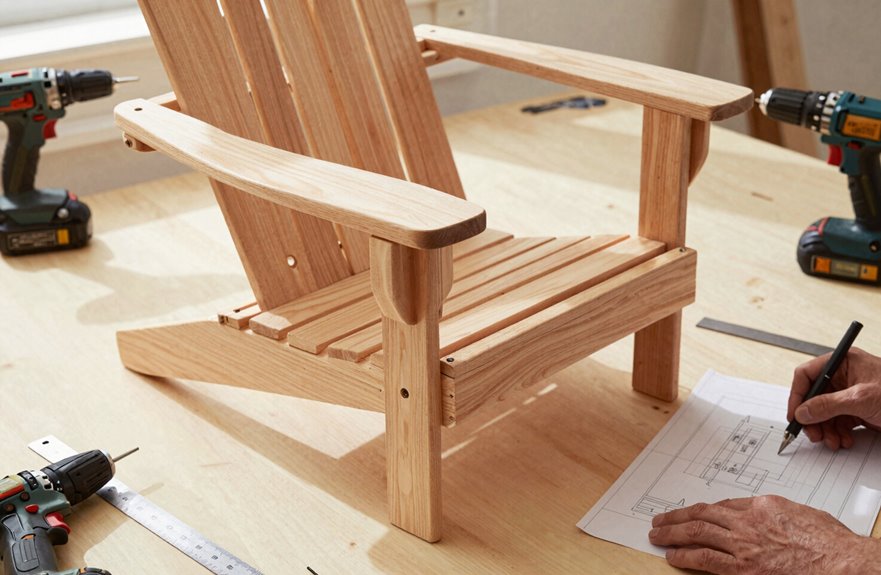
The folding pivot block is your chair’s hinge point, and I place mine about two inches up from the bottom of the back lower arch, right where the main leg meets the frame. This spot lets the folding mechanism work smoothly without bumping your legs when you sit.
- Mark your spot on the back arch. Measure twice for accuracy.
- Drill a pre-drilled hole first. This keeps the wood from splitting.
- Attach the pivot block with screws, but don’t over-tighten. Leave enough clearance so the chair opens fully for comfortable seating.
- Check alignment. The block must sit flush, or your chair folds crooked.
- Test the fold. It should collapse flat for compact storage.
Secure mounting ensures years of sturdy use.
Finish With Oil-Based Protection for Outdoor Use
Oil-based products outperform water-based alternatives against rain, sun, and temperature swings. Apply three to four thin coats rather than one thick layer, spacing these applications to allow proper curing between each one.
Choose Oil-Based Products
When you’re ready to protect your finished Adirondack chair, oil-based products deliver superior results. Oil-based finishes offer outdoor durability that water-based options cannot match. Your chair faces sun, rain, and temperature swings, and oil-based protection withstands all of it.
Start with an oil-based stain as your base coat. It penetrates deep into the wood grain, enriching the natural beauty while building a foundation of protection. This step ensures every subsequent coat performs better.
Respect the cure time. Oil-based products need 24-48 hours to fully harden before moisture exposure. Rushing this step compromises your work.
Choose products labeled for exterior use, check the weather forecast, and you’ll build a finish that keeps your chair looking great for years.
Apply Multiple Thin Coats
Building a finish that lasts means skipping the thick, gloppy coat that looks good today and cracks tomorrow. You want a chair that welcomes friends year after year, so here’s how to build real outdoor protection with patience and precision:
- Apply an oil-based finish, not water-based, for genuine element resistance
- Brush on multiple thin coats instead of one heavy layer
- Wait for complete drying between applications
- Keep sanding between coats with 220-grit paper
- Clean every surface, including undersides and ground contact points
Each thin layer bonds deeper and dries harder than thick paint ever could. Sand lightly, wipe away dust, and build again. This method creates a flexible shield that moves with the wood through summer heat and winter freeze.
Allow Proper Curing Time
Why rush a finish that’s meant to last. After drying, your chair needs time to cure fully before it faces the front porch sun or summer rain. Oil-based protection hardens through chemical reaction, not just evaporation, so patience pays off.
| Condition | Drying Time | Full Cure |
|---|---|---|
| Warm, dry day | 4-6 hours between coats | 7 days |
| Cool, humid day | 8-12 hours between coats | 14 days |
| Ideal placement | Out of direct sun initially | Wait before heavy use |
Shortcuts here result in damage to weeks of work. Keep finished surfaces off damp grass, and let that final coat cure completely. Your chair will have the durability and appearance of well-made outdoor furniture when built correctly.





