
I start by measuring my space and marking anchor points every 6–8 feet, keeping my power source close by.
Next, I pick sturdy spots on walls or posts and drill pilot holes for hooks or masonry anchors.
Then I install a guide wire with turnbuckles for spans over 15 feet.
I hang the lights with slight slack for a gentle drape, spacing bulbs about 6–8 inches apart.
I plug into a GFCI outlet and test every bulb before sealing all connections against rain.
These six steps create a functional outdoor lighting setup that will last through weather exposure.
Measure and Plan Your Outdoor String Light Layout
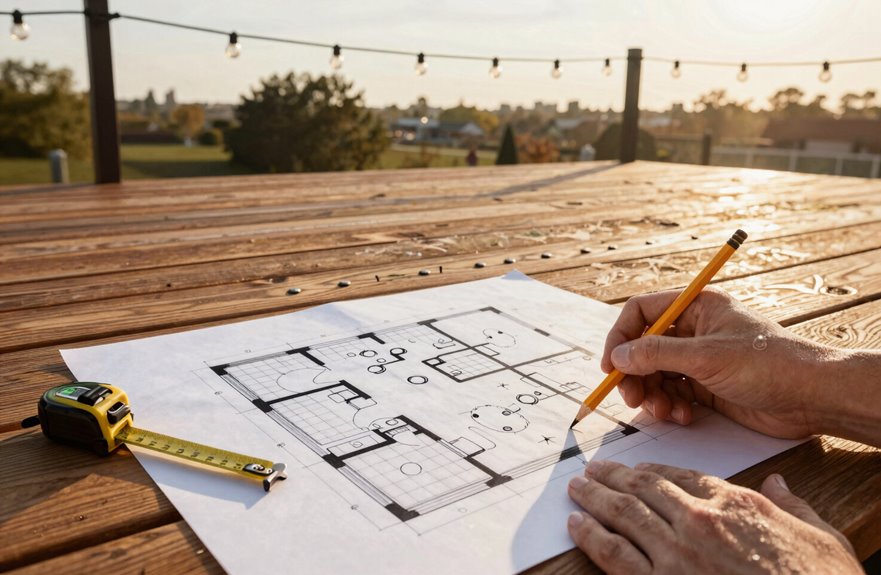
Where exactly do I want these lights to go? I grab my measuring tape and start my layout planning, knowing this step prevents installation problems later.
First, I locate my power source. A beautiful zigzag pattern that won’t reach an outlet creates wasted effort. I sketch two options: a perimeter run tracing my patio edges, or a zigzag pattern between outdoor posts. Both work, but spacing changes everything.
I calculate string light length carefully, adding 10% for droop and connection slack. Then I mark anchor points every 6–8 feet using small installation marks with painter’s tape. This spacing keeps bulbs evenly distributed without sagging.
Before I touch a single hook, I double-check my marks align with both my layout and power access. Preparation ensures proper installation and prevents sagging or disconnection issues.

Keep your lights cord in place with our double hook clips:Conventional single hook design is often unstable when fixing, swaying from side to side, etc. The improved and upgraded outdoor light hooks design prevents the fixtures from sliding or sagging. You can adjust them to the most suitable height and enjoy the beautiful display effect.
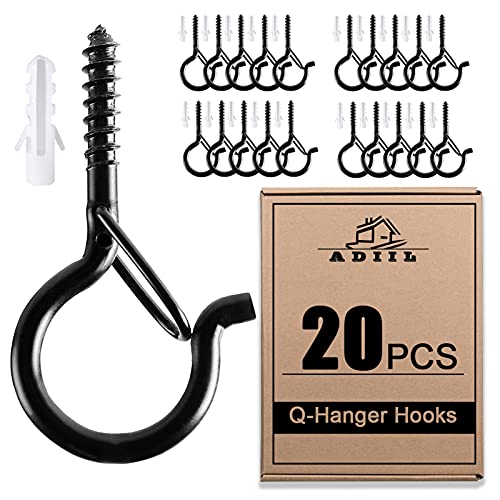
Safety Buckle Design: Add safety buckle design to prevent hanging objects from falling, even in high wind. Compared with ordinary ceiling hooks, the q hanger hooks are weatherproof and wind resistant, suitable for hanging outdoor patio string lights. No worry about items being knocked off, more secure
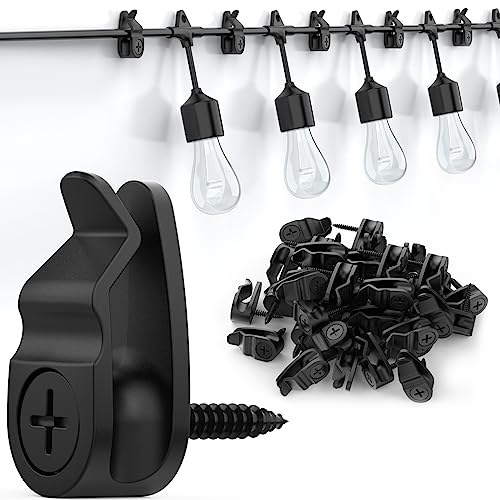
Secure and Stable: Our 50-pack Outdoor Light Hangers are designed with screw mounts for unparalleled stability, ensuring your string lights and decorations remain securely in place without swinging or falling.
Pick Your Mounting Points: Walls, Posts, or Poles
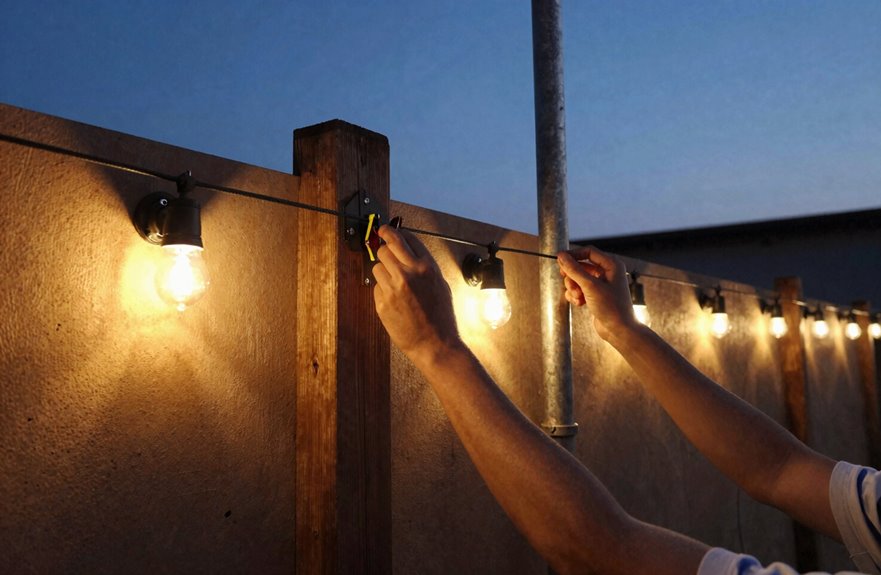
With my layout marked and measurements confirmed, I’m ready to secure the lights to something solid. Walls, posts, or poles make excellent mounting points for outdoor string lights, and I’ve got options that’ll work for any space.
First, I pick my anchor points. For wooden posts or poles, I can screw cup hooks directly in. For brick or masonry walls, I drill pilot holes first, then insert wall anchors rated for outdoor loads. This keeps everything sturdy when wind hits.
Spacing matters most. I space my anchor points 6–8 feet apart. This spacing keeps bulbs evenly lit and helps with sag prevention. For longer spans, I’ll plan a guide wire between points to stop drooping and wind whip. Starting from my power source, I mark each point and work outward so nothing tangles.
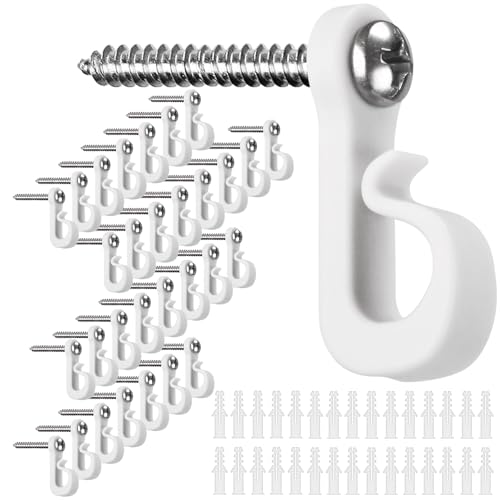
Versatile Indoor & Outdoor Use: Suitable for outdoor string lights, Christmas lights, patio fairy lights, Halloween decorations and seasonal displays. Also suitable for lightweight items such as small planters, keys and wall decor

Convenient & Practical: Plastic,String lights hanging hooks are made of PA12(Plastic),not made of metal. there have 20-Pieces, use a phillips screwdriver can easily screw the nail into the wooden beam or tap it with a hammer and tighten it again.

COMPLETE STRING LIGHT HANGING KIT: Skip the hardware store. Since standard screw-in hooks are notoriously difficult to set, our 20-pack includes a precision drill bit for frustration-free installation. We also include zip ties to keep your lights perfectly straight, along with standard anchors, making these the ideal string light hooks for concrete, brick, stucco, or wood surfaces.
Install Anchors and Add Support Wires

I grab my drill and get to work on those marked anchor points. First, I drill pilot holes to prevent splitting, then I twist in outdoor-rated hooks or screw eyes by hand. For brick or stucco, I use masonry anchors rated for outdoor loads. Outdoor-rated masonry anchors prevent patio lights from falling during use.
For spans over 15 feet, I run a guide wire between anchor points. This support wire carries the weight and prevents sagging while maintaining a clean, professional appearance. Secure the guide wire with turnbuckles so you can tighten it season after season.
| Mounting Hardware | Best Use Case |
|---|---|
| Screw eyes | Wood posts, fascia boards |
| Masonry anchors | Brick, concrete, stucco walls |
| Cup hooks | Quick install on soft wood |
| Turnbuckles | Tension adjustment on guide wire |
| Outdoor-rated hooks | All-weather durability |
Double-check every anchor before moving on. Solid mounting hardware keeps your lights secured and your installation stable.

【APPLICATIONS】Black coated stainless cable is easy to hide at night. Our light hanging kit can be used in multiple ways such as hanging string lights for a romantic party, photos or any hanging needed. And you can design different lighting suspension types to enhance the visual effect according to the layout of your yard. Our string light hanging kits is also suitable for Indoor: Hanging photo frames, dry clothes and facilities for sunbathe at day.

Applicable Occasions: Hanging string lights for a romantic party,also Hanging photo,clothes or any hanging needed ,perfect for outdoor garden and indoor
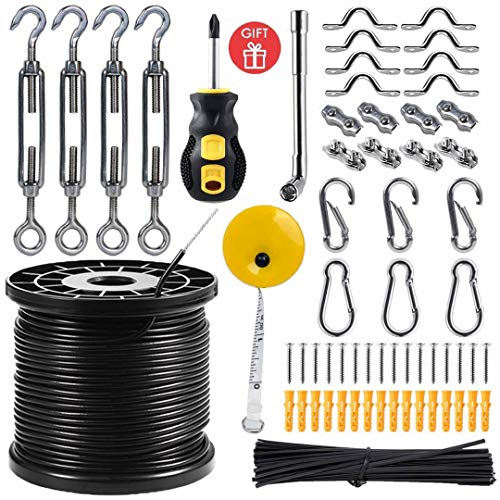
【MULTIPURPOSE USE】Our light hanging kit can be used in multiple ways such as hanging string lights for a romantic party, photos or any hanging needed. And you can design different lighting suspension types to enhance the visual effect according to the layout of your yard. Use your imagination and enjoy the fun of DIY.
Hang Your Outdoor String Lights
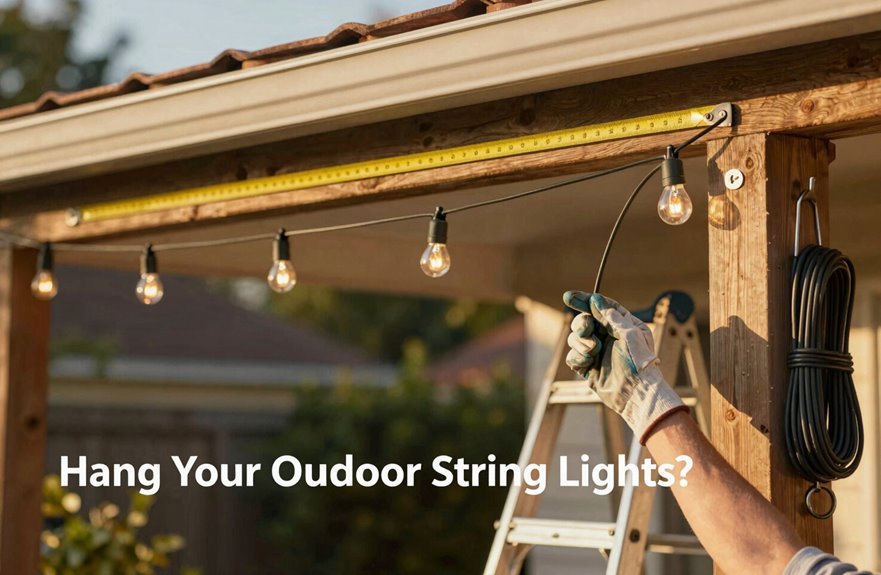
Once the anchors are set and the guide wire is taut, you’re ready to hang the lights. I work along the path I mapped during planning, moving from one end to the other. I loop each strand over the hooks I installed, keeping slight slack between points so the lights drape in a gentle curve. This prevents sagging while creating soft, ambient lighting.
I space bulbs about 6–8 inches apart for even illumination. For longer runs, I use weatherproof extension cords rated for outdoor use, never crossing walkways where someone could trip. I plug everything into a GFCI outlet for safety. Before securing zip ties, I test the strand to ensure every bulb glows. Small adjustments now prevent problems later.

VERSATILE & CUSTOMIZABLE: Easily set up to 8 on/off programs for the timer's two grounded outlets. Outlets are controlled simultaneously, and settings can be as short as one minute

【Daily Repeat Outdoor timer】24 ON/OFF options within a 24-hour period; each pin represents a 30-minute interval. Use the mechanical timer to schedule your outdoor devices with daily repetition.

[Countdown Timer and Light Sensor] The DEWENWILS timer has multiple settings like ON/OFF, dusk to dawn, on at dusk and off after 2, 4, 6 or 8 hours. You can control your outdoor device as you wish by simply setting it and can choose also to repeat schedule daily.
Power Up and Test for Problems
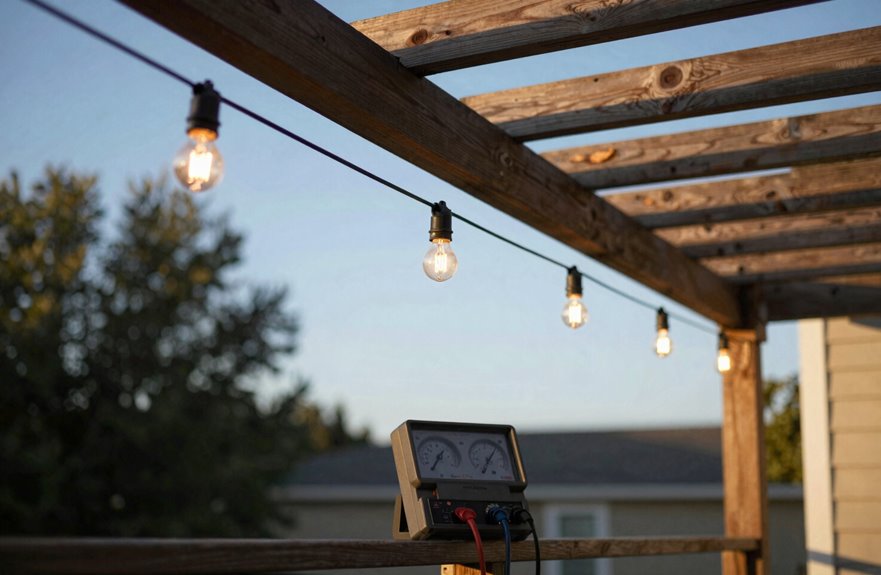
Before you flip the switch, take a minute to unplug everything and give your setup a careful once-over. Run your hands along each cord, checking for frayed wires or cracked insulation that could cause safety hazards. Verify you’re using outdoor-rated lights with weatherproof connectors, and always plug into a GFCI outlet for safety.
- Picture warm bulbs glowing like fireflies against twilight sky
- Imagine cords running tight along lines without sagging
- See your guests’ faces lit by even illumination across the patio
Test bulbs by connecting from the power source outward, watching each section light up. After confirming secure mounting, re-test after mounting to catch any issues. If one bulb stays dark, swap it immediately. This second check ensures your installation works properly when night falls.

【 55ft LED Connectable String Lights 】- This outdoor light comes with 25+2 G40 LED bulbs. Each bulb is 2 feet apart for a total length of 55 feet. It supports an end-to-end connection of up to 14 strings, allowing you to customize the length you need. These lightweight and convenient patio lights are easy to carry and store

8 Lighting Modes: This solar christmas lights outdoor have 8 different lighting modes, including Combination, Waves, Sequential, Slo-glo, Chasing/Flash, Slow Fade, Twinkle/Flash and Steady-on. You can adjust different lighting modes according to different situations and mood

Upgraded Extension Cord Safety Cover: With 4 lockable latches, 2 cable clamps, 2 mounting holes and 2 cable ties, it creates a watertight sealing space, keeps outdoor & indoor electric connection dry and safety, easy to place and hang anywhere.
Seal Connections and Weatherproof Everything
The final step keeps your lights glowing season after season. Weatherproofing protects the spaces we share.
- I seal connections using weatherproof connectors and weatherproof adapters at every junction. Moisture protection starts with tight, secure fits.
- I choose outdoor-rated extension cords with 12-14 gauge wire to handle electrical loads without overheating. Heat buildup near adapters causes failures.
- I run conduit for cords along walls or bury them 6 inches deep. This rainproofing shields cables from puddles and prevents trip hazards.
- I inspect for frayed wires before sealing anything. Damaged insulation compromises weatherproof integrity, so I replace worn components immediately.
- I unplug during storms. No weatherproofing eliminates the risk of direct exposure to high winds and heavy rain.
Your backyard sanctuary requires this maintenance to function reliably.

Q-Shaped Buckle Design : Not like the ordinary ceiling hooks for outdoor string lights, the safety latch is added to prevent hanging objects from falling or sliding out even with vertical installation. No more worry about string lights being fall off.

60 PCS Light Hooks Clips Per Box: Length 16mm/0.63inch, Width 15mm/0.59inch, Height 8mm/0.31inch; Suitable for cables with a diameter (maximum) of 5 mm/0.2 inches, size fits most wires, small size and space saving.

[ STRONG ADHESIVE ] Our newly upgraded adhesive features ultra-high adhesion waterproof adhesive strips, solving the problem of falling decorations. It is easy to remove without leaving unsightly marks on walls