

I weatherproof my Adirondack chairs by first identifying the wood type. Cedar needs UV protection, while teak benefits from regular oiling. I clean thoroughly with mild soap, inspect for cracks, and tighten hardware. I repair damage with exterior-grade filler, sand lightly, and select products suited to my climate: water-shedding sealers for rain, UV blockers for sun, or flexible oils for freezing winters. I apply two thin coats with the grain, seal all end grain and joints, and allow three to five days to cure fully. Each spring, I test protection with a water drop. Darkening wood indicates it’s time to reapply. I store chairs elevated on pallets with breathable covers through winter. Regular maintenance prevents the need for costly repairs and keeps the wood structurally sound for years.
Figure Out Your Wood Type First
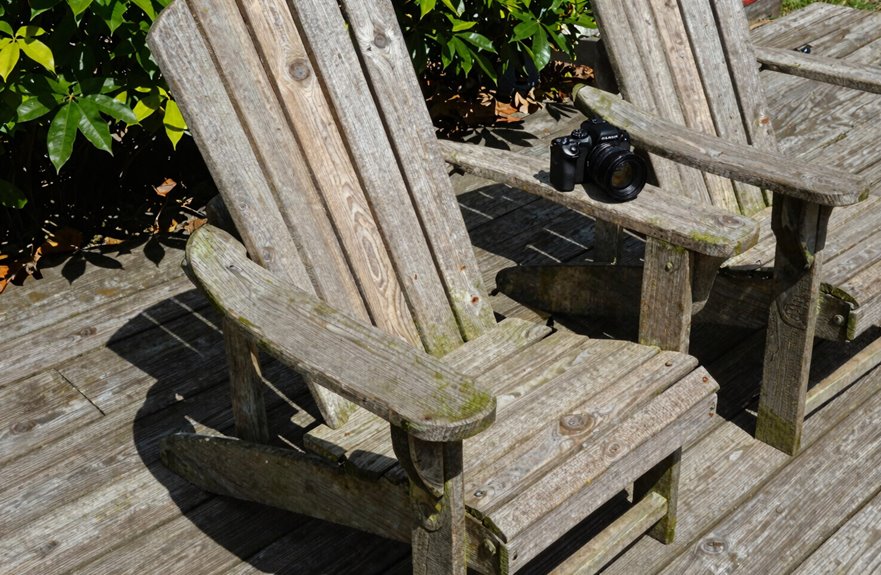
Before I grab my brush and sealant, I need to know exactly what I’m working with because the wood type decides everything that comes next.
Cedar resists rot and insects, but it’ll turn silvery-gray without UV protection. Teak holds natural oils that fight moisture, though I still give mine regular wood maintenance. Softer woods like pine and fir demand thorough sealing if you’re keeping them as outdoor furniture. Dense hardwoods such as eucalyptus and acacia perform beautifully with oiling or sealing.
When I’m unsure about a wood type, I check the color, study the grain pattern, feel the weight, and look for prior treatments. These clues point me toward compatible weatherproofing products so my chair stays protected season after season.
Deep Clean and Inspect Your Chair
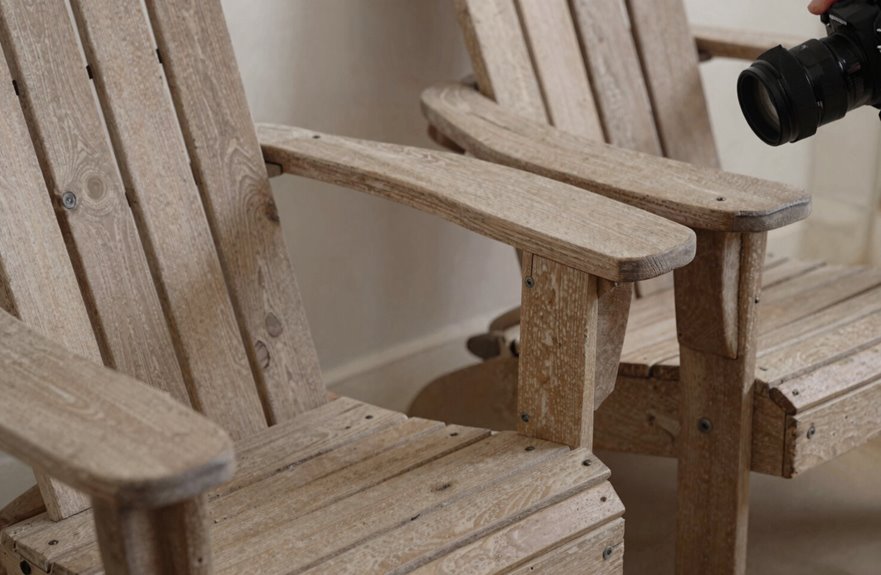
Once I’ve identified what wood I’m dealing with, I move straight into the dirty work of getting this chair truly clean. Deep cleaning comes first because pollen, grime, sunscreen oils, and mildew all block proper finish bonding. I grab a soft brush and mild wood cleaner, scrubbing every slat and crevice.
While I clean, I inspect carefully. I’m hunting for cracks, loose joints, raised grain, moisture spots, and hidden mildew. I tighten wobbly hardware, replacing rusted screws now before they worsen. This inspection prevents costly repairs later.
After scrubbing, I rinse thoroughly. Then I wait completely for all moisture to disappear. Trapped dampness ruins finishes fast. Once dry, I strip flaking paint or varnish. Clean, inspected, dry wood is my foundation. Now I’m ready for the next step.
Repair Damage Before Weatherproofing
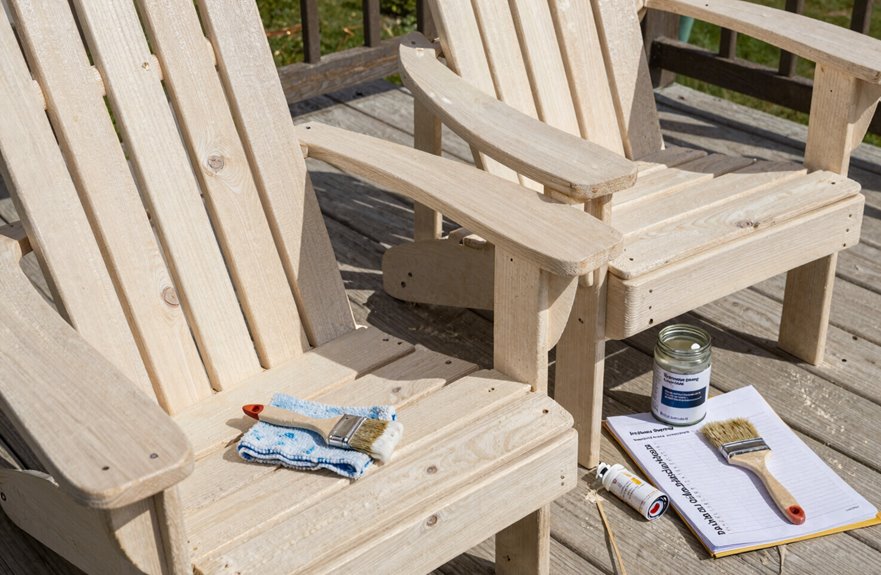
I roll up my sleeves and tackle any damage I found during inspection, because weatherproofing over cracked wood or loose joints is like painting over a hole in the wall. It just hides the problem until it gets worse.
First, I tighten every screw and bolt. If they’re rusted, I swap them for stainless steel or outdoor-coated hardware, about $8 at any hardware store. Next, I fill small cracks with exterior-grade wood filler, pressing it in with a putty knife. I let it cure 24 hours, then sand it flush with 120-grit paper.
I check for moisture spots or mildew one more time. Trapped moisture rots wood from inside out, so I wait until everything’s bone-dry before moving forward. Solid repairs now prevent chair failure later.
Choose the Right Weatherproofing Product for Your Climate
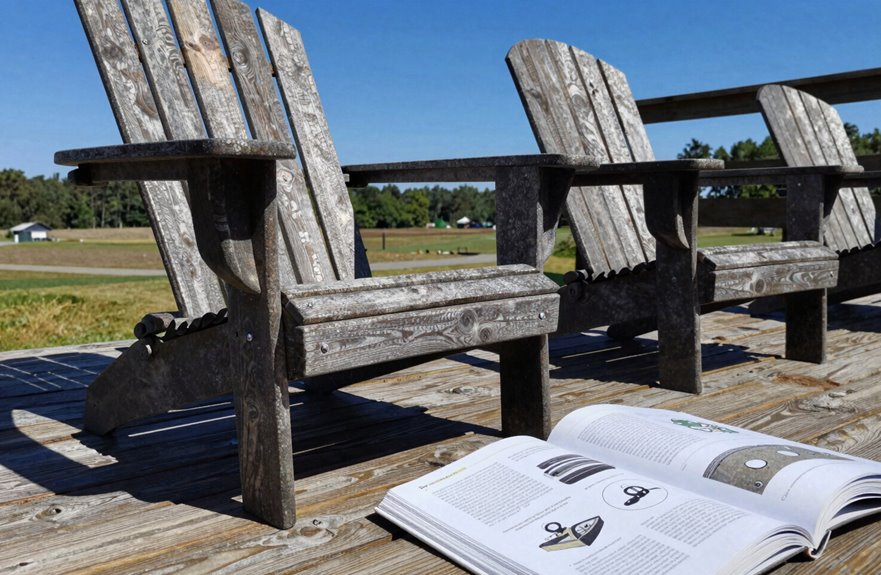
Where you live decides what to apply to your chair, so start by checking local weather patterns. High-rain regions demand finishes with strong moisture resistance that shed water like a duck’s back. Sun-drenched areas require products with UV blockers to stop fading and brittleness that turns your chair gray and cracked.
| Climate Type | What I Look For | Why It Matters |
|---|---|---|
| Rainy & humid | Water-shedding sealer | Keeps rot away from my cozy spot |
| Blazing sun | UV blockers built-in | Saves that warm, natural glow I love |
| Freezing winters | Flexible penetrating oil | Prevents cracks when I’m huddled outside |
| Coastal salt air | Marine-grade finish | Protects my weekend retreat |
| Mixed seasons | Balanced combo | One less worry for my outdoor family |
Penetrating oil paired with a UV-resistant sealer keeps the wood’s appearance visible while guarding end grain and joints where deterioration begins. Choose your product before prepping the surface; product selection determines which preparation method works best.
Apply the First Coat: Follow the Grain and Avoid Overloading
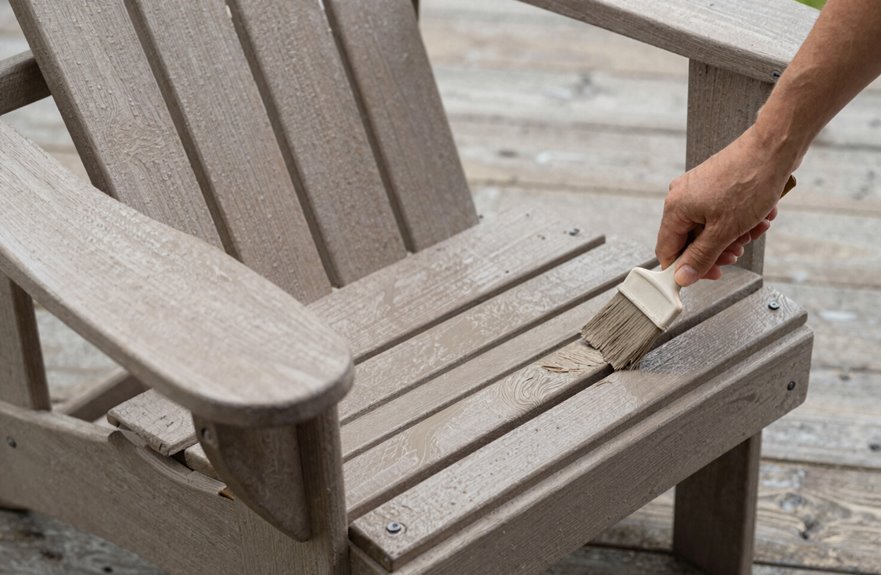
Sweep the work area clean and set your chair on sawhorses or a drop cloth. Start the first coat in a space with good airflow. Follow the wood grain with smooth, steady strokes and aim for even coverage, not puddles.
Here’s what I focus on:
- Dip my brush lightly, about halfway up the bristles
- Work the finish deep into joints where water loves to hide
- Stroke with the grain, never against it
- Watch for drips on the underside
- Step back to check my work before moving on
Don’t overload any spot. Too much finish now means sticky spots and longer drying time later. Patience at this stage prevents problems down the road. Let this first coat dry completely. You’re building something that lasts.
Sand Lightly, Then Apply a Second Coat
Once the first coat feels dry to the touch, usually overnight though I check the label, I’m ready for the next step. I grab 220-grit sandpaper and sand lightly across every surface. This smooths the raised grain and rough spots that appeared as the wood absorbed the first layer.
I wipe away all dust with a tack cloth. Leftover grit ruins the finish.
Now comes the second coat. I load my brush and work with the grain, just like before. This layer deepens the weatherproofing shield. I take extra time on the end grain; those thirsty slat edges and leg bottoms drink up finish fast. Two coats minimum, the can says, and I believe it. The chair will hold up on a porch for years.
Seal Joints and End Grain Where Moisture Sneaks In
The joints and end grain are the chair’s weak spots where water hides and rot begins its quiet work. Sealing these areas is essential because water intrusion destroys chairs from the inside out.
Water hides in joints and end grain, beginning its quiet work of rot from within.
- Dab finish into every corner where slats meet the frame
- Soak the end grain until it drinks up the protection
- Work a small brush around every screw head, sealing tight
- Hit the undersides and overlaps where rain pools and stays
- Sand lightly between coats so the next layer grips better
This sealing ritual builds a family tradition. Your chair becomes part of the yard’s story, season after season. Inspect these vulnerable spots each spring and touch up the joints. Regular maintenance keeps your work effective for years to come.
Let It Cure Completely Before Use
I know you’re eager to sit back and enjoy your handiwork, but patience pays off here. Let me walk you through exactly how long to wait, what conditions speed or slow the process, and the clear signs that tell you your chairs are truly ready for the backyard. Skipping these cues can leave you with tacky armrests and a finish that won’t stand up to the elements.
Curing Time Factors
Although you’re eager to sit back and enjoy your handiwork, patience now saves you headaches later. Rushing the finishing cure time only leads to sticky surfaces and weak protection.
Here’s what matters:
- Check that each coat reaches full drying time before adding another layer
- Watch end grain and joints extra closely since they soak up sealant fastest
- Verify sealant hardness matches the manufacturer’s touch-test guidelines
- Keep chairs in a breezy spot where air circulates freely around every curve
- Mark your calendar for seasonal weatherproofing touch-ups
Your weatherproofing investment deserves respect. When you skip these steps, moisture creeps in and ruins the work. Wait those few extra days. The chair will function properly once the sealant fully cures, and it will perform reliably for years to come.
Full Cure Duration
Patience pays off when you’re protecting a chair built to last.
Rushing weatherproofing never ends well. Here’s how to handle the full cure properly:
- Let each coat dry completely in a well-ventilated spot before adding another. Tacky layers ruin everything.
- Wait several days for the outdoor finish to reach full cure. This is when maximum hardness and water protection develop.
- Check the weather. Cold or humid days stretch curing time, so plan accordingly.
- Protect joints and edges by allowing that final hardening period. UV resistance depends on it.
Your chair joins a community of well-made pieces when you respect this timeline. Skip the wait, and you’ll belong to the group replacing finishes every season instead.
Usage Readiness Signs
How do you know when your chair’s truly ready for that first sit. Rushing this part leads to sticky surprises and ruined weekends. Here’s what to check before calling it done.
- Press the armrests and wait. No fingerprint, no tack, just a stiff, dried surface that feels like real furniture.
- Peek between the slat gaps to ensure no shine or soft spots hide in those narrow spaces.
- Run your hand across end grain and joints, confirming even color and no darker patches that need more time.
- Do a moisture check with your palm against the back slats, pulling away clean and dry.
- Tighten every exterior screw once more, since wood shifts as it settles.
Finish curing protects your hard work. Wait it out, and your chair will last decades.
Maintain Your Weatherproofing Year-Round
I’ve found that keeping my Adirondack chairs protected year-round comes down to three simple habits. First, I inspect them each spring and fall, checking edges and end grains where water loves to sneak in. Then I store them upside down with breathable covers each winter, and I never skip the annual reapplication of sealer when the water-drop test shows darkening wood.
Seasonal Inspection Schedule
Why let your hard work go to waste? My maintenance schedule rests on one simple truth: catching problems early saves your chair. Here’s my seasonal inspection routine that keeps my weatherproof protection strong year after year.
- I check for cracks, loose joints, and raised grain every season, tightening hardware or swapping it for stainless outdoor screws when needed
- I run the quick water test monthly. When water darkens the wood instead of beading up, I know moisture protection is fading
- I deep-clean in spring and fall, scrubbing away pollen and mildew before they settle in
- I inspect end grains after winter storage, since they soak up water fastest
- I adjust my approach by climate: more water-shedding finish for rainy regions, extra UV blockers where the sun beats down
This rhythm keeps my chair ready for every gathering.
Annual Reapplication Timing
The annual reapplication is where my weatherproofing either holds strong or quietly fails. I mark my calendar every spring for this ritual, because catching faded protection early prevents larger problems down the road.
Here’s how I test my outdoor finishes: I sprinkle water across the seat and arms. If the wood darkens instead of beading, it’s time for maintenance. That means cleaning, drying, and reapplication of oil or sealer on every high-contact surface.
I pay extra attention to end grain and edges. Those spots fail first. I work methodically, one section at a time, ensuring complete coverage.
This annual commitment keeps my weatherproof shield intact. The practice extends the life of my outdoor furniture by years, and the chairs remain comfortable and functional for regular use.
Winter Storage Tips
Spring weatherproofing keeps my chairs strong, but winter storage determines whether that work survives the cold months. I treat this step as seriously as the finish itself because I’ve learned the hard way what neglect costs.
Here’s how I protect my investment:
- I clean each chair with mild soap, then dry completely. Moisture prevention starts here.
- For outdoor storage, I use breathable covers that let air circulate, never plastic tarps.
- I place every chair on a raised surface, 2-4 inches off ground, using concrete blocks or wooden pallets.
- I position chairs upright, never stacked, to prevent warping and edge damage.
- I check monthly, adjusting covers after wind or snow.
These habits keep my Adirondack chairs ready for spring gatherings. Proper winter storage prevents water damage, wood rot, and structural failure that can render chairs unusable.





