
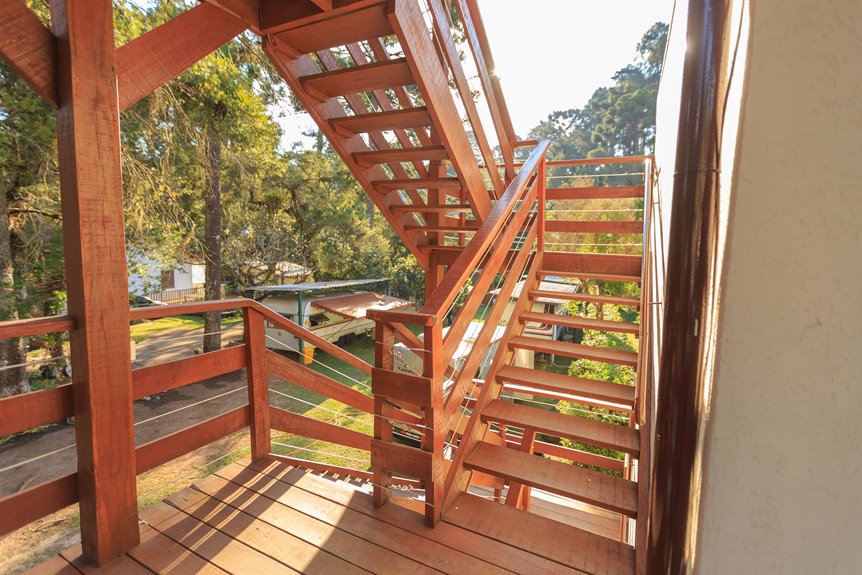
I built my first wood patio from scratch by checking local building codes, marking underground utilities with 811, then planning a 12-by-8-foot floating deck to avoid ledger complications. I calculated materials, twenty-six ground-treated boards, deck blocks, and $1,600 total, before digging 6-inch block pockets across a 4-foot grid and laying weed fabric with crushed gravel. I assembled the frame with 16-inch joist spacing, taped all joints to block moisture, and anchored everything level. I laid 25 decking boards with 1/8-inch gaps, trimmed edges clean with a circular saw, and sealed the wood after a 2-3 week dry period. Following these ten steps prevents the costly errors that delayed my early attempts.
Check Building Codes and Mark Underground Utilities
Before I grab a single tool or mark a single line, I need to make sure I’m building something legal and safe.
Before I grab a single tool or mark a single line, I need to make sure I’m building something legal and safe.
First, I check my local building codes to find out what permits I are required, how far my deck must sit from property lines, and how tall it can go. I also learn the railing rules to prevent injuries.
Next, I handle utility locating by calling 811 or hiring a service to mark where gas lines, electric cables, water pipes, and fiber optics run underground. I obtain accurate maps to avoid striking anything dangerous.
I watch out for septic lines, sprinklers, and irrigation systems. In cold climates, I dig footings below the frost line, usually 30 to 48 inches deep, to prevent heaving.
Finally, I draw a site plan showing property lines, drainage, and overhead hazards. This ensures compliance with local regulations, protects against accidents, and provides a clear blueprint for construction.
Plan Your Floating Deck Size, Shape, and Placement
With permits secured and utilities marked, I’m ready to design a deck that fits my yard and my life.
I measure my space carefully, noting where sun falls and where neighbors gather. Since I’m building floating, I won’t attach a ledger board to my house. This deck stands free, which simplifies permits and prevents moisture damage. I sketch shapes on paper: rectangles feel classic, but an L-shape wraps around my existing patio nicely.
- I mark 12×8 feet for comfortable seating without overwhelming my lawn
- I choose deck blocks over concrete posts for easier leveling without mixing
- I space joist supports every 16 inches for solid, bouncy-free boards
- I recruit my brother; two of us finish in two days instead of four
The plan is ready to build.
Calculate Materials and Estimate Total Costs
Once I finalize my design, I turn to the numbers because a half-built deck serves no purpose.
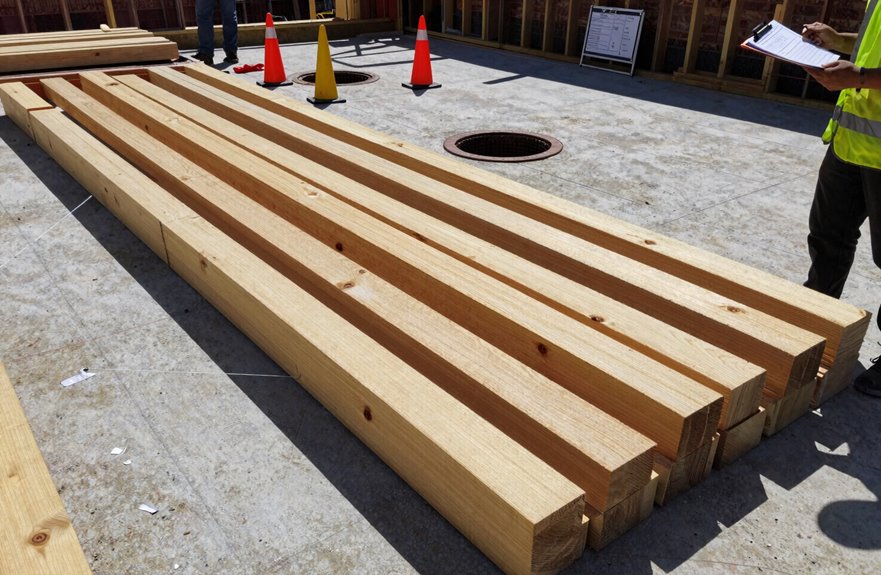
First, I list every piece. For deck framing, I need twenty-six prime ground-contact pressure-treated boards. I add concrete deck blocks, joist hangers, angle braces, and shed anchors for stability. For decking, twenty-five pieces of 5/4 in. x 6 in. x 10 ft. ground-contact premium pine cover the top.
My material estimation totals roughly $1,600: $600 for footings and frame, $1,000 for decking. I grab leveling sand, weed mat, deck screws, and joist tape too.
Two workers finish in two days; solo work takes three to four days, totaling about 100 hours across weekends.
I verify all measurements and specifications before purchasing materials.
Dig Block Pockets and Level the Ground
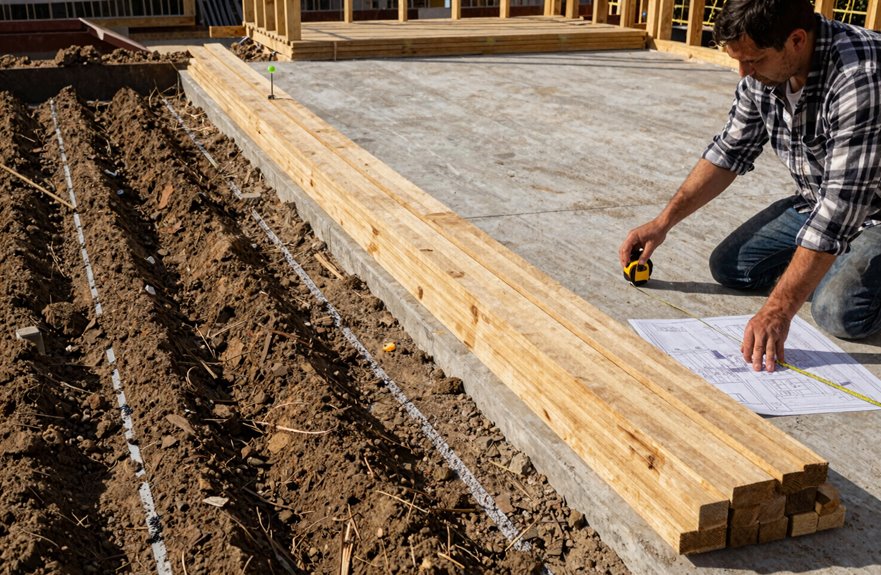
I start by marking my 4-foot grid layout across the patio site, then I dig each block pocket about 6 inches deep and 2 inches below the finished surface level. I remove loose dirt, compact the ground, add paver base, and compact again before spreading a thin layer of leveling sand. This layered foundation allows me to fine-tune each block’s height so my frame sits perfectly level and stable.
Block Spacing Layout
How do you turn a patch of yard into a solid foundation for your deck? I start with the layout. A proper block spacing layout keeps everything square and strong.
- I mark a 4-foot grid across my planned deck footprint, snapping lines to guide block placement.
- I dig each pocket about 6 inches deep, checking that every hole sits at the same rough height.
- I lay weed mat and leveling sand beneath each block, pressing firmly so water drains away.
- I compact the ground hard, then set my blocks, slipping composite shims underneath until everything reads level.
I check twice, adjusting with extra sand where needed. This spacing pattern prevents future settling by distributing your deck’s weight evenly across multiple support points.
Ground Excavation Depth
With the grid marked and your layout clear, it’s time to break ground. I dig out each block location about six inches deep, creating pockets for the deck blocks. This depth gives solid anchoring without unnecessary labor.
- I remove loose earth at every marked point
- I compact the soil firmly to prevent future sinking
- I add a layer of paver base for drainage and stability
- I use leveling sand atop the compacted base to fine-tune each height
I lay each deck block on the leveled sand, checking with a straightedge across multiple points. I add or remove sand to achieve uniform ground clearance. The floating deck will settle slightly over time, so hard-packed ground now prevents structural problems later.
Leveling Sand Base
Where does solid ground meet careful preparation. Right here, you’ll build the foundation that holds everything together.
I’ll dig each pocket about six inches deep for my deck blocks, creating stable seats for the weight to come. Then I’ll lay weed mat first; nobody wants greenery pushing through later.
To make it level:
- I spread leveling sand two inches thick under each block location
- I set my deck blocks onto that sandy bed, pressing firmly
- I add more sand around them, compacting and checking height with a level
- I slide composite shims where needed, fine-tuning until everything sits properly
I might add a slight pitch away from my house for drainage. Now my frame will rest on solid, even ground. This foundation prevents settling and shifting over time.
Install Weed Fabric and Compact the Gravel Base
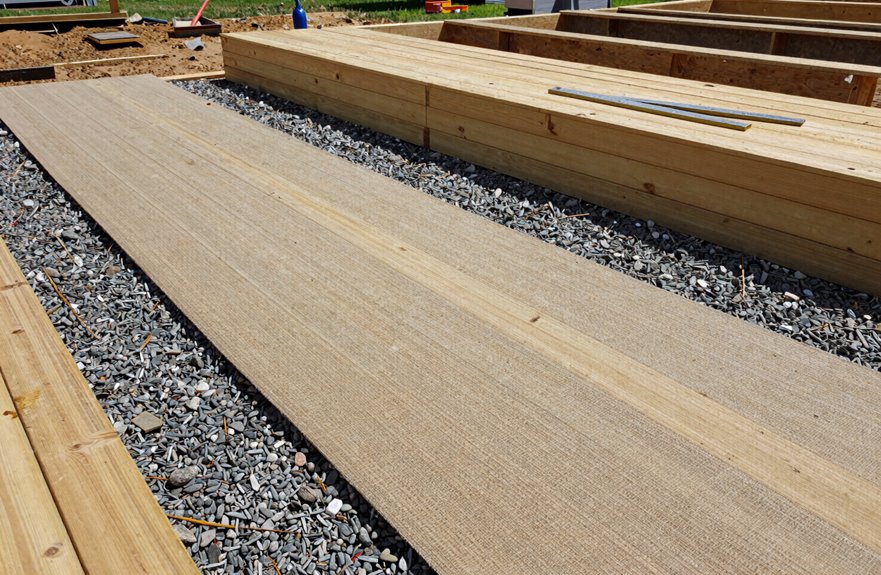
First, I’ll clear the ground until it’s clean and level, removing every rock and root I can find. Proper prep work prevents future settling and unevenness.
Clear the ground completely—every rock and root removed—to prevent future settling and unevenness before you build.
- Lay the weed fabric. I roll it across the entire area, overlapping seams by six inches. This barrier stops unwanted growth from pushing through my gravel base.
- Add gravel. I pour three to four inches of crushed stone evenly, then rake it flat.
- Compact thoroughly. I run a plate compactor over the surface twice, checking for soft spots. The gravel base should feel solid underfoot with no shifting or sinking.
When I’m finished, I’ve got a stable foundation that supports everything coming next. Proper compaction prevents settling that would compromise the patio structure later.
Set and Level Concrete Deck Blocks
My compacted gravel base is ready, and now I’m moving on to the supports that’ll hold my entire deck. I dig each deck block location about 6 inches deep, laying out a 4-foot grid to guide my placement. This spacing keeps everything strong and even.
To build a solid foundation:
- I place deck blocks on leveled sand and compacted paver base for stability
- I add leveling sand on top and adjust height to create an even seating plane
- I use composite shims on foundation blocks to fine-tune and stop any rocking
- I dig deeper paver base or add concrete anchors where frost or settling might cause trouble
Leveling requires attention to detail. Proper installation prevents deck shifting and sagging, extending the lifespan of the structure.
Build the Frame With Joist Hangers and Blocking
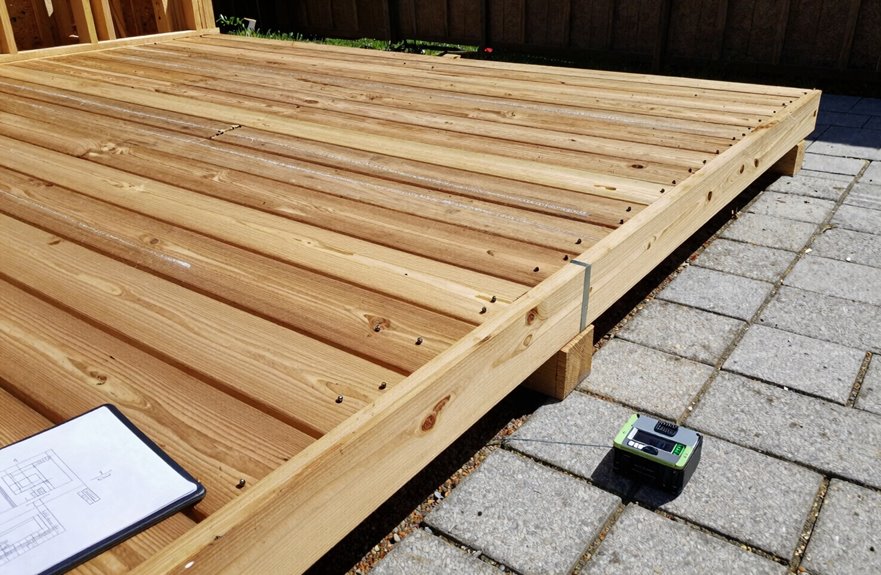
Once the blocks sit solid and true, you’re ready to build the deck frame. I start by laying pressure-treated 2×6 lumber for the frame, spacing joists every 16 inches. I secure each joist with metal joist hangers, those little brackets that hold everything tight. Don’t skip the blocking; I cut short pieces to fit between joists, locking them together so nothing twists during use. I lag-screw back extensions into fence posts for extra structural support. This frame provides the foundation where people gather.
| What We Build | Why It Matters | The Feeling |
|---|---|---|
| Joist hangers | Holds us up, every time | Security |
| 16-inch spacing | No sag, no worry | Trust |
| Blocking | Stops the wobble | Steadiness |
| Lag screws | Grips through storms | Belonging |
| True and plumb | Everything fits | Home |
Tape Joists and Anchor the Frame to Blocks
Where does water hide and wait to ruin your work? In every crack and corner where wood meets wood or metal. I tape my joists before installation to prevent this damage.
Water hides in every crack where wood meets wood or metal, waiting to ruin your work.
I apply joist tape at every contact point. Those 14–16 inch spans need protection. The tape seals gaps that won’t be visible until rot sets in.
Here’s the process:
- I set level-adjustable anchor blocks on compacted sand with weed mat underneath
- I check each block with a 4-foot level, adjusting until the frame sits perfect
- I lag-screw the frame to the blocks, tightening until there’s zero wobble
- I add 4×4 supports at corners for extra stability against shifting
The frame is now locked in place and ready for the next phase of construction.
Lay Decking Boards With Proper Spacing
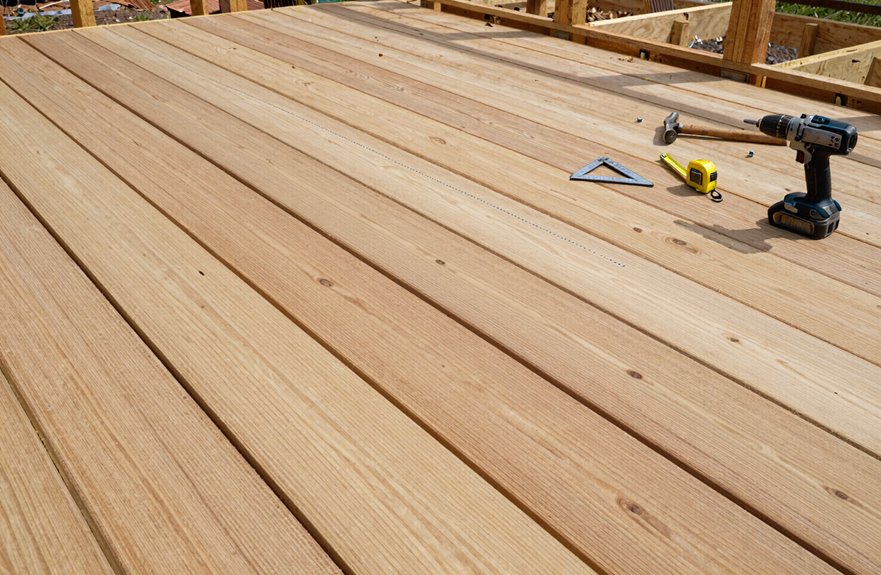
With the frame locked solid, it’s time to give this deck its walking surface. I lay decking boards starting from the outer edge, working toward the house. Wood expands and contracts with temperature and humidity changes, so proper spacing prevents buckling and warping.
- Set your gaps. I use 1/8-inch spacers for dry lumber, pushing to 1/4 inch in humid climates. Composite needs hidden clips to hold spacing without visible fasteners.
- Check every board. My joists sit 14–16 inches apart, so each decking board gets solid support. I straighten end edges with a circular saw when boards run uneven.
- Watch the last row. Sometimes I adjust spacing slightly near walls to avoid ripping a skinny final board.
Temperature swings will test your work. Adequate spacing allows boards to expand and contract without binding, keeping them flat and preventing cupping or warping over time.
Trim Edges and Apply Protective Finish
I grab my circular saw and trim the edge boards for a clean, straight line as the first step before any finish touches the wood. Pressure-treated lumber needs two to three weeks to dry, or even two to three months if dealing with damp weather. I always run a quick water test to confirm it’s ready. Once the wood passes, when water soaks in within a minute instead of beading up, I’ll brush on a clear sealer like Olympic Waterguard. I make sure to tape all the joist connections first so this patio lasts for years.
Edge Straightening Method
How do you turn a rough, uneven deck edge into something that looks sharp and lasts for years? I use a circular saw aligned carefully along the perimeter, trimming each board to create one clean, continuous line. Straightening the deck edge prevents splintering and rot.
- Rip with precision: I set my saw guide and cut slowly, letting the blade do the work for a dead-straight finished edge.
- Tame the bow: I clamp warped boards and use a chisel or screw scrap trick to pull ends flush before fastening.
- Seal the seams: I apply joist tape at every wood-to-wood contact to shield vulnerable cut edges from moisture.
- Check twice: I step back post-installation, eyeing the full perimeter to catch and fix any wobble before calling it done.
A straightened perimeter reduces water infiltration at cut edges and extends the life of your deck structure.
Protective Sealing Options
Although a freshly built deck looks great, those raw edges won’t stay pristine without protection. Timing matters. Wait 2–3 weeks, or 2–3 months for thorough drying, before applying any sealant. Rushing traps moisture and invites rot.
To check readiness, sprinkle water on the boards. If it soaks in within a minute, you can proceed. If not, wait longer.
I use Olympic WaterGuard clear wood sealer for exterior protection against moisture and UV damage. Apply it only to clean, dry wood, following the manufacturer’s coat and timing instructions. For weather-exposed surfaces, choose a rain-ready, non-slip finish. This sealant protects your investment through every season.
Drying Time Requirements
When should you seal fresh boards? Rushing the process ruins everything. You must respect the drying time, or you’ll trap moisture inside and watch your work warp.
What to check:
- Wait 2–3 weeks minimum, sometimes 2–3 months for full drying
- Perform the water drop test; if it soaks in under one minute, you’re ready
- Verify moisture content before brushing on Olympic Waterguard or similar sealers
- Let bowed boards acclimate completely, then trim edges straight before sealing
Pressure-treated lumber especially needs this patience. Sealing too early traps moisture and causes structural damage. Following the drying timeline ensures your patio will perform as intended.





