
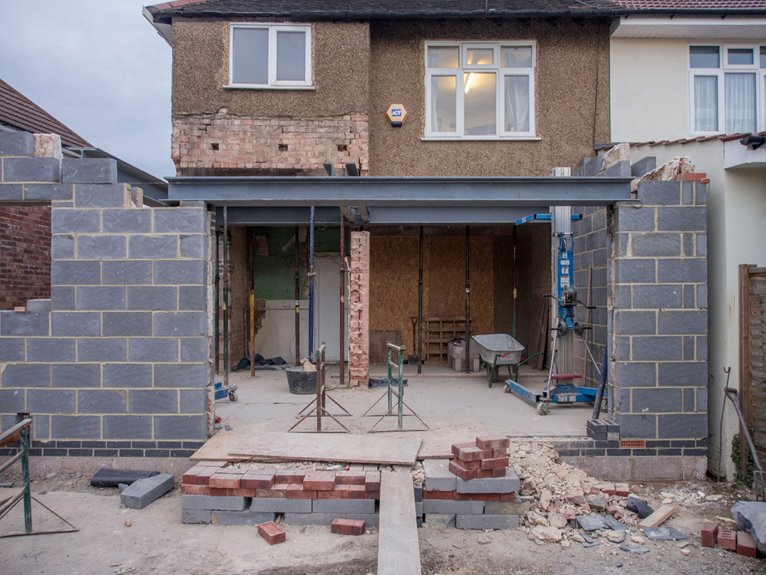
I extended my patio in five clear steps. First, I chose my method: resurfacing for seamless blending, staining for quick affordability, or pouring new concrete for speed.
Second, I calculated cubic yards by multiplying width times depth divided by 27, and dug 8 inches down for a 57 stone sub-base.
Third, I built 1×6 forms with stakes every two feet, tilting them ¼ inch per foot for drainage, then added wire mesh or rebar epoxied into the old slab.
Fourth, I poured, screeded, bull-floated, and broom-finished for texture.
Fifth, I matched colors using identical techniques or professional staining.
Each step builds on the last, requiring attention to detail at every stage.
Pick Your Patio Extension Method: Resurface, Stain, or Pour New
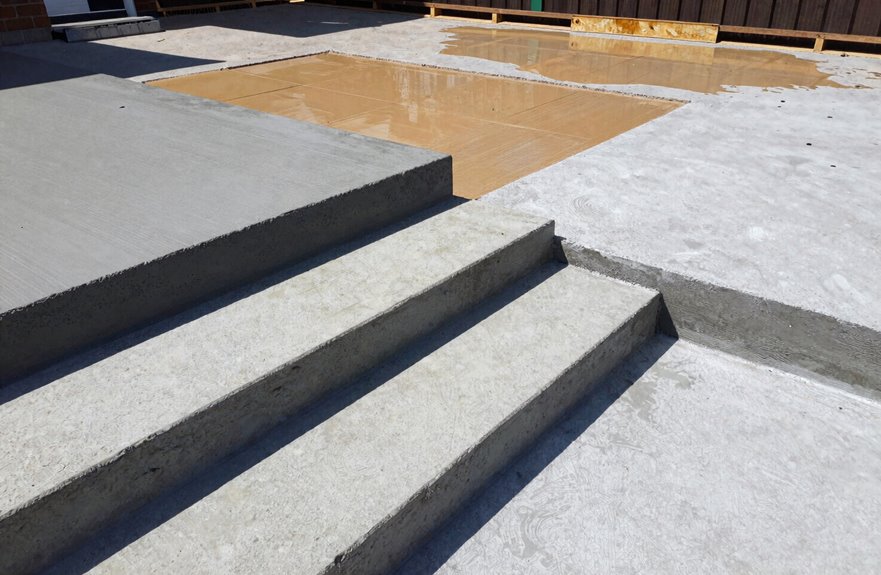
So you’re ready to expand your outdoor space, but what’s the best way to make it happen? Three solid paths exist to extend your existing patio and make your new extension feel like it belongs.
First, resurface. Remove the old top layer, then pour fresh concrete over everything, old and new, blending them together. You can add colored aggregates to match tones exactly. This takes more time, but delivers seamless results.
Second, stain. Apply color to both surfaces for quick, affordable cohesion. It won’t hide every flaw, though.
Third, pour just the new extension. It’s faster, but without careful matching, you’ll spot the seam between old and new.
Weigh timing, budget, and how perfect you want that match to determine which method works best for your situation.
Calculate Concrete and Prep Your Sub-Base
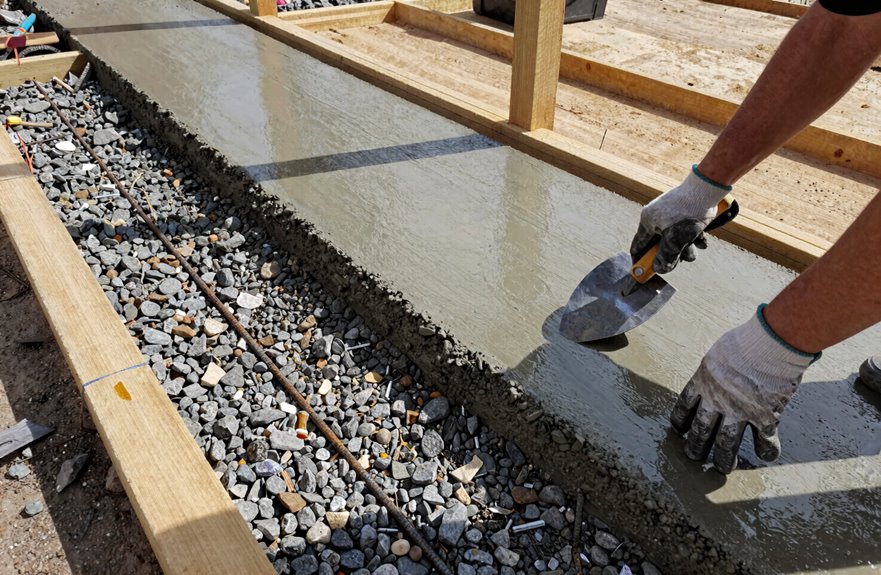
How much concrete will you actually need? I multiply width by depth to get cubic feet, then divide by 27 for cubic yards. That’s your concrete quantity. For my last extension, I needed 3.5 yards, just enough for a truck delivery. Smaller jobs mean bag mixing, though it’s tougher on your back.
Now let’s prep your sub-base. I start with excavation, digging about 8 inches deep across the entire area. This gives me room for proper drainage away from my house. I fill that space with 57 stone or crusher run, then water it lightly. Compaction comes next. I run a plate compactor until the surface feels solid underfoot. A well-compacted sub-base prevents cracking later.
| Step | What I Do |
|---|---|
| Calculate | Multiply width × depth, divide by 27 |
| Choose delivery | Truck for 3+ yards, bags for less |
| Excavate | Dig 8 inches for sub-base depth |
| Compact | Water stone, then compact thoroughly |
Build Forms and Add Steel Reinforcement
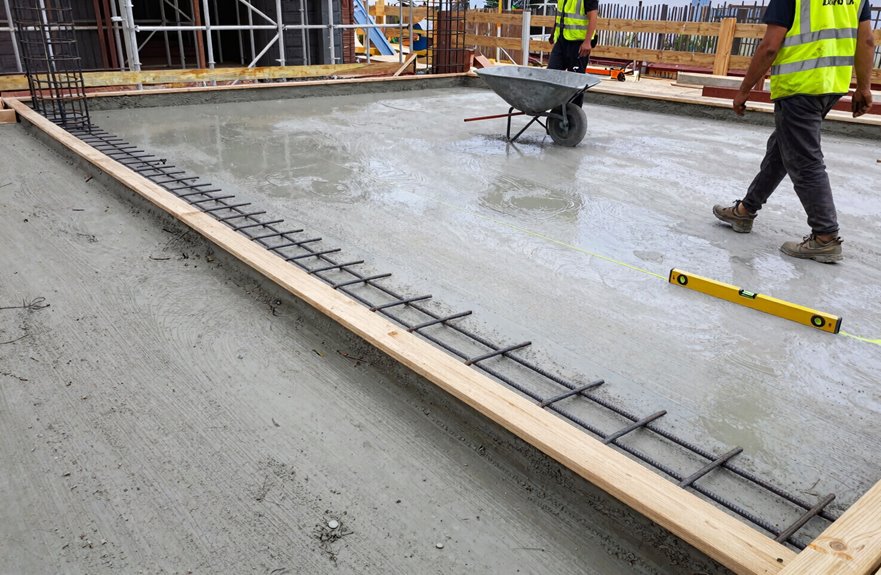
With my sub-base packed solid, I’m ready to frame up the actual concrete shape.
- I build my forms using 1×6 lumber, cutting pieces to match my extension dimensions. I check that corners are square and the frame sits level, then I drive stakes every two feet to lock everything in place. I also tilt the forms slightly, about 1/4 inch per foot, so water drains away from my house.
- Next comes steel reinforcement. For light foot traffic, I choose wire mesh; for heavier loads or bridging joints, I pick rebar. I dry-fit the mesh inside my forms first, making sure it covers the full area without touching the ground. It needs to be suspended in the middle of my concrete, not buried at the bottom.
- Where my new slab meets the old one, I drill into the existing patio, epoxy rebar into those holes, and tie everything together. This creates a strong bond between my extension and the existing surface.
Pour, Level, and Finish the New Slab
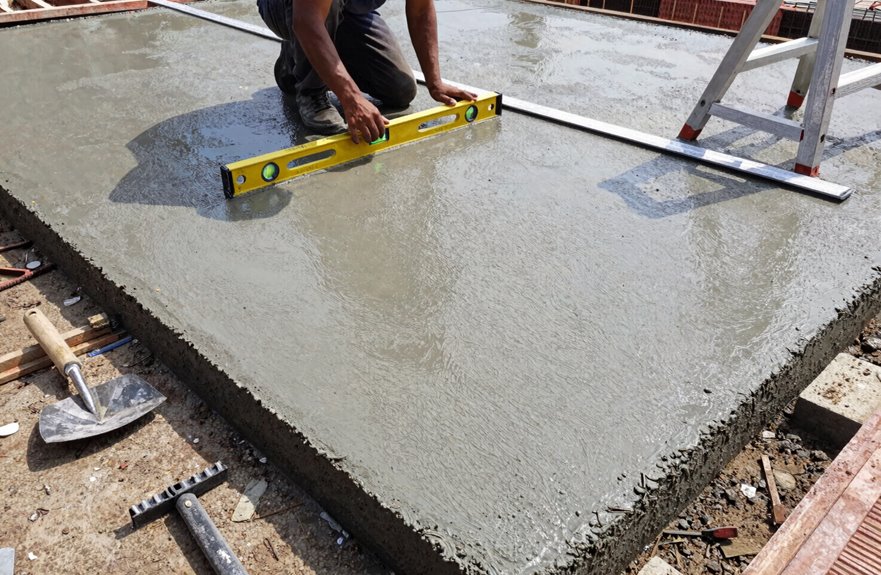
All the prep work is finally behind me, and I’m ready to get concrete on the ground. I pour the concrete slab evenly between my forms, working quickly before it sets. Then I grab my screed board and pull it across the forms to level the surface. This pushes excess concrete ahead and fills low spots.
Next, I run my bull float over the surface to smooth it and bring up fine paste. I wait for the initial set, then drag a broom across for texture. The broom finish provides slip resistance and blends with my existing patio. I edge along the forms for clean, rounded edges that won’t chip. I cover it overnight, letting it cure strong. Tomorrow, I’ll plan my control joints.
Match Colors for a Seamless Patio Extension

My new slab is curing nicely, but the real test comes when I stand back and look at the whole patio. I want this concrete patio extension to feel like it has always been there, not tacked on as an afterthought.
Color matching approaches:
| Method | Best For | Effort Level |
|---|---|---|
| Aggregates in new pour | Texture and tone mimicry | Medium |
| Staining both surfaces | Faster, affordable fix | Low |
| Full resurfacing | Seamless single surface | High |
| Professional color plan | Critical uniformity | Varies |
I am leaning toward staining since it unifies tone without the cost of resurfacing. If I pour fresh concrete next to my old slab, I will use identical finish techniques: same screed, bull float, and broom texture. For perfection, I will contact a professional like Summit Concrete to stain or dye both sections together.





